> ## Documentation Index
> Fetch the complete documentation index at: https://help-plum.xoxoday.com/llms.txt
> Use this file to discover all available pages before exploring further.
# Customization
The Customization section allows Admins to configure various settings for the Plum storefront. You can customise the points terminology, payment options, redemption requirements, storefront footer, and delivery address settings.
To access these settings, navigate to **Settings > Storefront > Customization**.
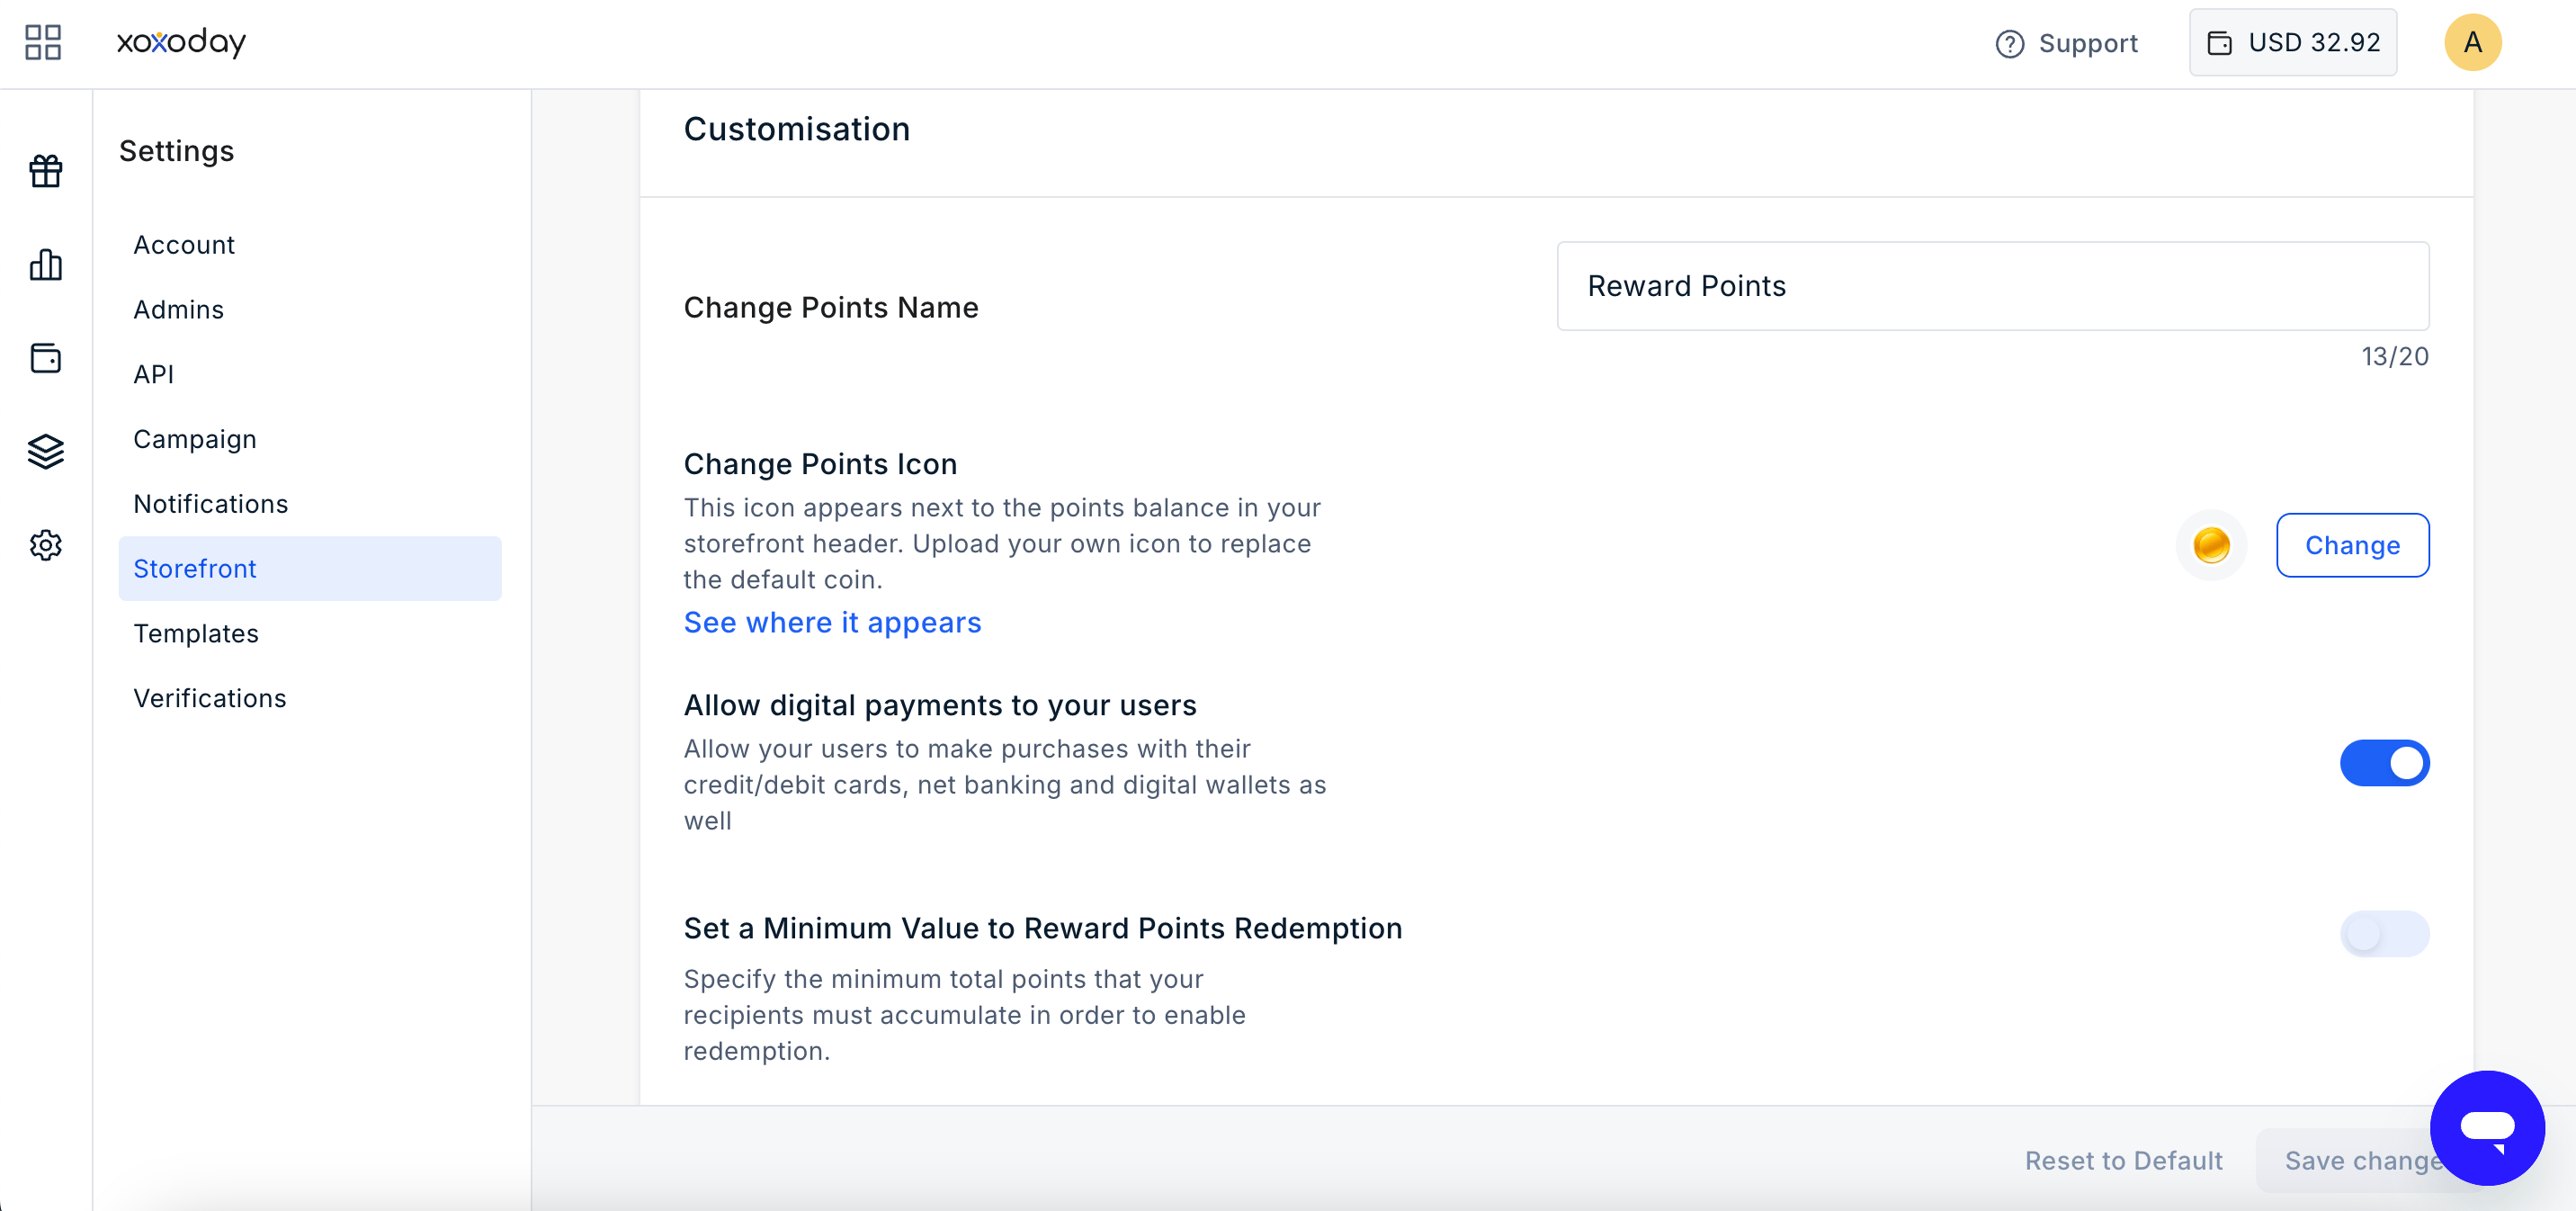 ## Change Point Name
You can customise the name used to refer to points on the Plum storefront. This allows organisations to use terminology that is consistent with their internal rewards program.
For example, an organisation may refer to points as **Ace Points**, **Coins**, or **Credits**.
To change the point name:
1. Navigate to **Settings > Storefront > Customise**.
2. Click **Change Point Name**.
3. Enter the preferred point name.
4. Save the changes.
The updated point name is displayed across the storefront wherever points are referenced.
## Change Point Name
You can customise the name used to refer to points on the Plum storefront. This allows organisations to use terminology that is consistent with their internal rewards program.
For example, an organisation may refer to points as **Ace Points**, **Coins**, or **Credits**.
To change the point name:
1. Navigate to **Settings > Storefront > Customise**.
2. Click **Change Point Name**.
3. Enter the preferred point name.
4. Save the changes.
The updated point name is displayed across the storefront wherever points are referenced.
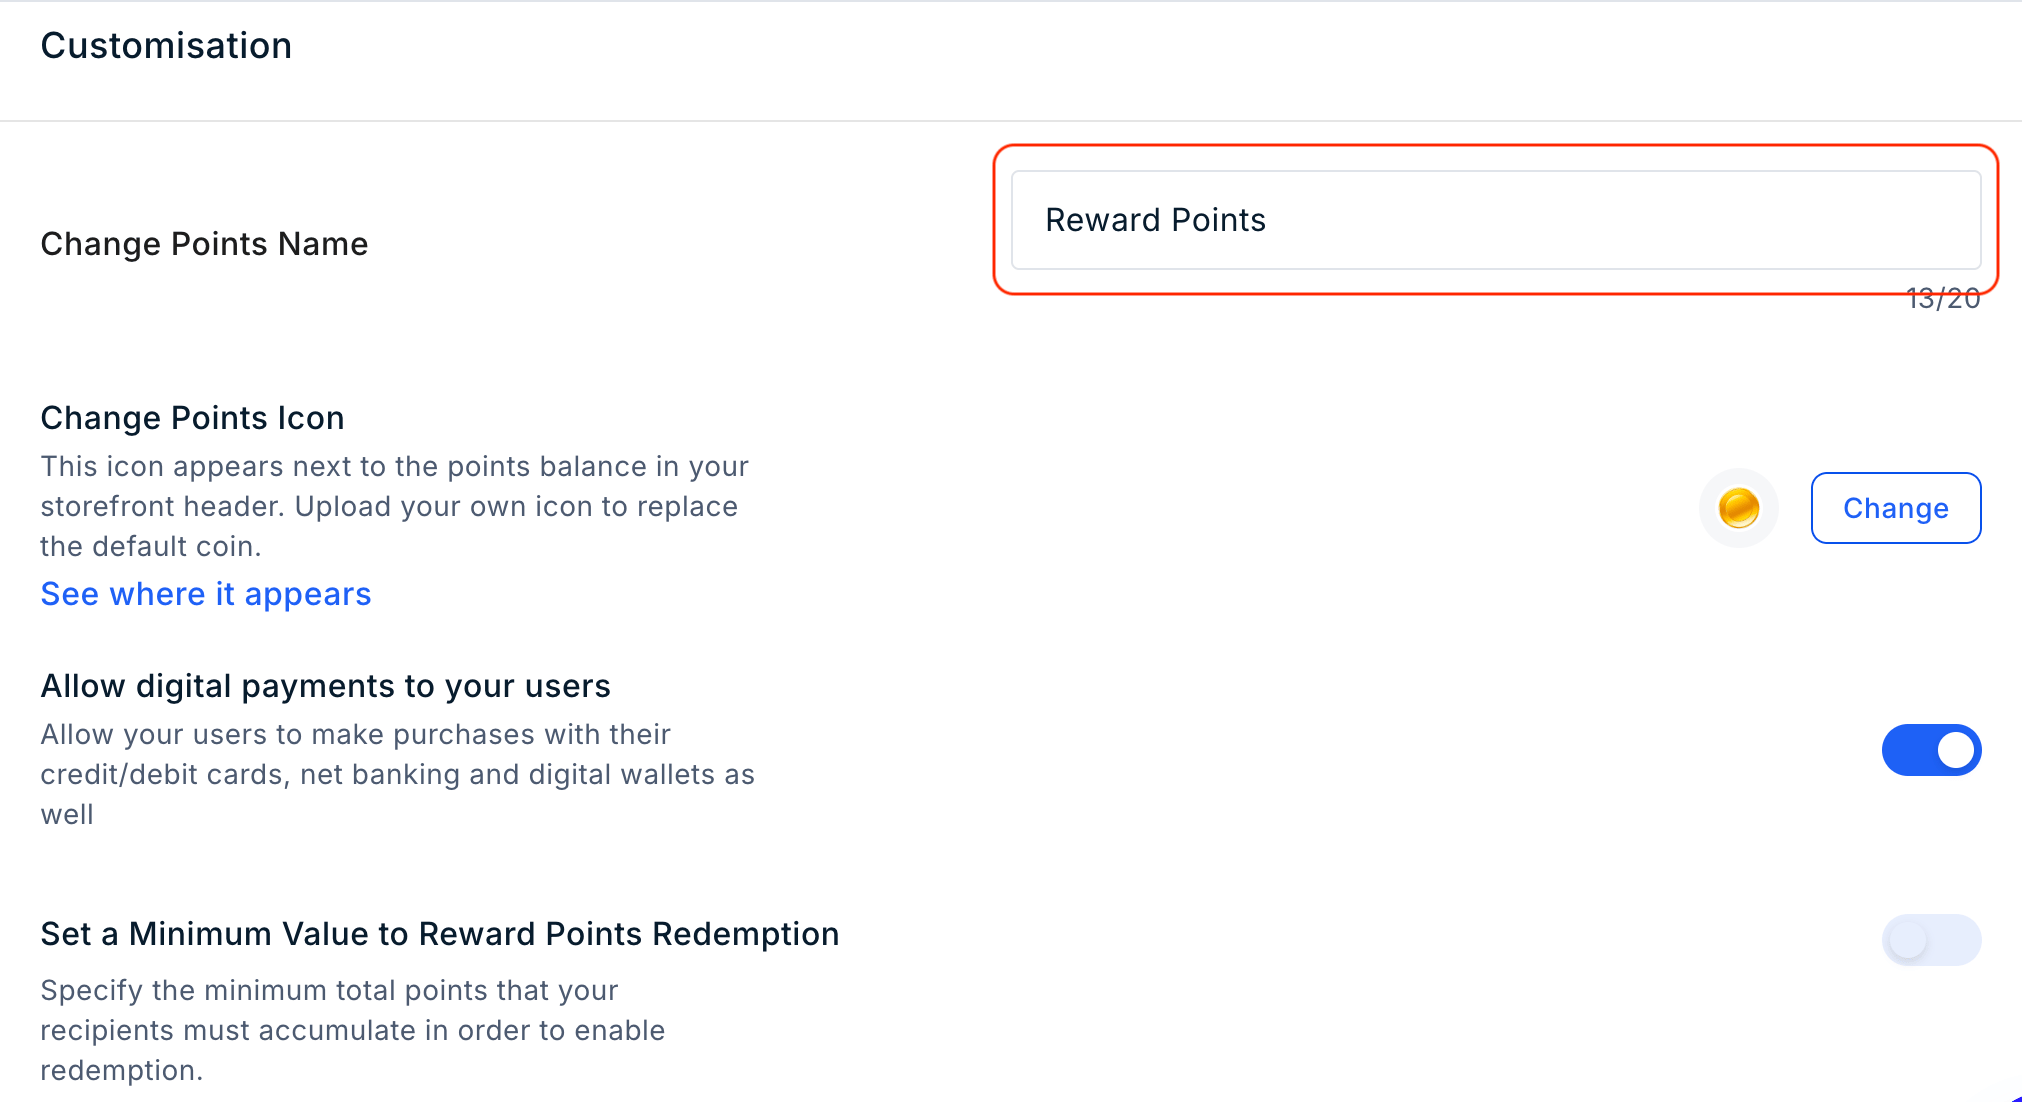 ## Change Points Icon
The **Change Points Icon** setting allows you to customise the icon displayed next to the points balance in the storefront header. You can upload a custom icon to replace the default coin icon.
To change the points icon:
1. Navigate to **Settings > Storefront > Customise**.
2. Locate **Change Points Icon**.
3. Upload the required icon.
4. Save the changes.
The uploaded icon is displayed next to the points balance in the storefront header.
## Change Points Icon
The **Change Points Icon** setting allows you to customise the icon displayed next to the points balance in the storefront header. You can upload a custom icon to replace the default coin icon.
To change the points icon:
1. Navigate to **Settings > Storefront > Customise**.
2. Locate **Change Points Icon**.
3. Upload the required icon.
4. Save the changes.
The uploaded icon is displayed next to the points balance in the storefront header.
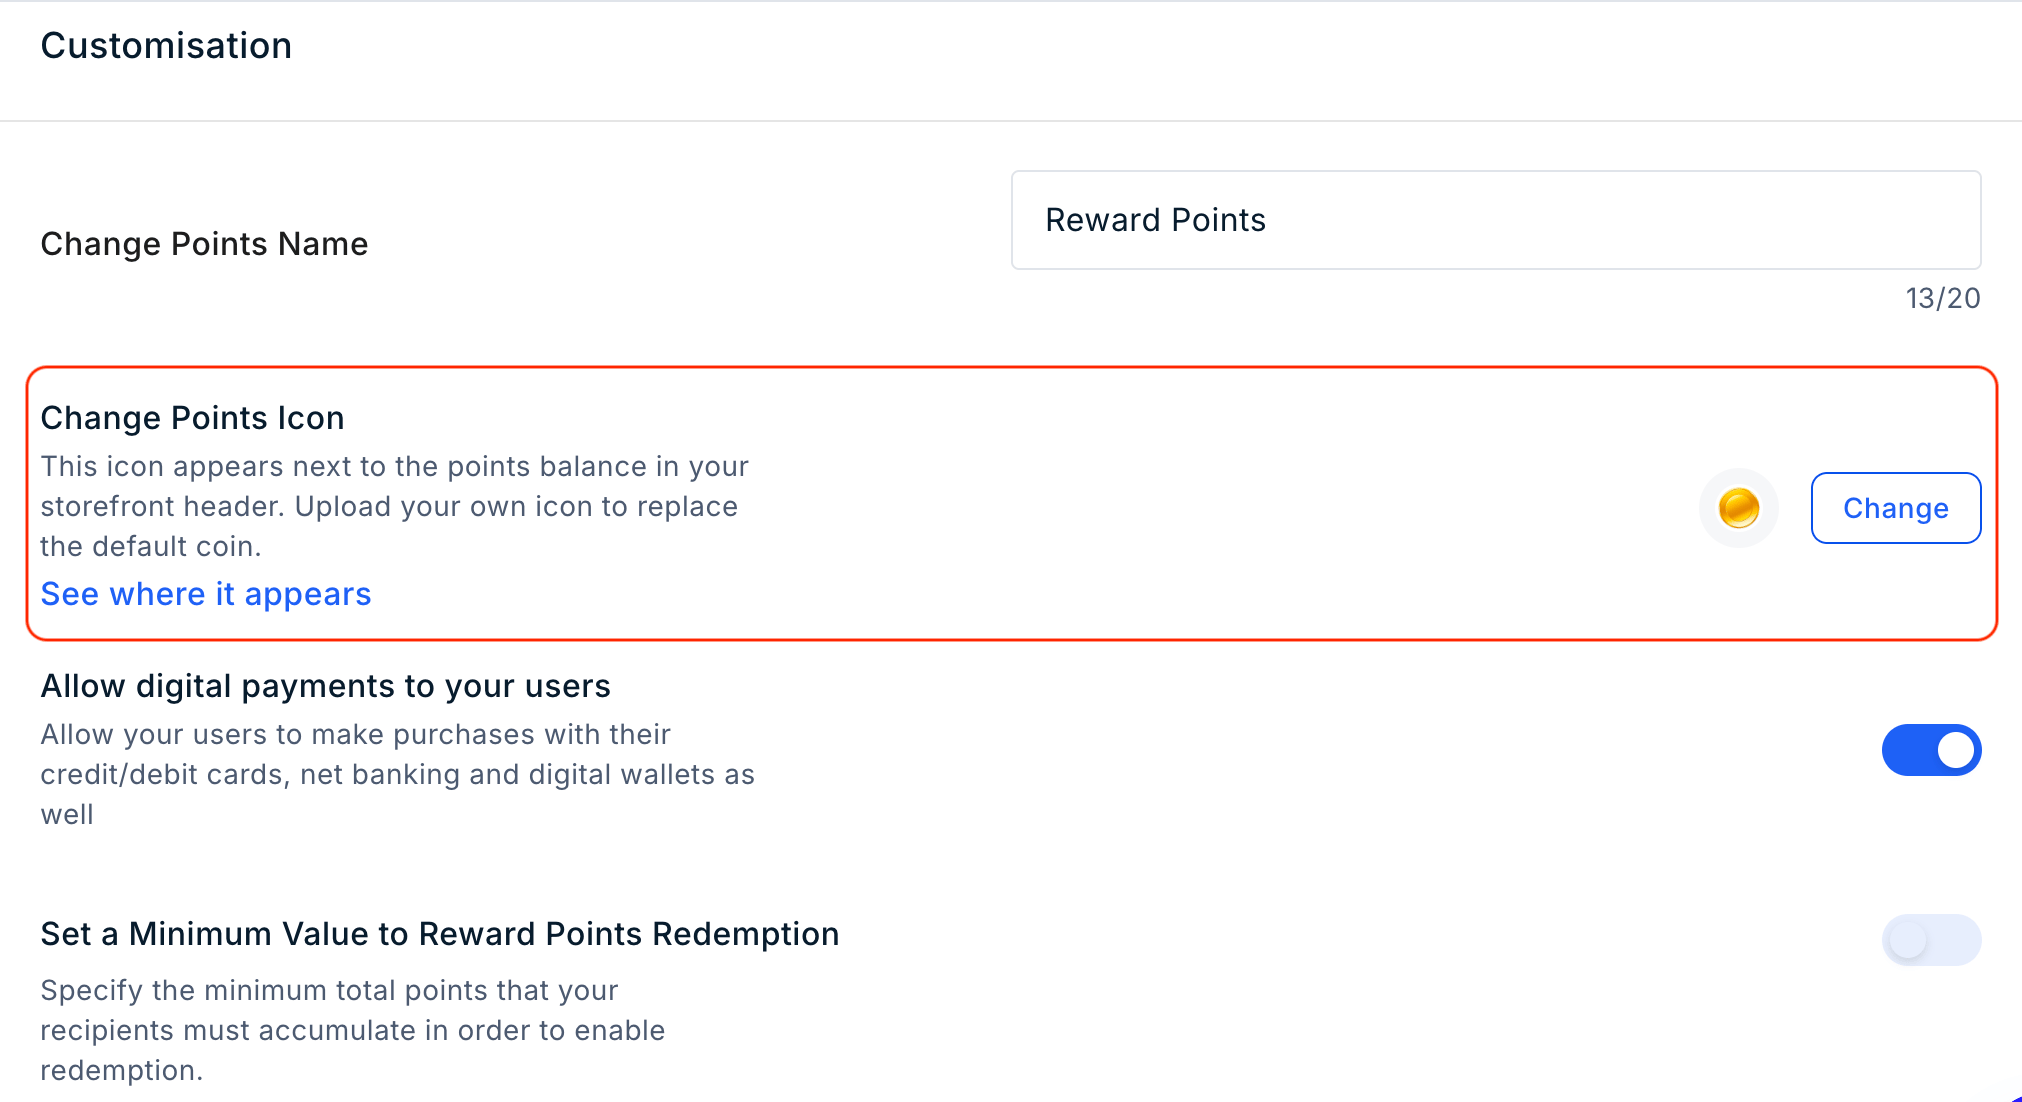 **See where it appears**: Open the storefront to view the updated points icon.
## Allow Digital Payments
The **Allow Digital Payments to Users** setting allows users to make partial payments using a personal credit or debit card or bank account when their available points or codes do not cover the full purchase amount.
This option is enabled by default.
To enable or disable digital payments:
1. Navigate to **Settings > Storefront > Customise**.
2. Locate **Allow Digital Payments to Users**.
3. Turn the toggle **on** or **off** based on your requirements.
When disabled, users cannot use a personal payment method to pay the remaining amount after applying their available points or codes.
**See where it appears**: Open the storefront to view the updated points icon.
## Allow Digital Payments
The **Allow Digital Payments to Users** setting allows users to make partial payments using a personal credit or debit card or bank account when their available points or codes do not cover the full purchase amount.
This option is enabled by default.
To enable or disable digital payments:
1. Navigate to **Settings > Storefront > Customise**.
2. Locate **Allow Digital Payments to Users**.
3. Turn the toggle **on** or **off** based on your requirements.
When disabled, users cannot use a personal payment method to pay the remaining amount after applying their available points or codes.
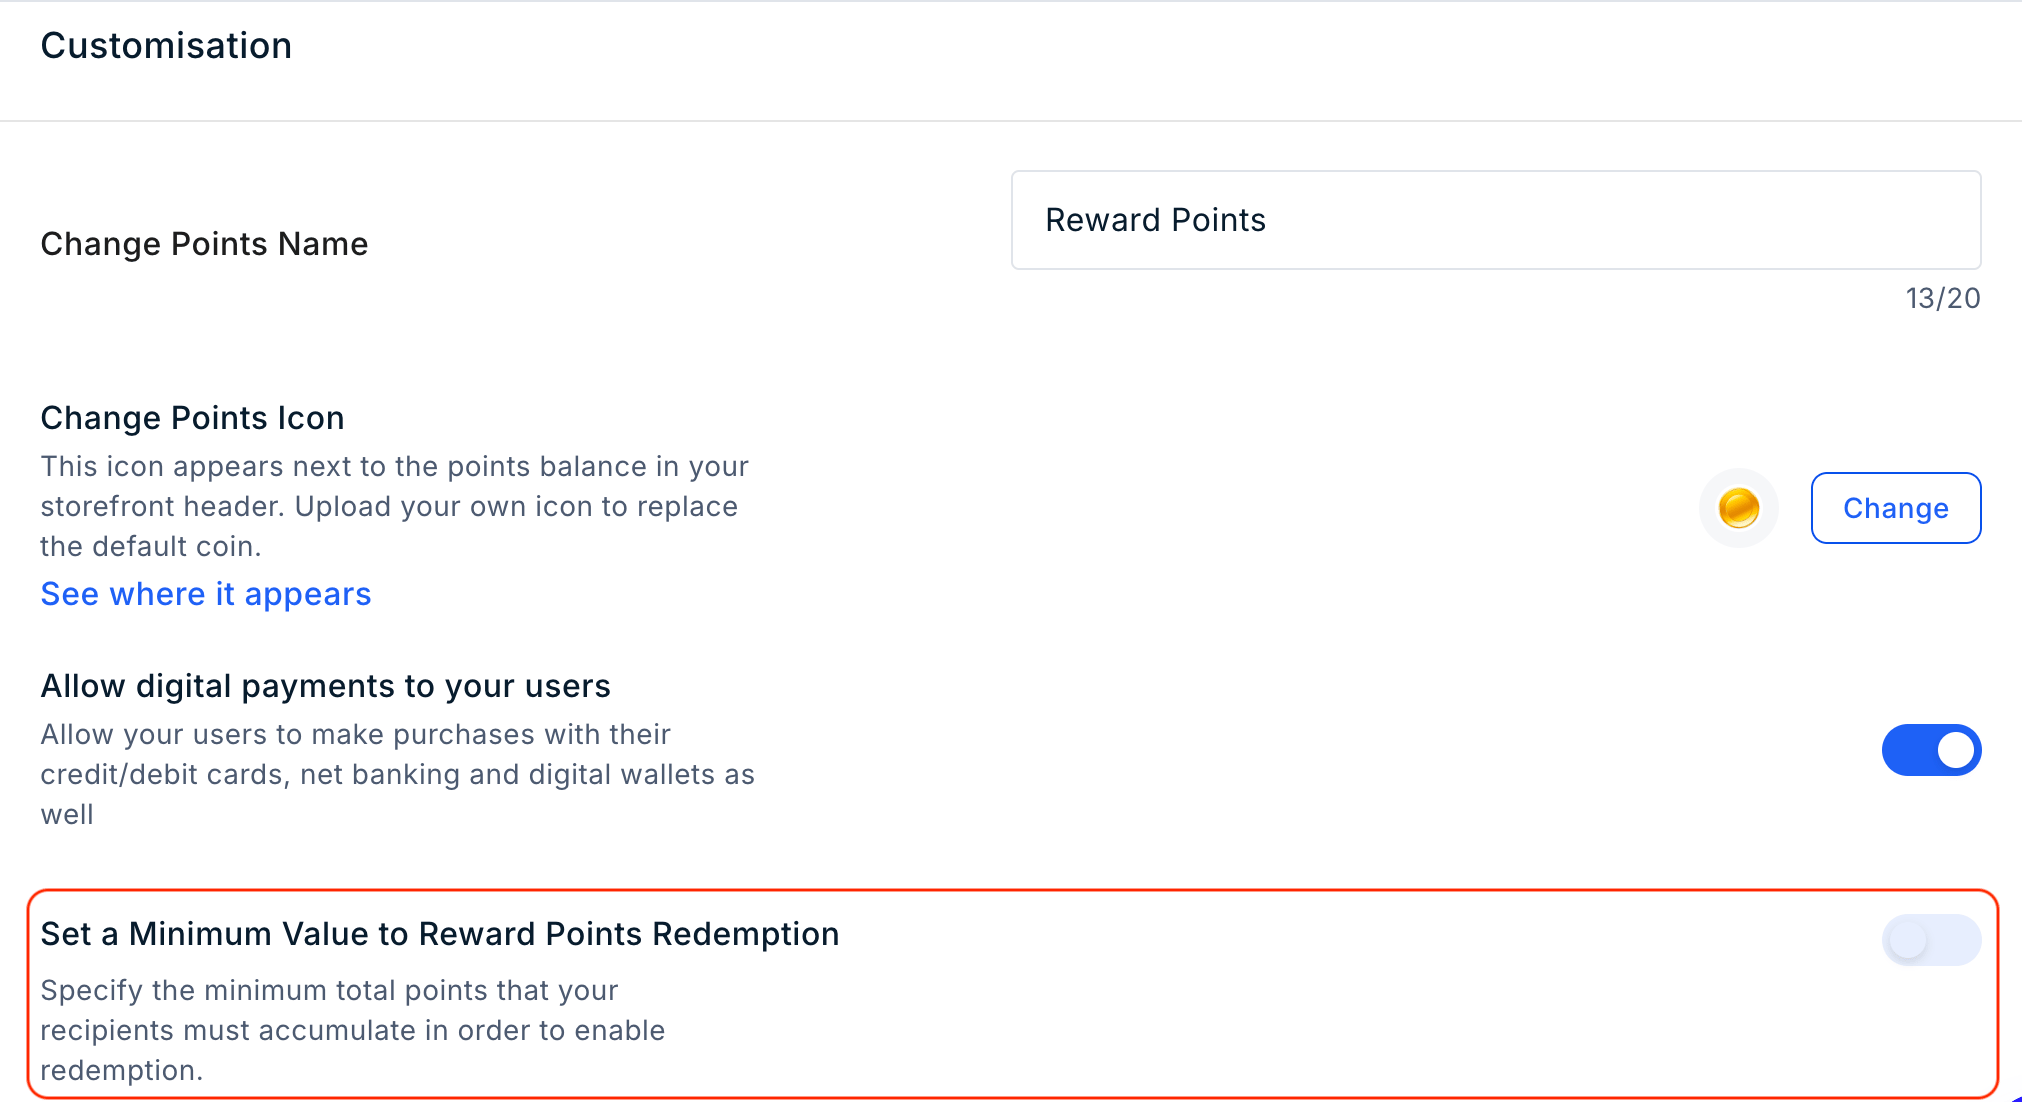
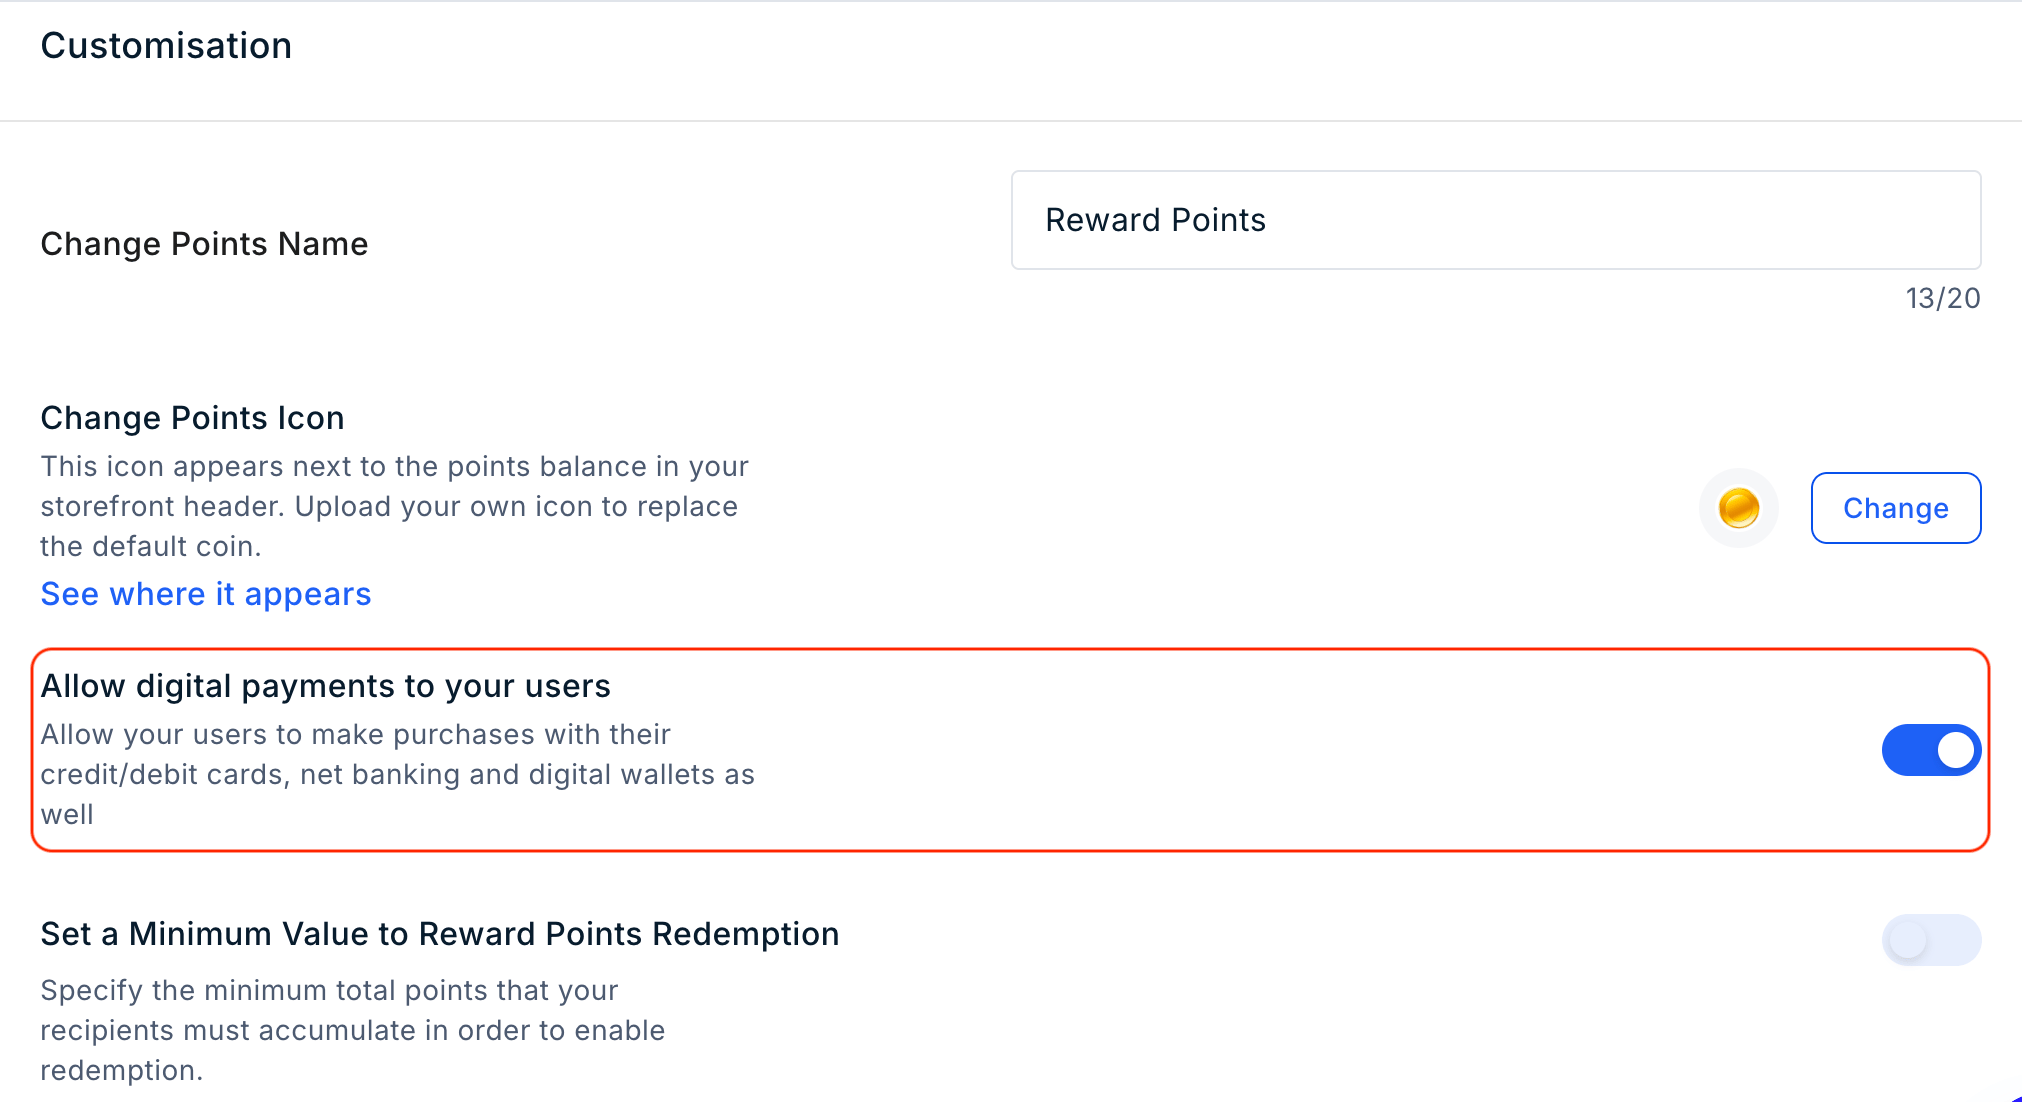 ## Set a Minimum Value for Points Redemption
The **Set a Minimum Value for Reward Points Redemption** setting allows you to define the minimum number of points a user must accumulate before they can redeem rewards.
To configure the minimum redemption value:
1. Navigate to **Settings > Storefront > Customise**.
2. Turn on **Set a Minimum Value for Reward Points Redemption**.
3. Enter the required minimum points value.
4. Save the changes.
Users can redeem rewards only after their available points meet the configured minimum value.
## Set a Minimum Value for Points Redemption
The **Set a Minimum Value for Reward Points Redemption** setting allows you to define the minimum number of points a user must accumulate before they can redeem rewards.
To configure the minimum redemption value:
1. Navigate to **Settings > Storefront > Customise**.
2. Turn on **Set a Minimum Value for Reward Points Redemption**.
3. Enter the required minimum points value.
4. Save the changes.
Users can redeem rewards only after their available points meet the configured minimum value.
 ## Enable Storefront Footer
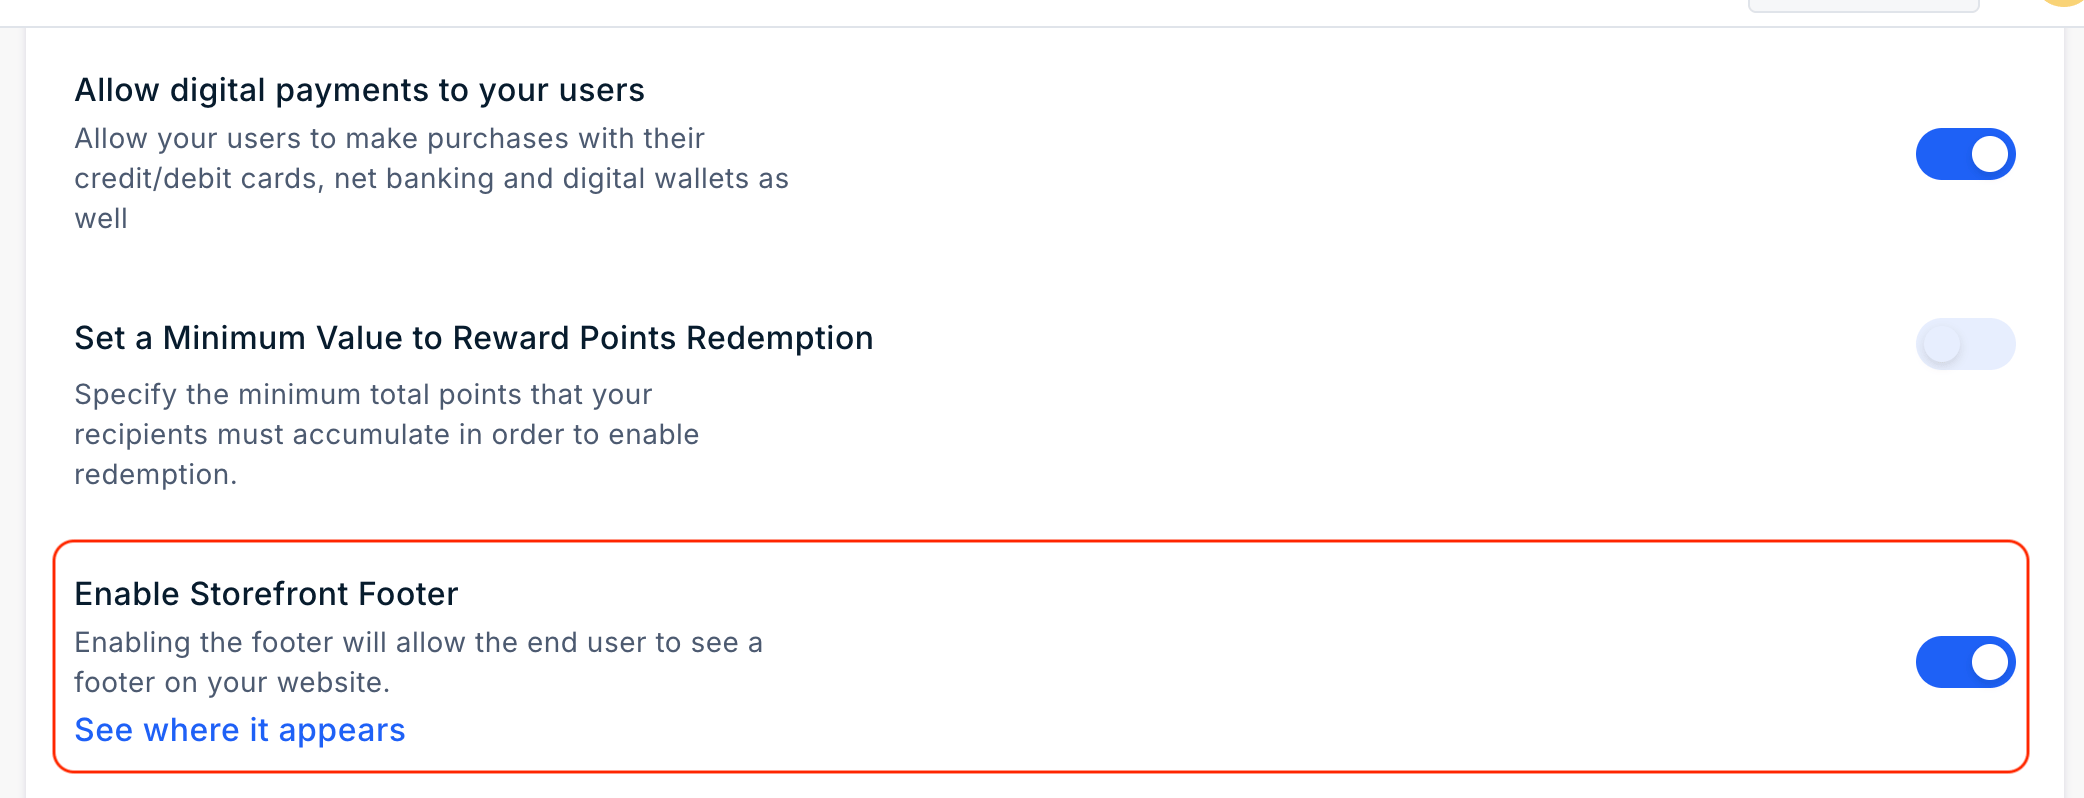
The **Enable Storefront Footer** setting allows you to display a footer at the bottom of your Plum storefront.
To enable or disable the storefront footer:
1. Navigate to **Settings > Storefront > Customise**.
2. Locate **Enable Storefront Footer**.
3. Turn the toggle **on** or **off**.
4. Save the changes.
When enabled, the footer is displayed to users on the storefront.
## Enable Storefront Footer
The **Enable Storefront Footer** setting allows you to display a footer at the bottom of your Plum storefront.
To enable or disable the storefront footer:
1. Navigate to **Settings > Storefront > Customise**.
2. Locate **Enable Storefront Footer**.
3. Turn the toggle **on** or **off**.
4. Save the changes.
When enabled, the footer is displayed to users on the storefront.
 ## Manage Delivery Addresses
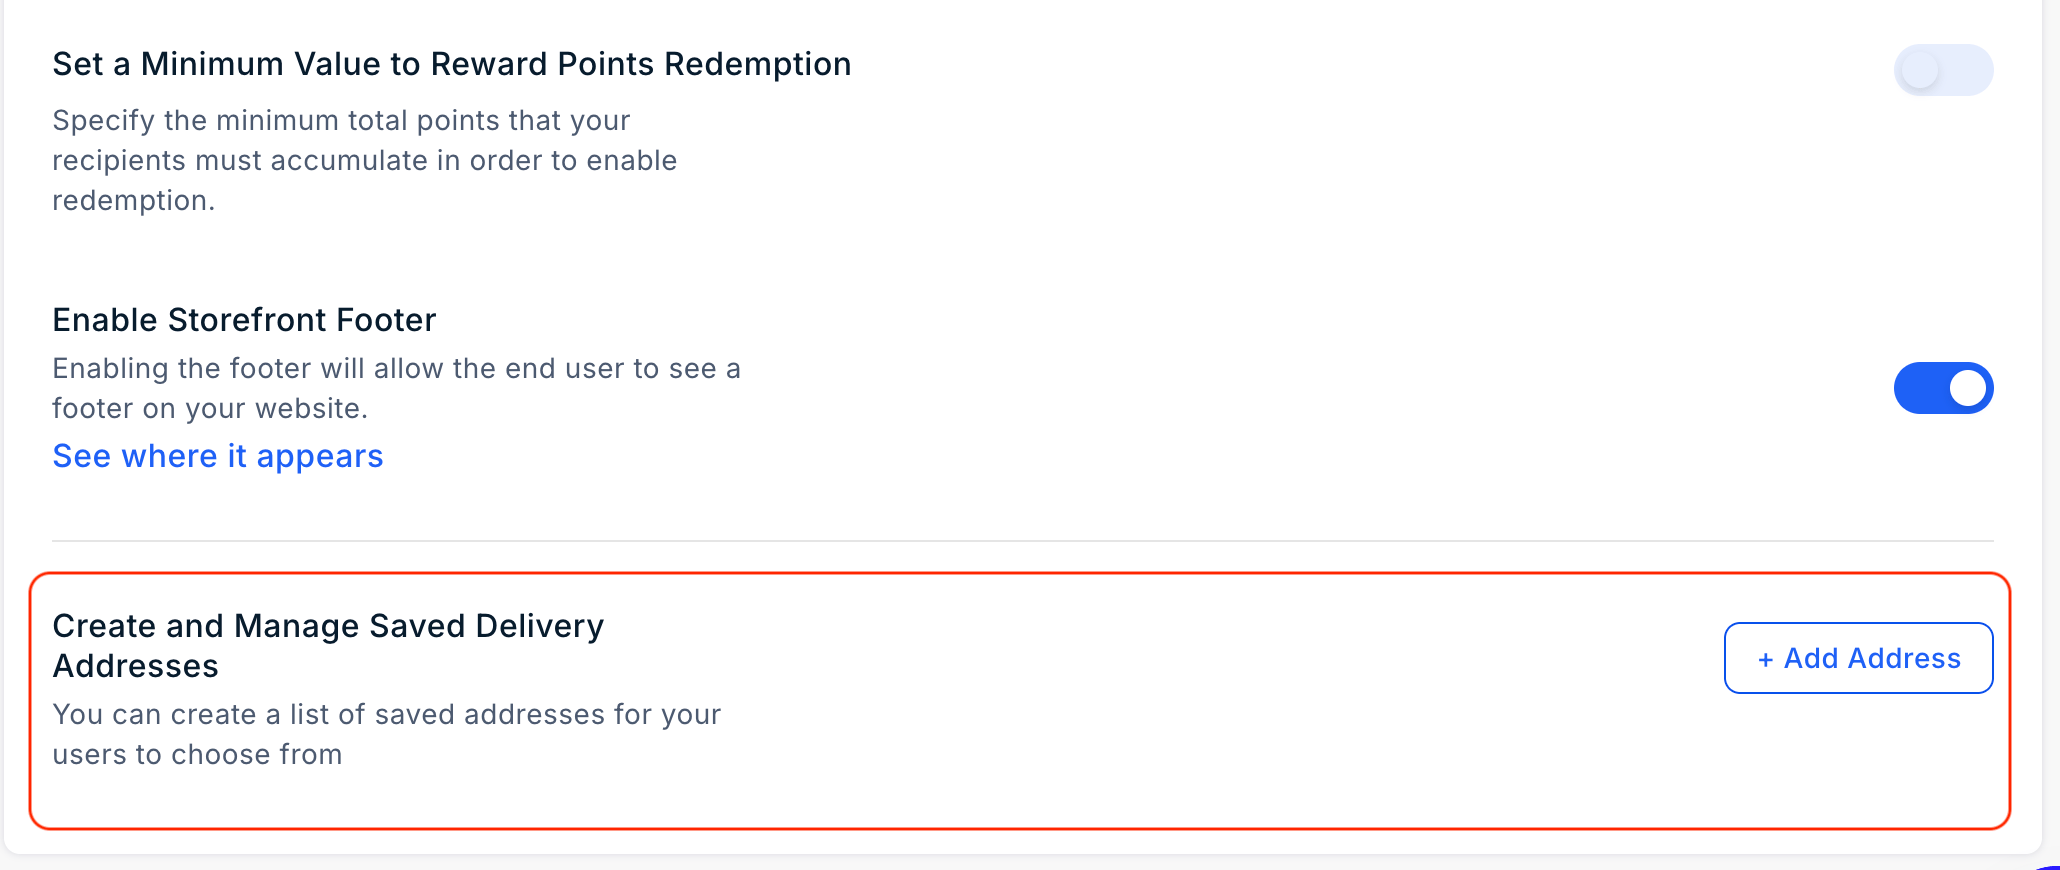
The **Saved Addresses** feature allows Admins to save delivery addresses for physical rewards, such as merchandise and physical gift cards. Saved addresses can be reused across eligible reward campaigns, reducing the need to enter the same delivery details for each order.
## Manage Delivery Addresses
The **Saved Addresses** feature allows Admins to save delivery addresses for physical rewards, such as merchandise and physical gift cards. Saved addresses can be reused across eligible reward campaigns, reducing the need to enter the same delivery details for each order.
 ### Add a Delivery Address
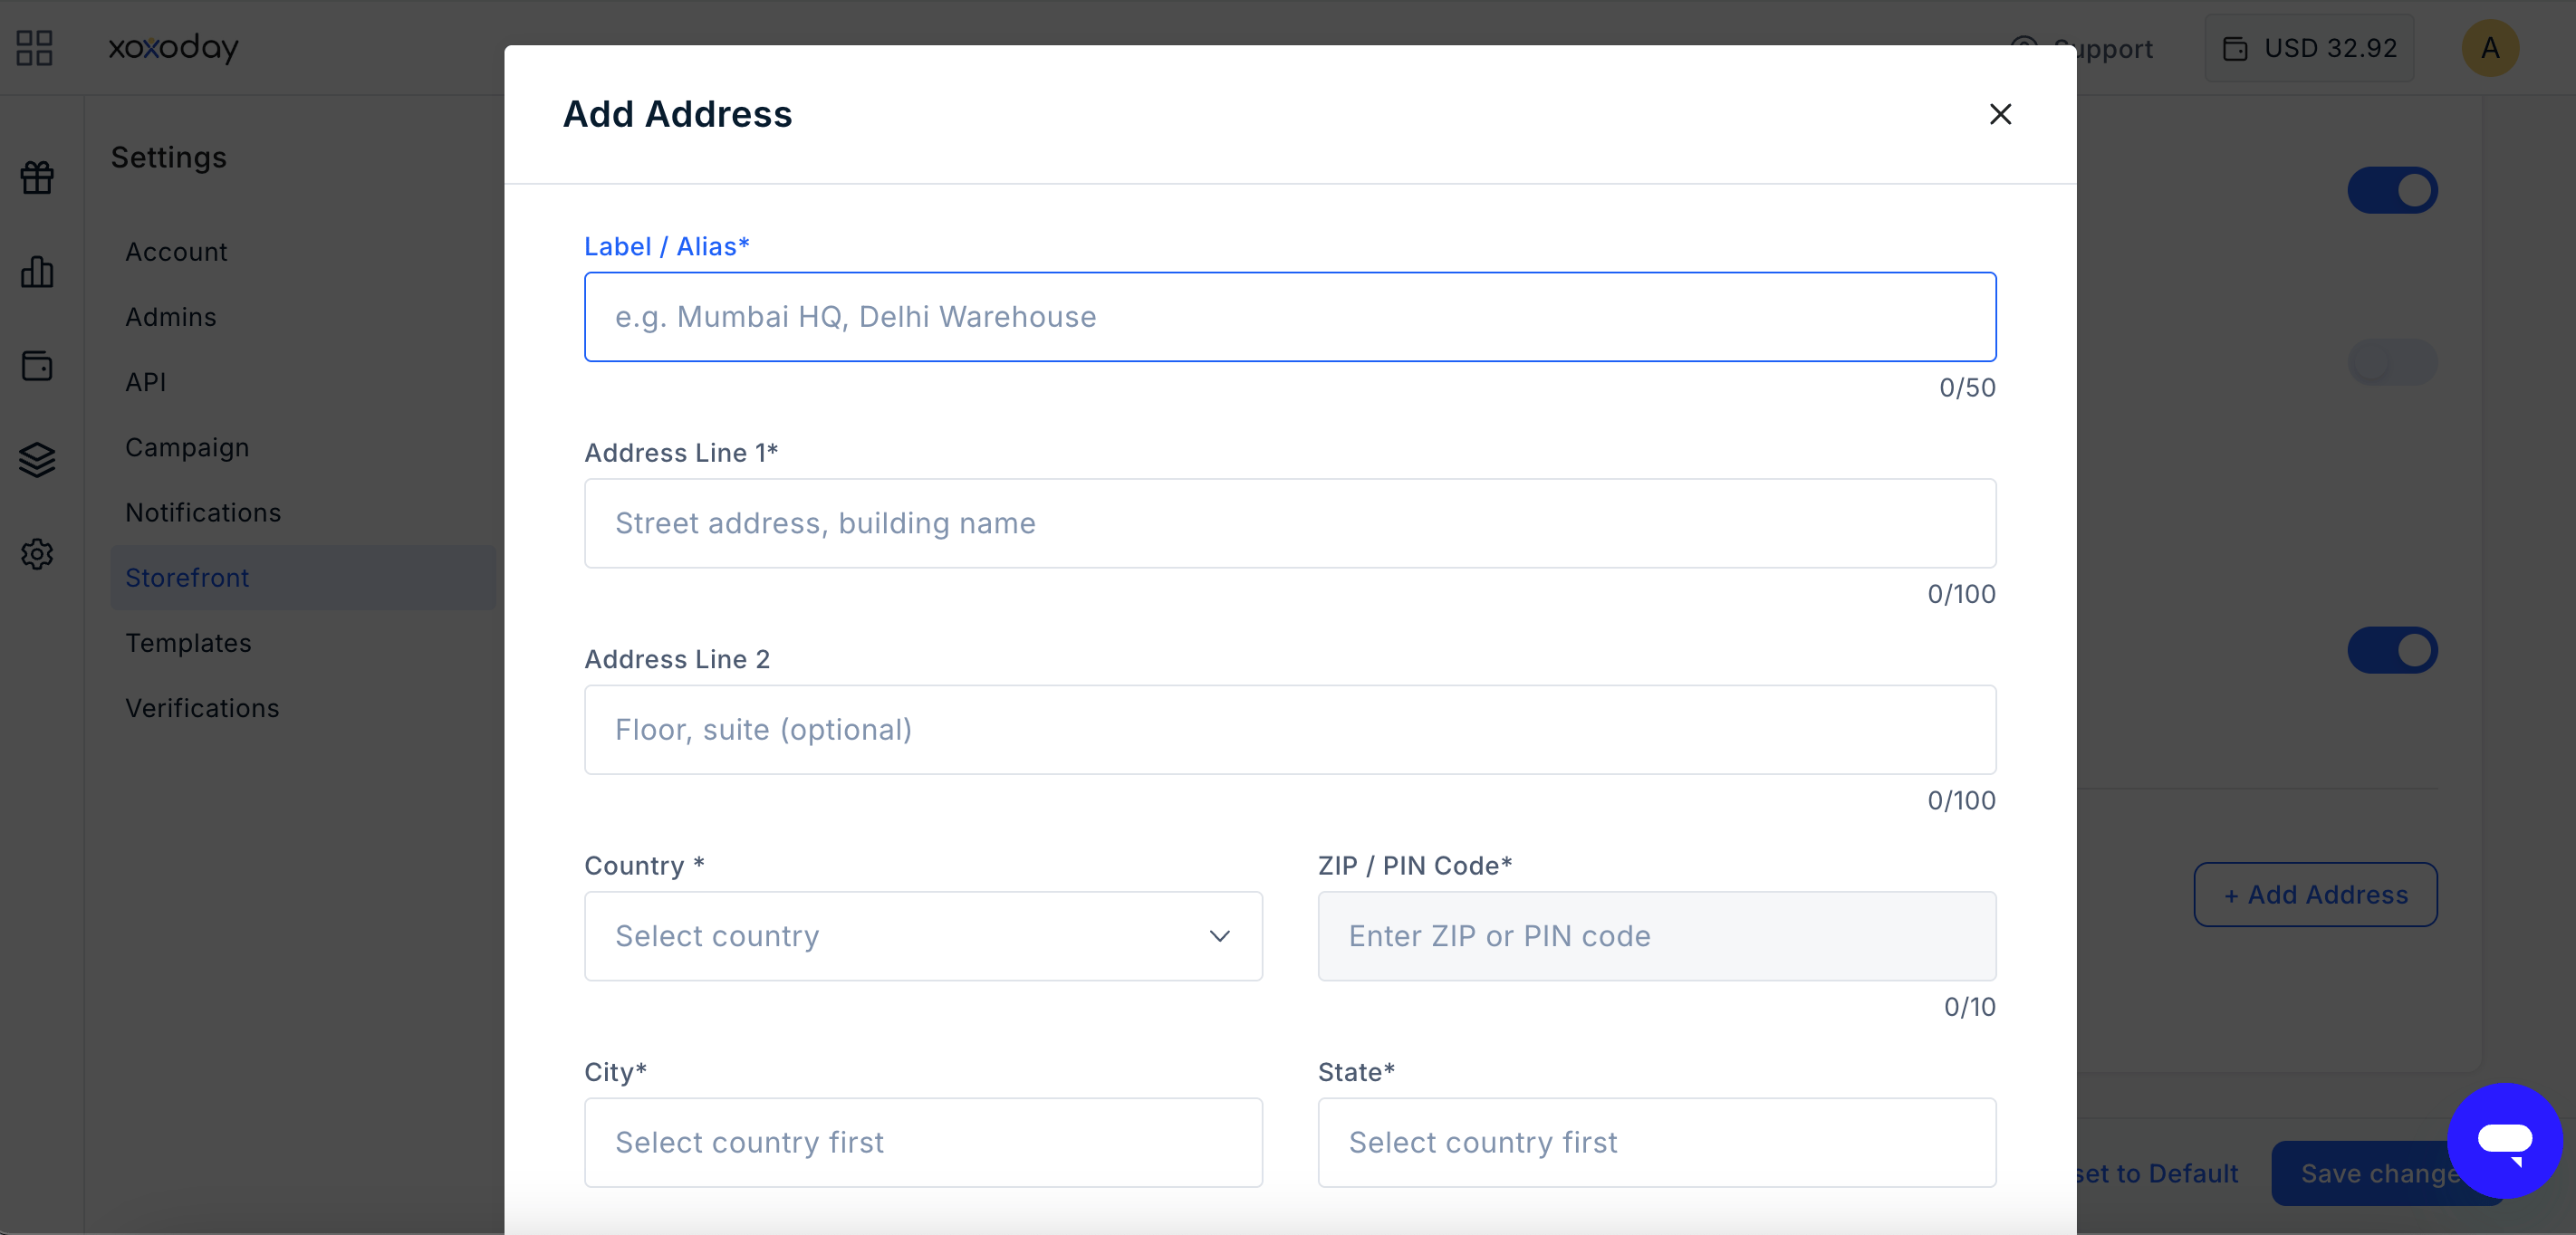
To add a delivery address:
1. Navigate to **Settings > Storefront > Customise**.
2. Click **Add New Address**.
3. Enter the required delivery details.
4. Click **Save**.
### Edit or Delete a Delivery Address
To manage an existing delivery address:
1. Navigate to **Settings > Storefront > Customise**.
2. Select the saved address.
3. Choose **Edit** or **Delete**.
4. Make the required changes or confirm the deletion.
Saved addresses can be used across eligible reward campaigns unless **Lock Delivery Address** is enabled.
### Add a Delivery Address
To add a delivery address:
1. Navigate to **Settings > Storefront > Customise**.
2. Click **Add New Address**.
3. Enter the required delivery details.
4. Click **Save**.
### Edit or Delete a Delivery Address
To manage an existing delivery address:
1. Navigate to **Settings > Storefront > Customise**.
2. Select the saved address.
3. Choose **Edit** or **Delete**.
4. Make the required changes or confirm the deletion.
Saved addresses can be used across eligible reward campaigns unless **Lock Delivery Address** is enabled.
 ## Lock Delivery Address
The **Lock Delivery Address** setting allows organisations to restrict deliveries to a specific verified or approved address.
When this setting is enabled:
* The delivery address is pre-filled during checkout.
* Users cannot edit, delete, or replace the locked address.
* Users cannot add a new delivery address during checkout.
Users must use the locked delivery address to complete the order. If the address is incorrect, contact the organisation or program administrator for assistance.
## Lock Delivery Address
The **Lock Delivery Address** setting allows organisations to restrict deliveries to a specific verified or approved address.
When this setting is enabled:
* The delivery address is pre-filled during checkout.
* Users cannot edit, delete, or replace the locked address.
* Users cannot add a new delivery address during checkout.
Users must use the locked delivery address to complete the order. If the address is incorrect, contact the organisation or program administrator for assistance.