> ## Documentation Index
> Fetch the complete documentation index at: https://help-plum.xoxoday.com/llms.txt
> Use this file to discover all available pages before exploring further.
# Wallet Management
*Learn how to add funds and manage Plum's pre-funded wallet.*
***
## Base Currency
The base currency of your account is set at the time of the creation of your account. This is the currency in which all your transactions, funds, and wallet would be maintained.
The Base Currency, set by the "Super Admin," is the default currency utilized across the entire company for actions like recharging and redeeming. To view your base currency, simply navigate to the "**Settings**" section and click on **"Account."**
Plum supports all major currencies and lets super admins choose the base currency for their company when creating a business account.
***
## Wallet Management
You can pre-fund your Plum account and start sending rewards out to your customers.
**Pre-funded Wallet**
The rewards you send out are powered by a pre-funded wallet where you can maintain funds.
**Pro tip:** You can invite your colleagues by adding admins ([Add Admin User](/account-administration/user-management/add-admin-user)) to co-manage your account.
***
## Step-by-step guide to adding funds
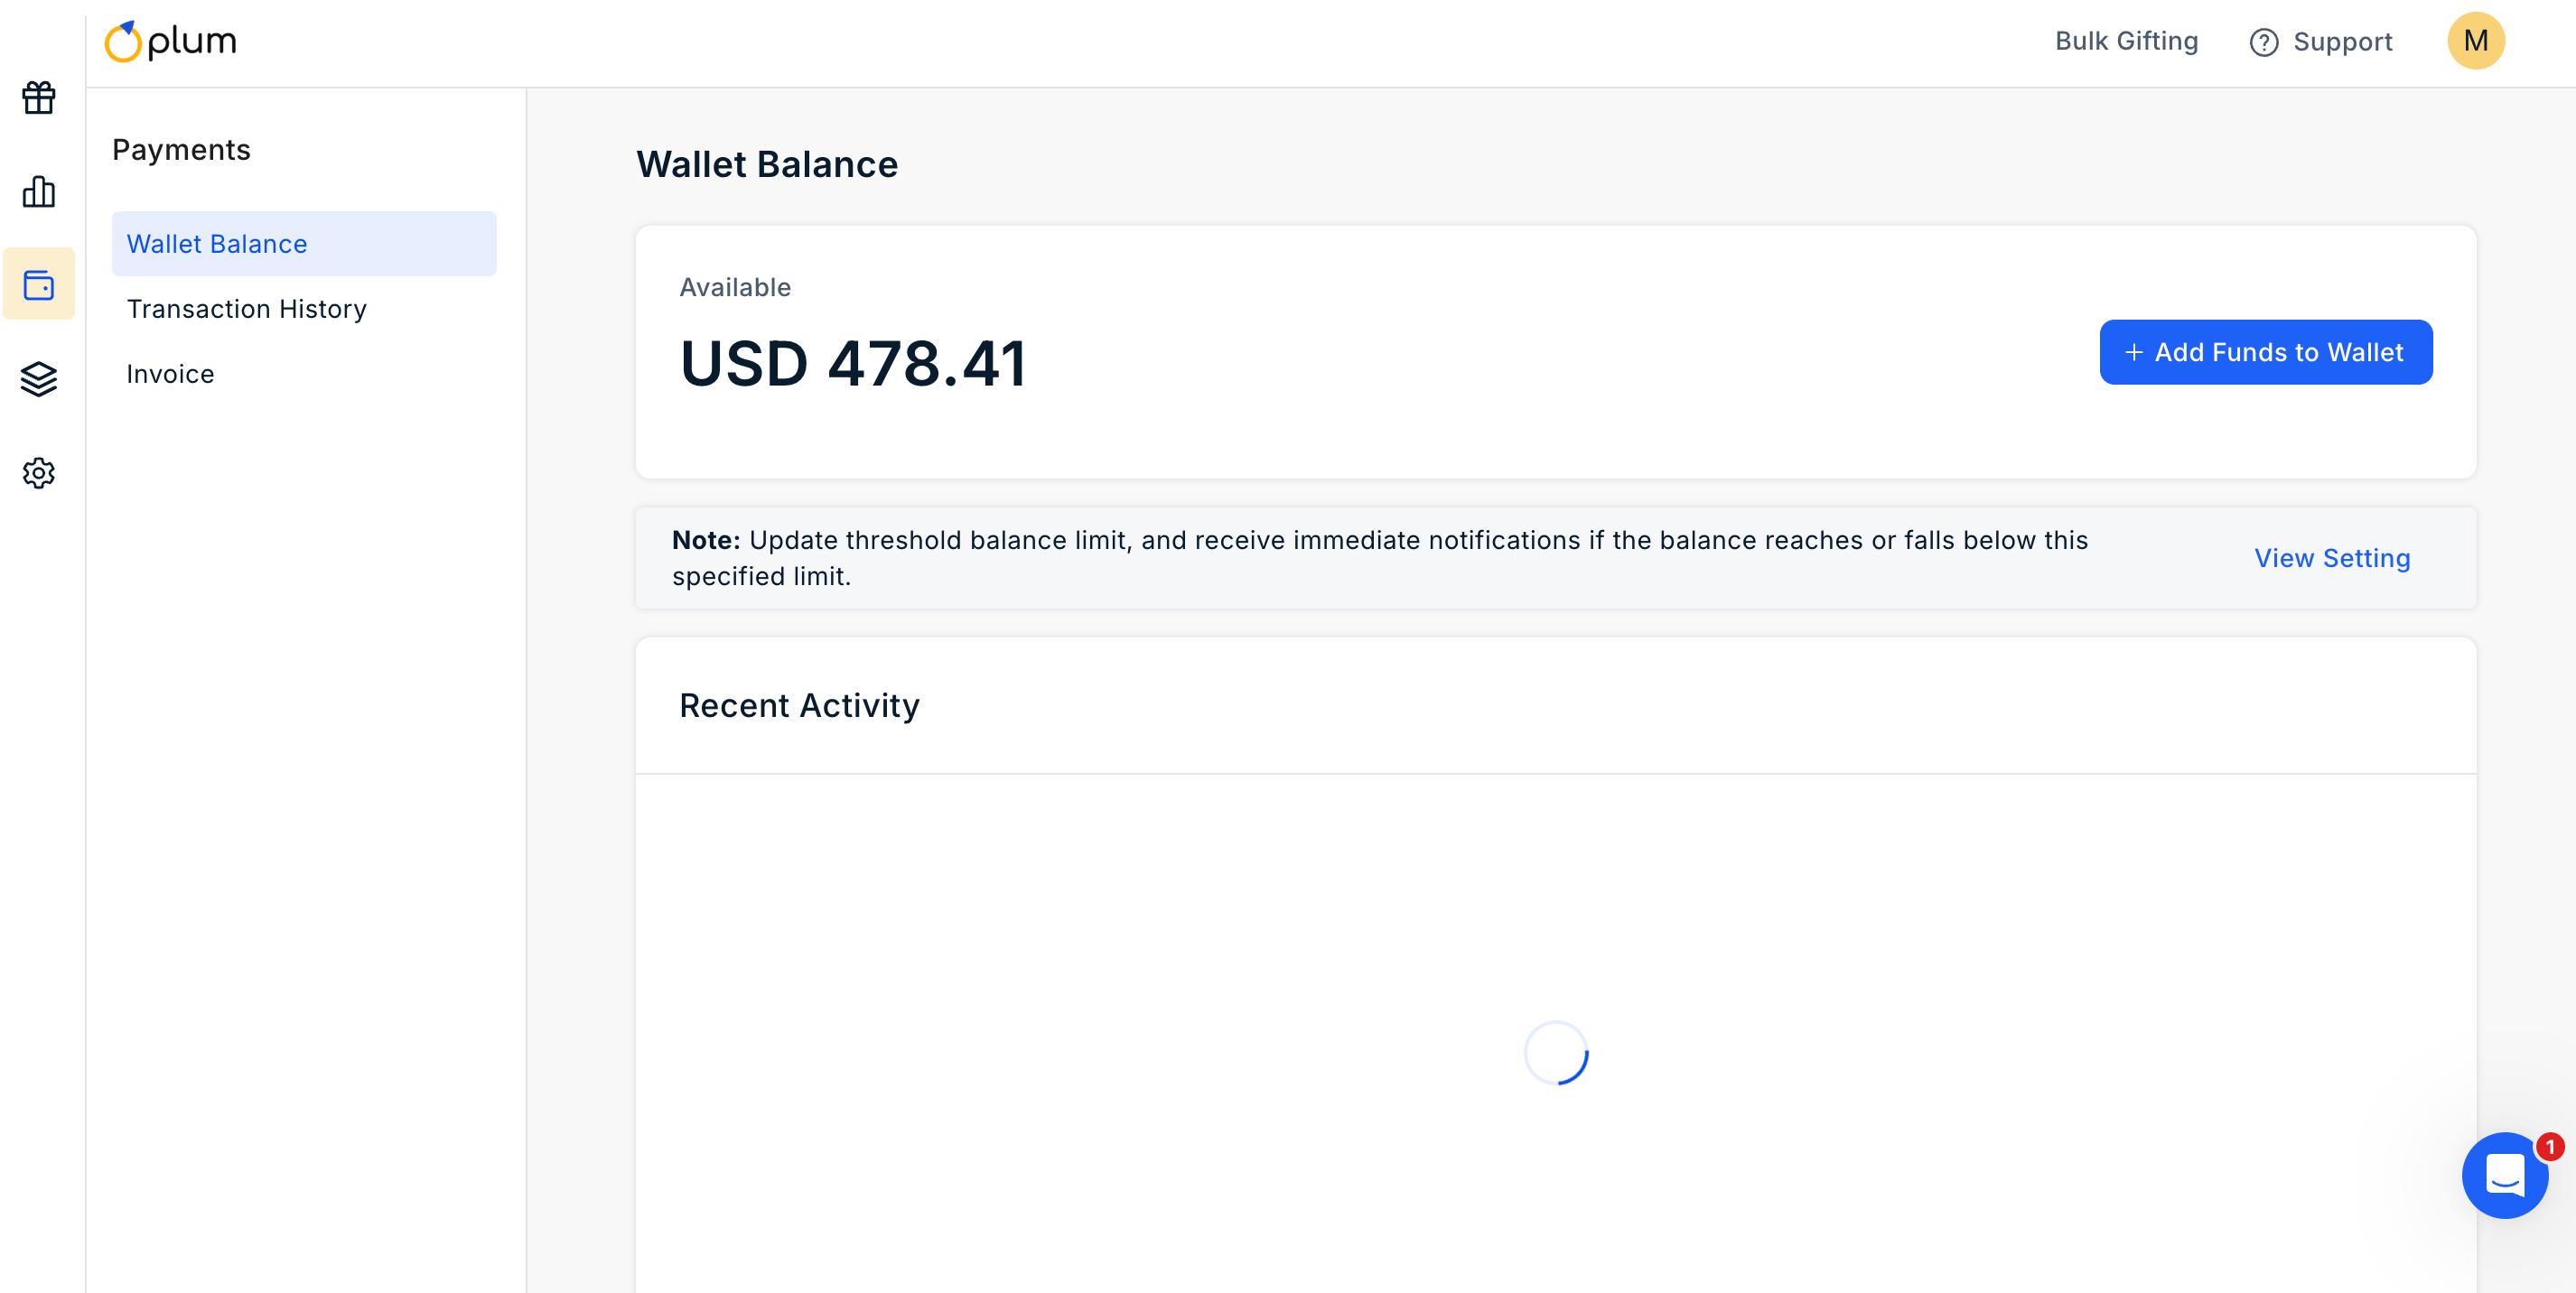
Navigate to the "**Payments**" Section on the left sidebar.
Input the amount in your base currency and select "**Add funds to wallet.**"
Proceed to Pay by clicking on "**Proceed to Pay**" within the "**Company Wallet**" section.
Verify with an OTP sent before finalizing the payment.
 ***
## Payment Methods
Check out this article to learn all payment methods [Payment Methods.](/getting-started/for-admins/wallet-management/payment-methods)
***
## Payment Methods
Check out this article to learn all payment methods [Payment Methods.](/getting-started/for-admins/wallet-management/payment-methods)