Step 1: Find Xoxoday extension
Find Xoxoday Extension from your Qualtrics account. To do this, go to ‘Admin’ and over to the ‘Extensions**’ tab. Click on the Xoxoday extension (listed) and follow the steps to connect:- Click ‘Connect Account’ to add a Xoxoday Account.
 Connect Account
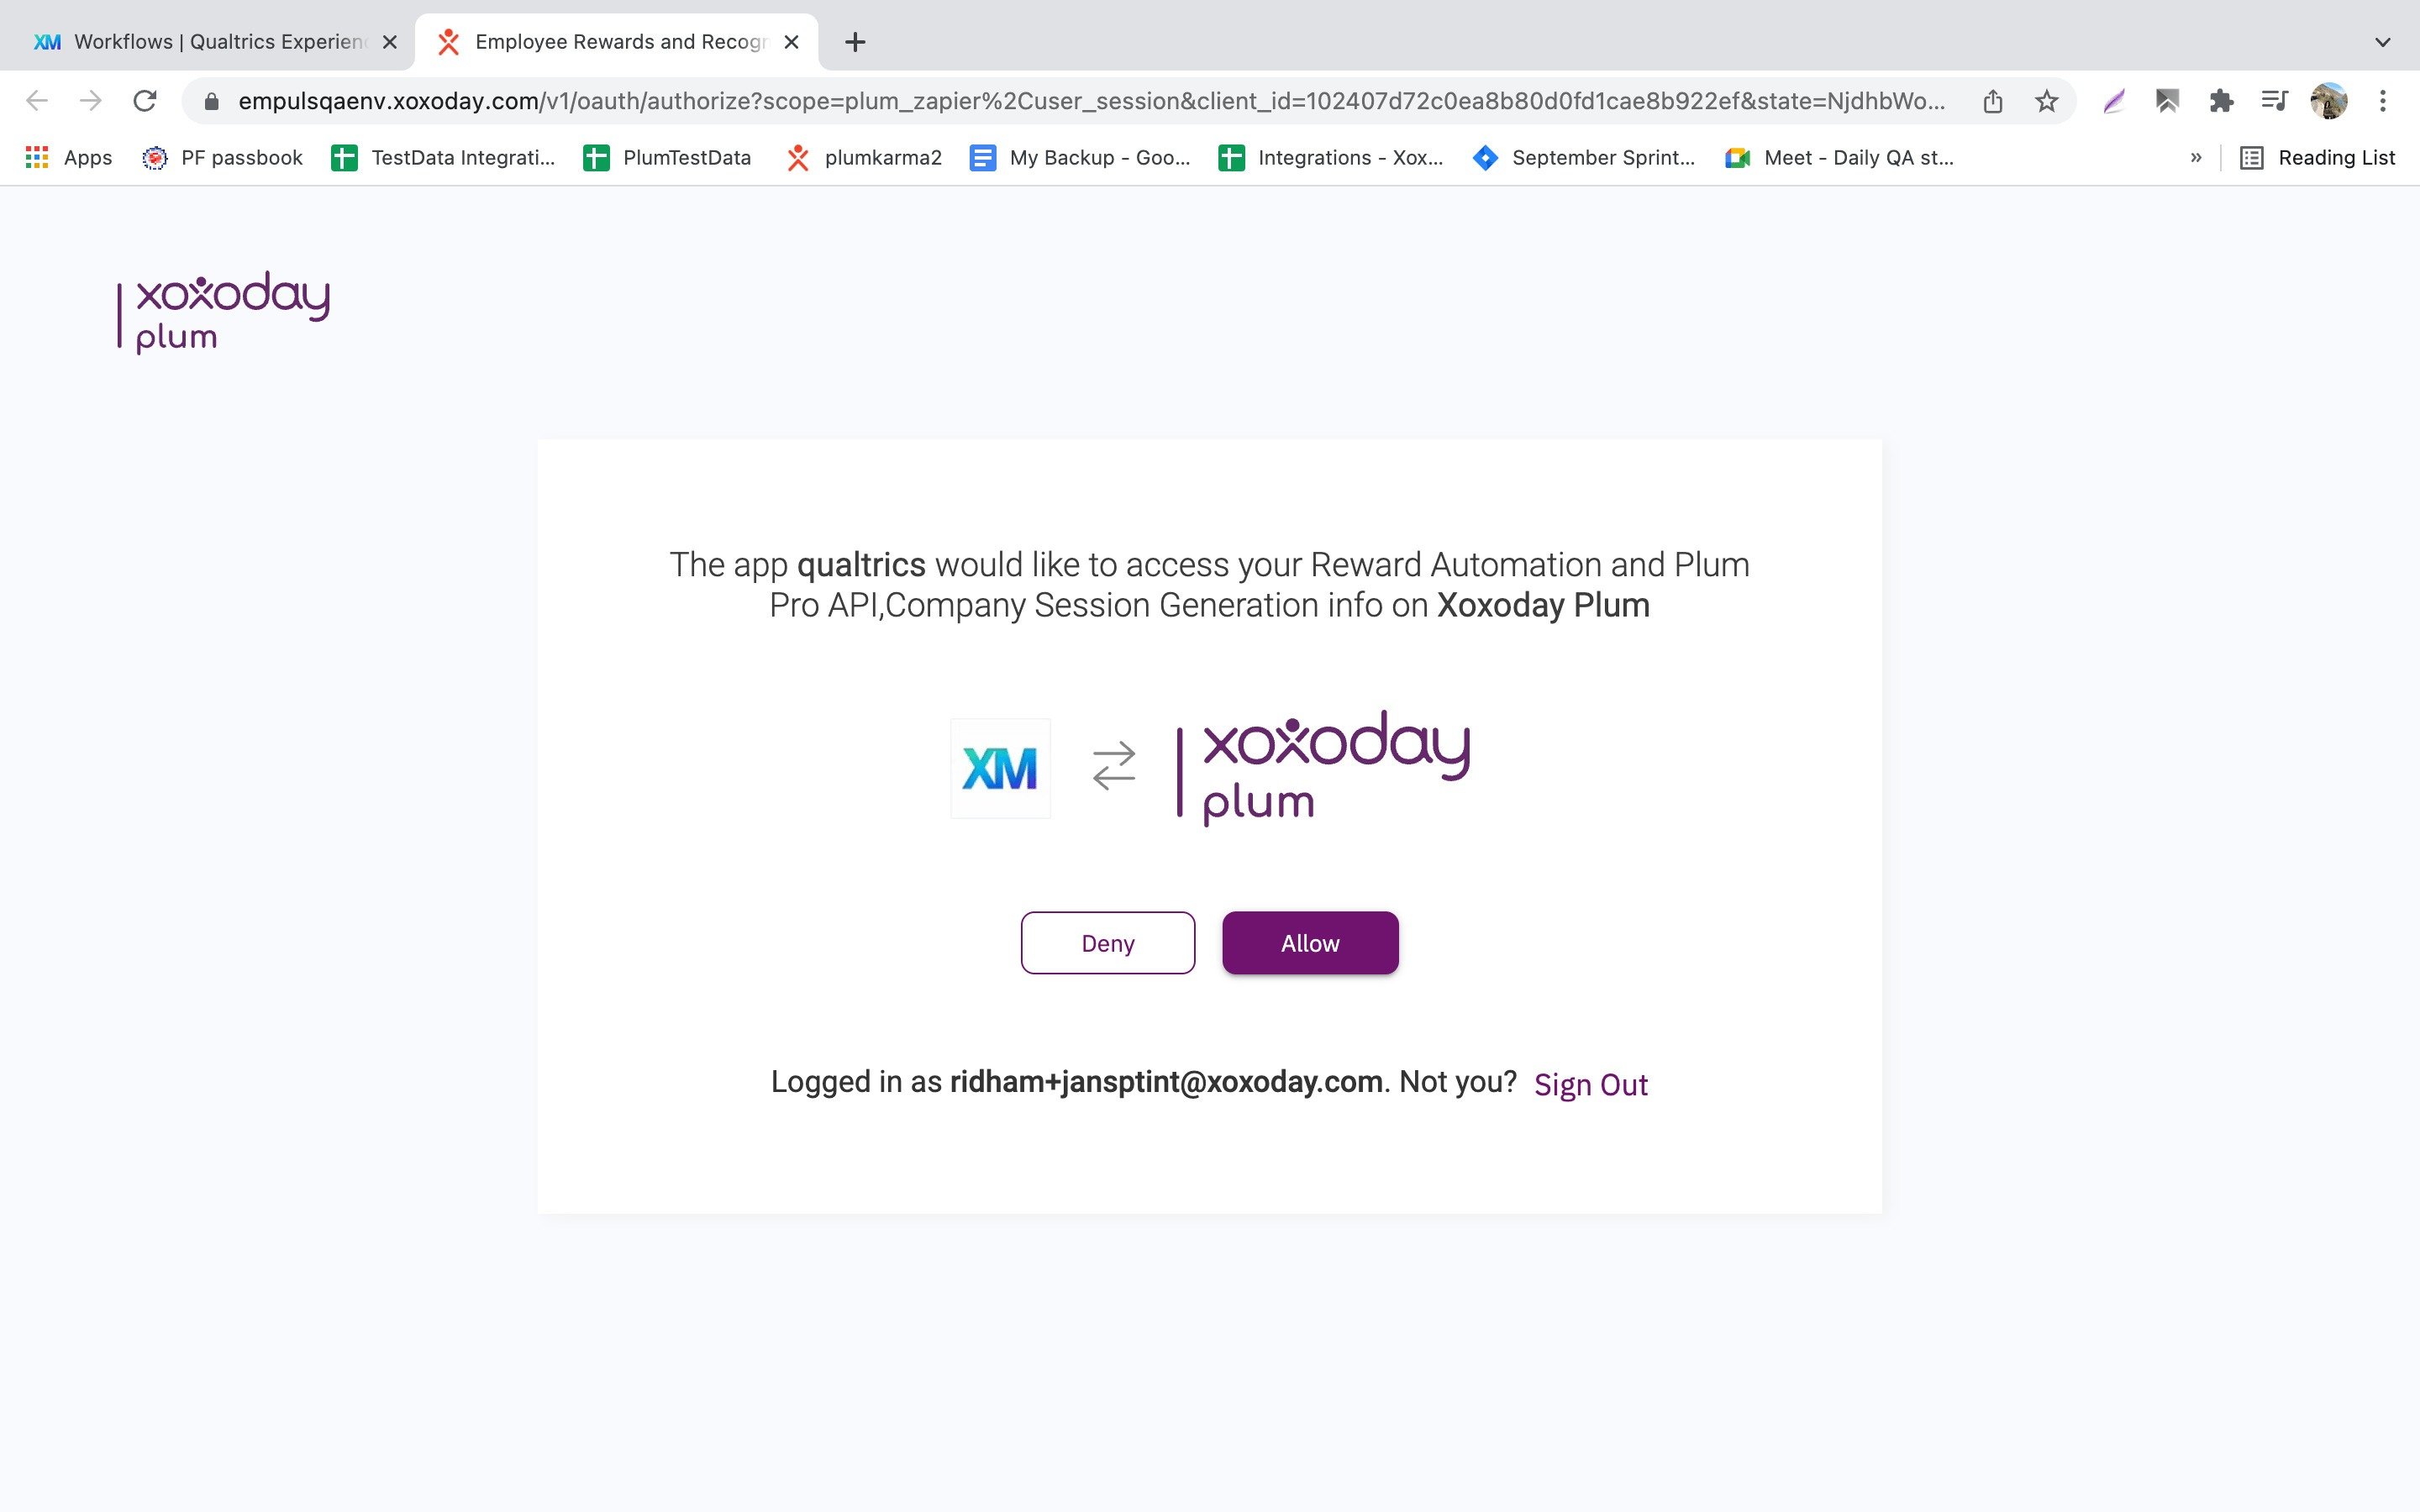
- Now, login to your Xoxoday account and click ‘Allow’ access.
Creating a Qualtrics Workflow
Now, from your Qualtircs account, create a Qualtrics workflow by clicking ‘Workflow’ from the main menu (options drop-down):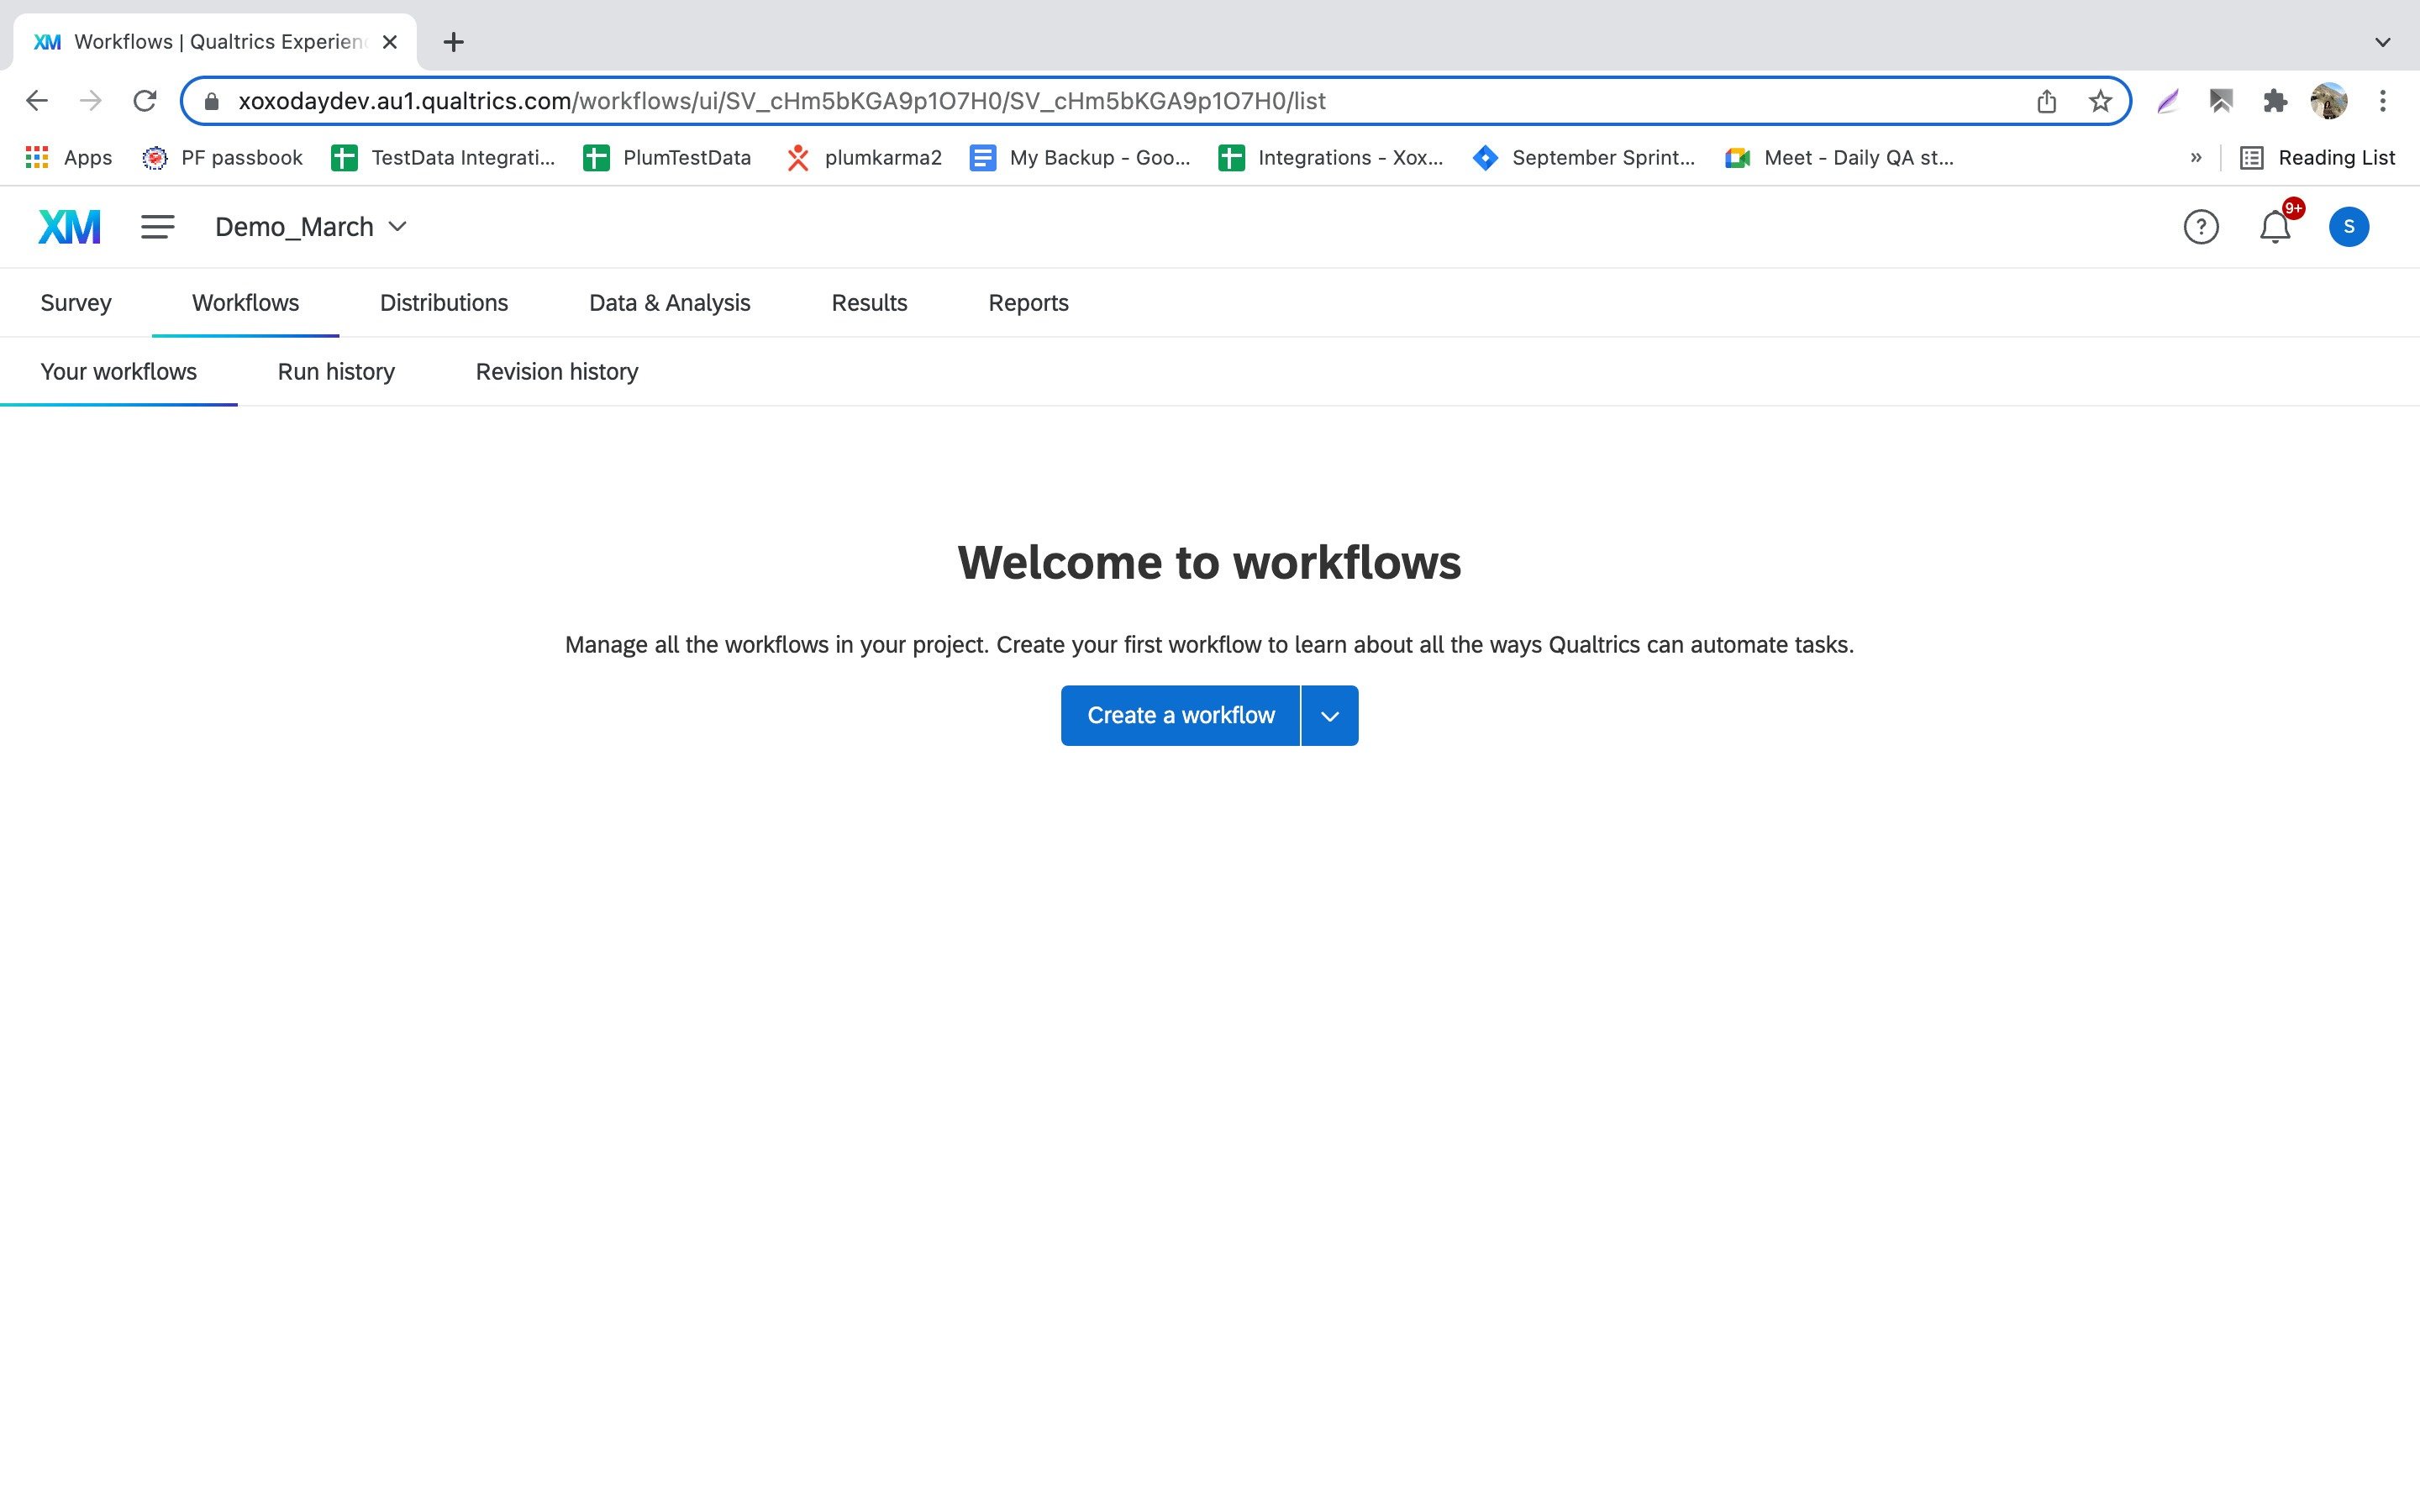
- Select the ‘Survey Response’ and choose the survey project you want to send reward (upon completion).
- Click Start by an ‘Event’ for the Workflow.
- Select ‘Newly created Resonse’ and ‘Response via APIs’(if applicable). See the below image.
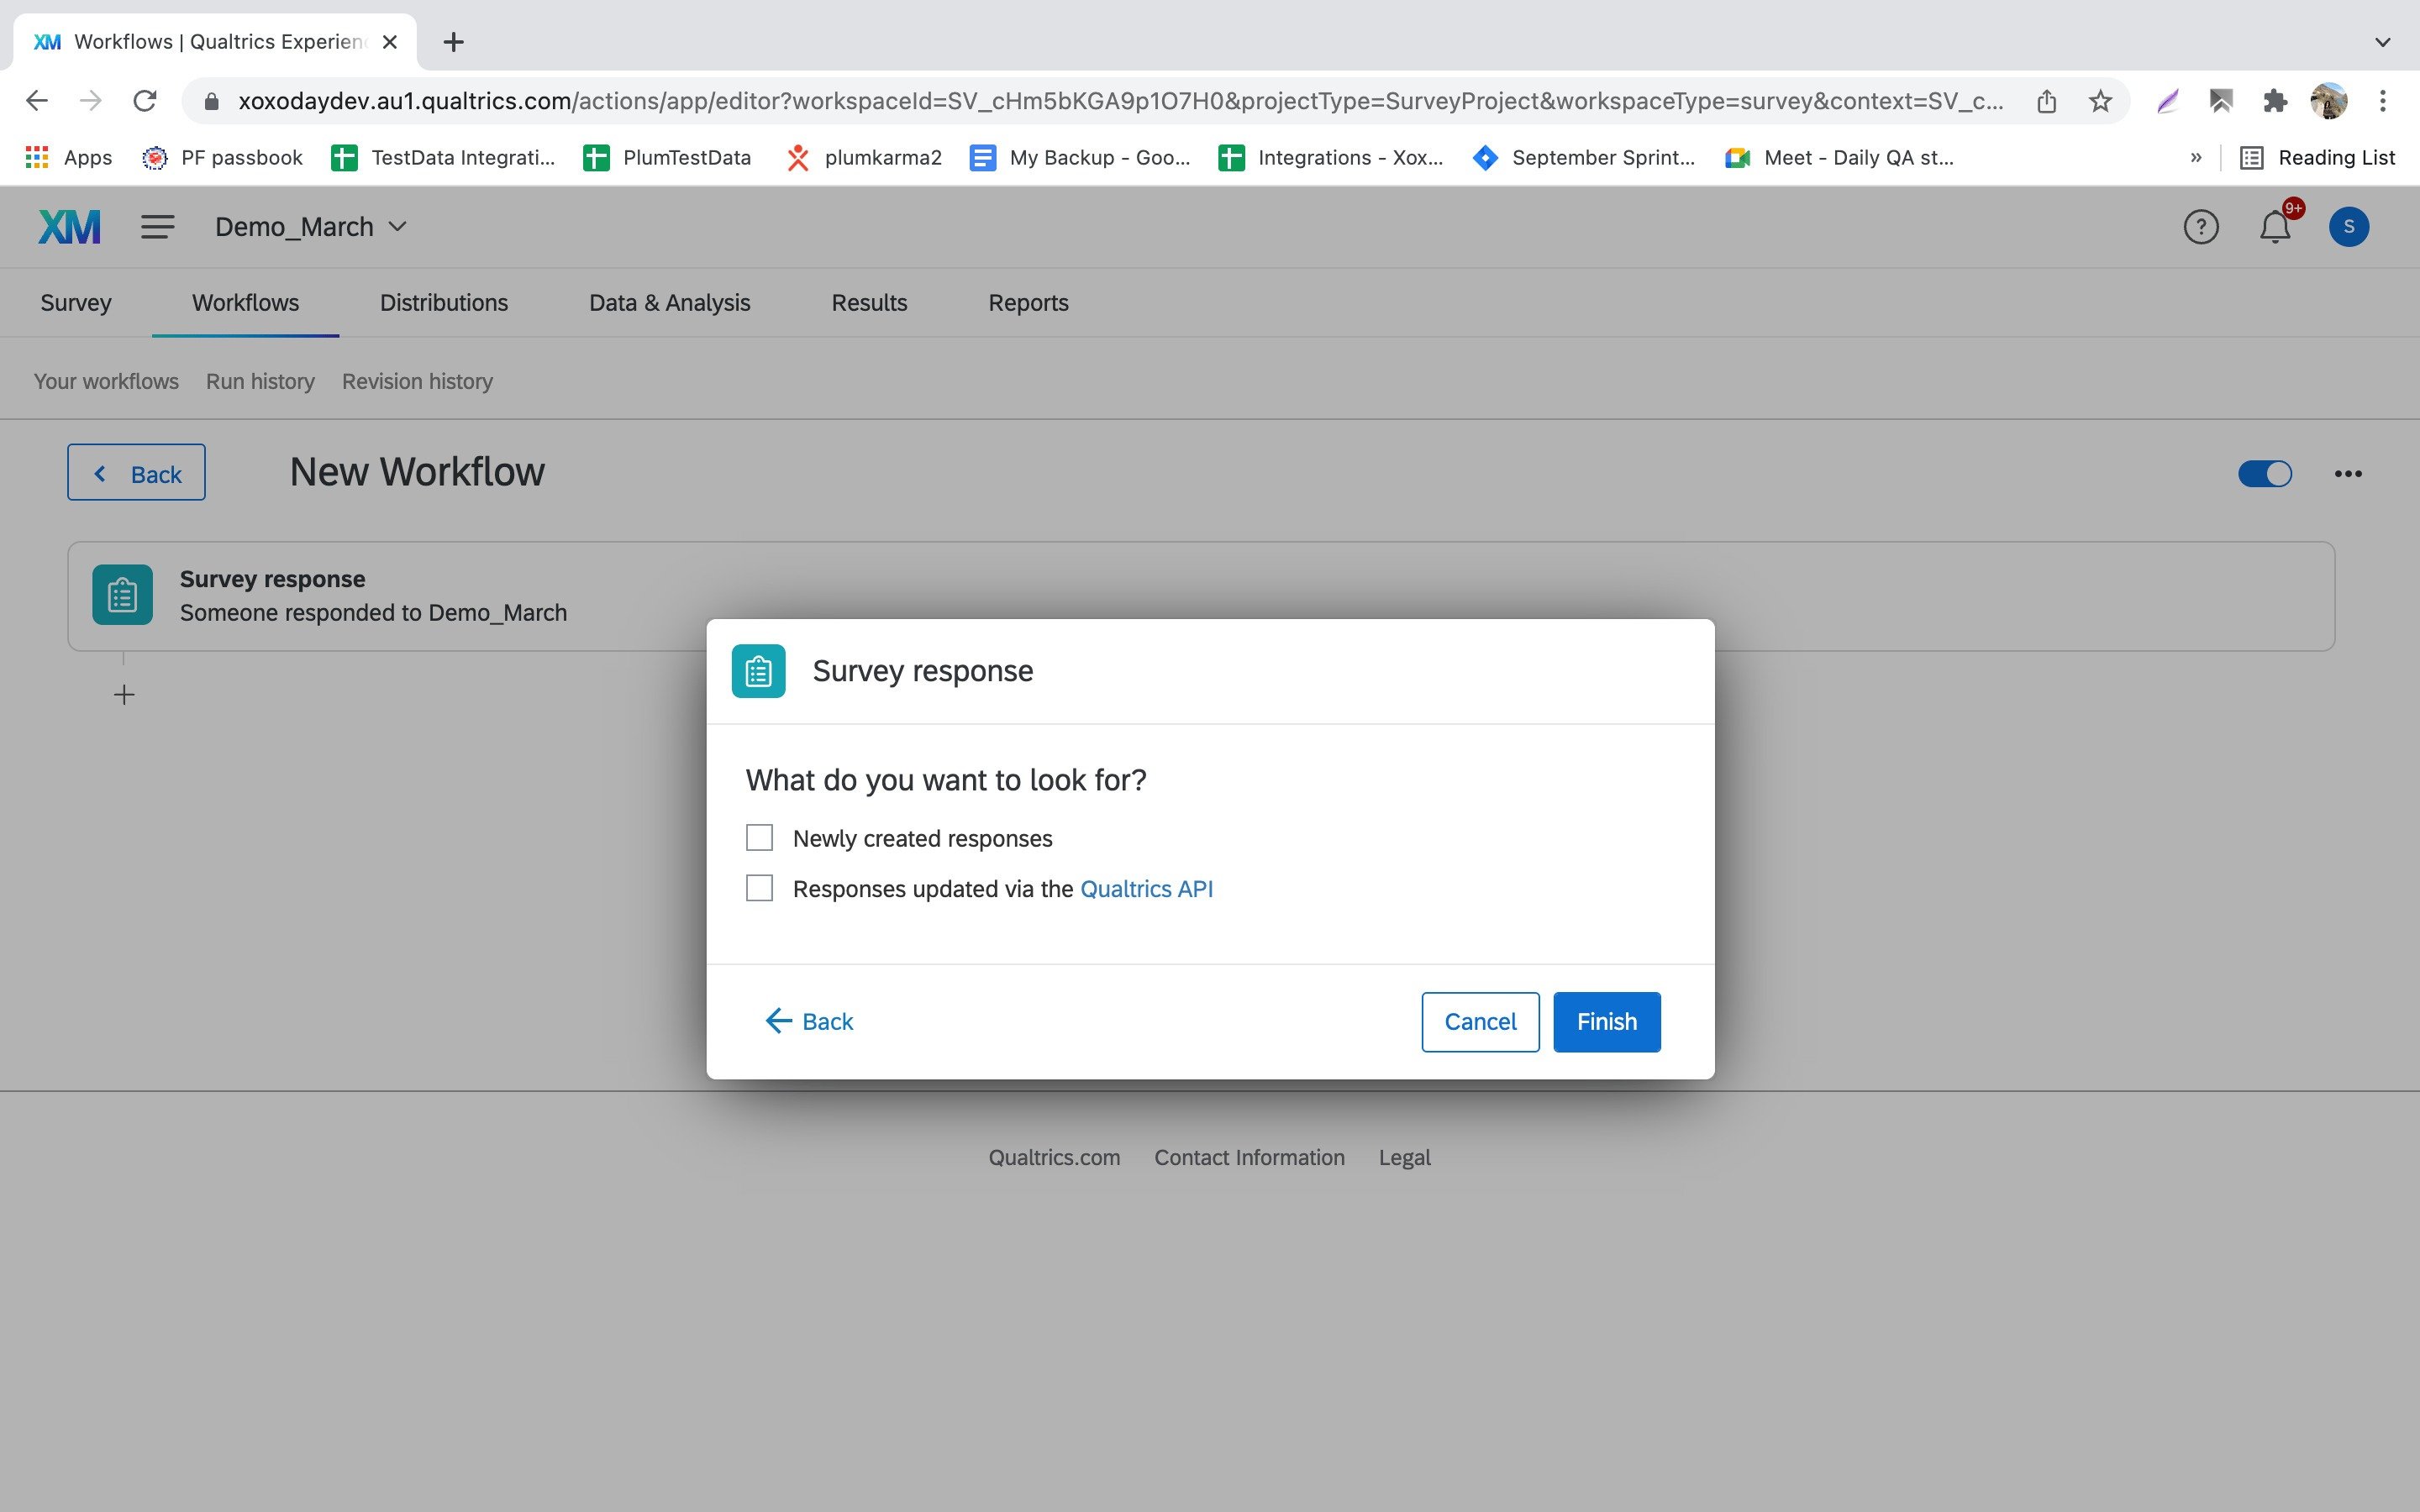
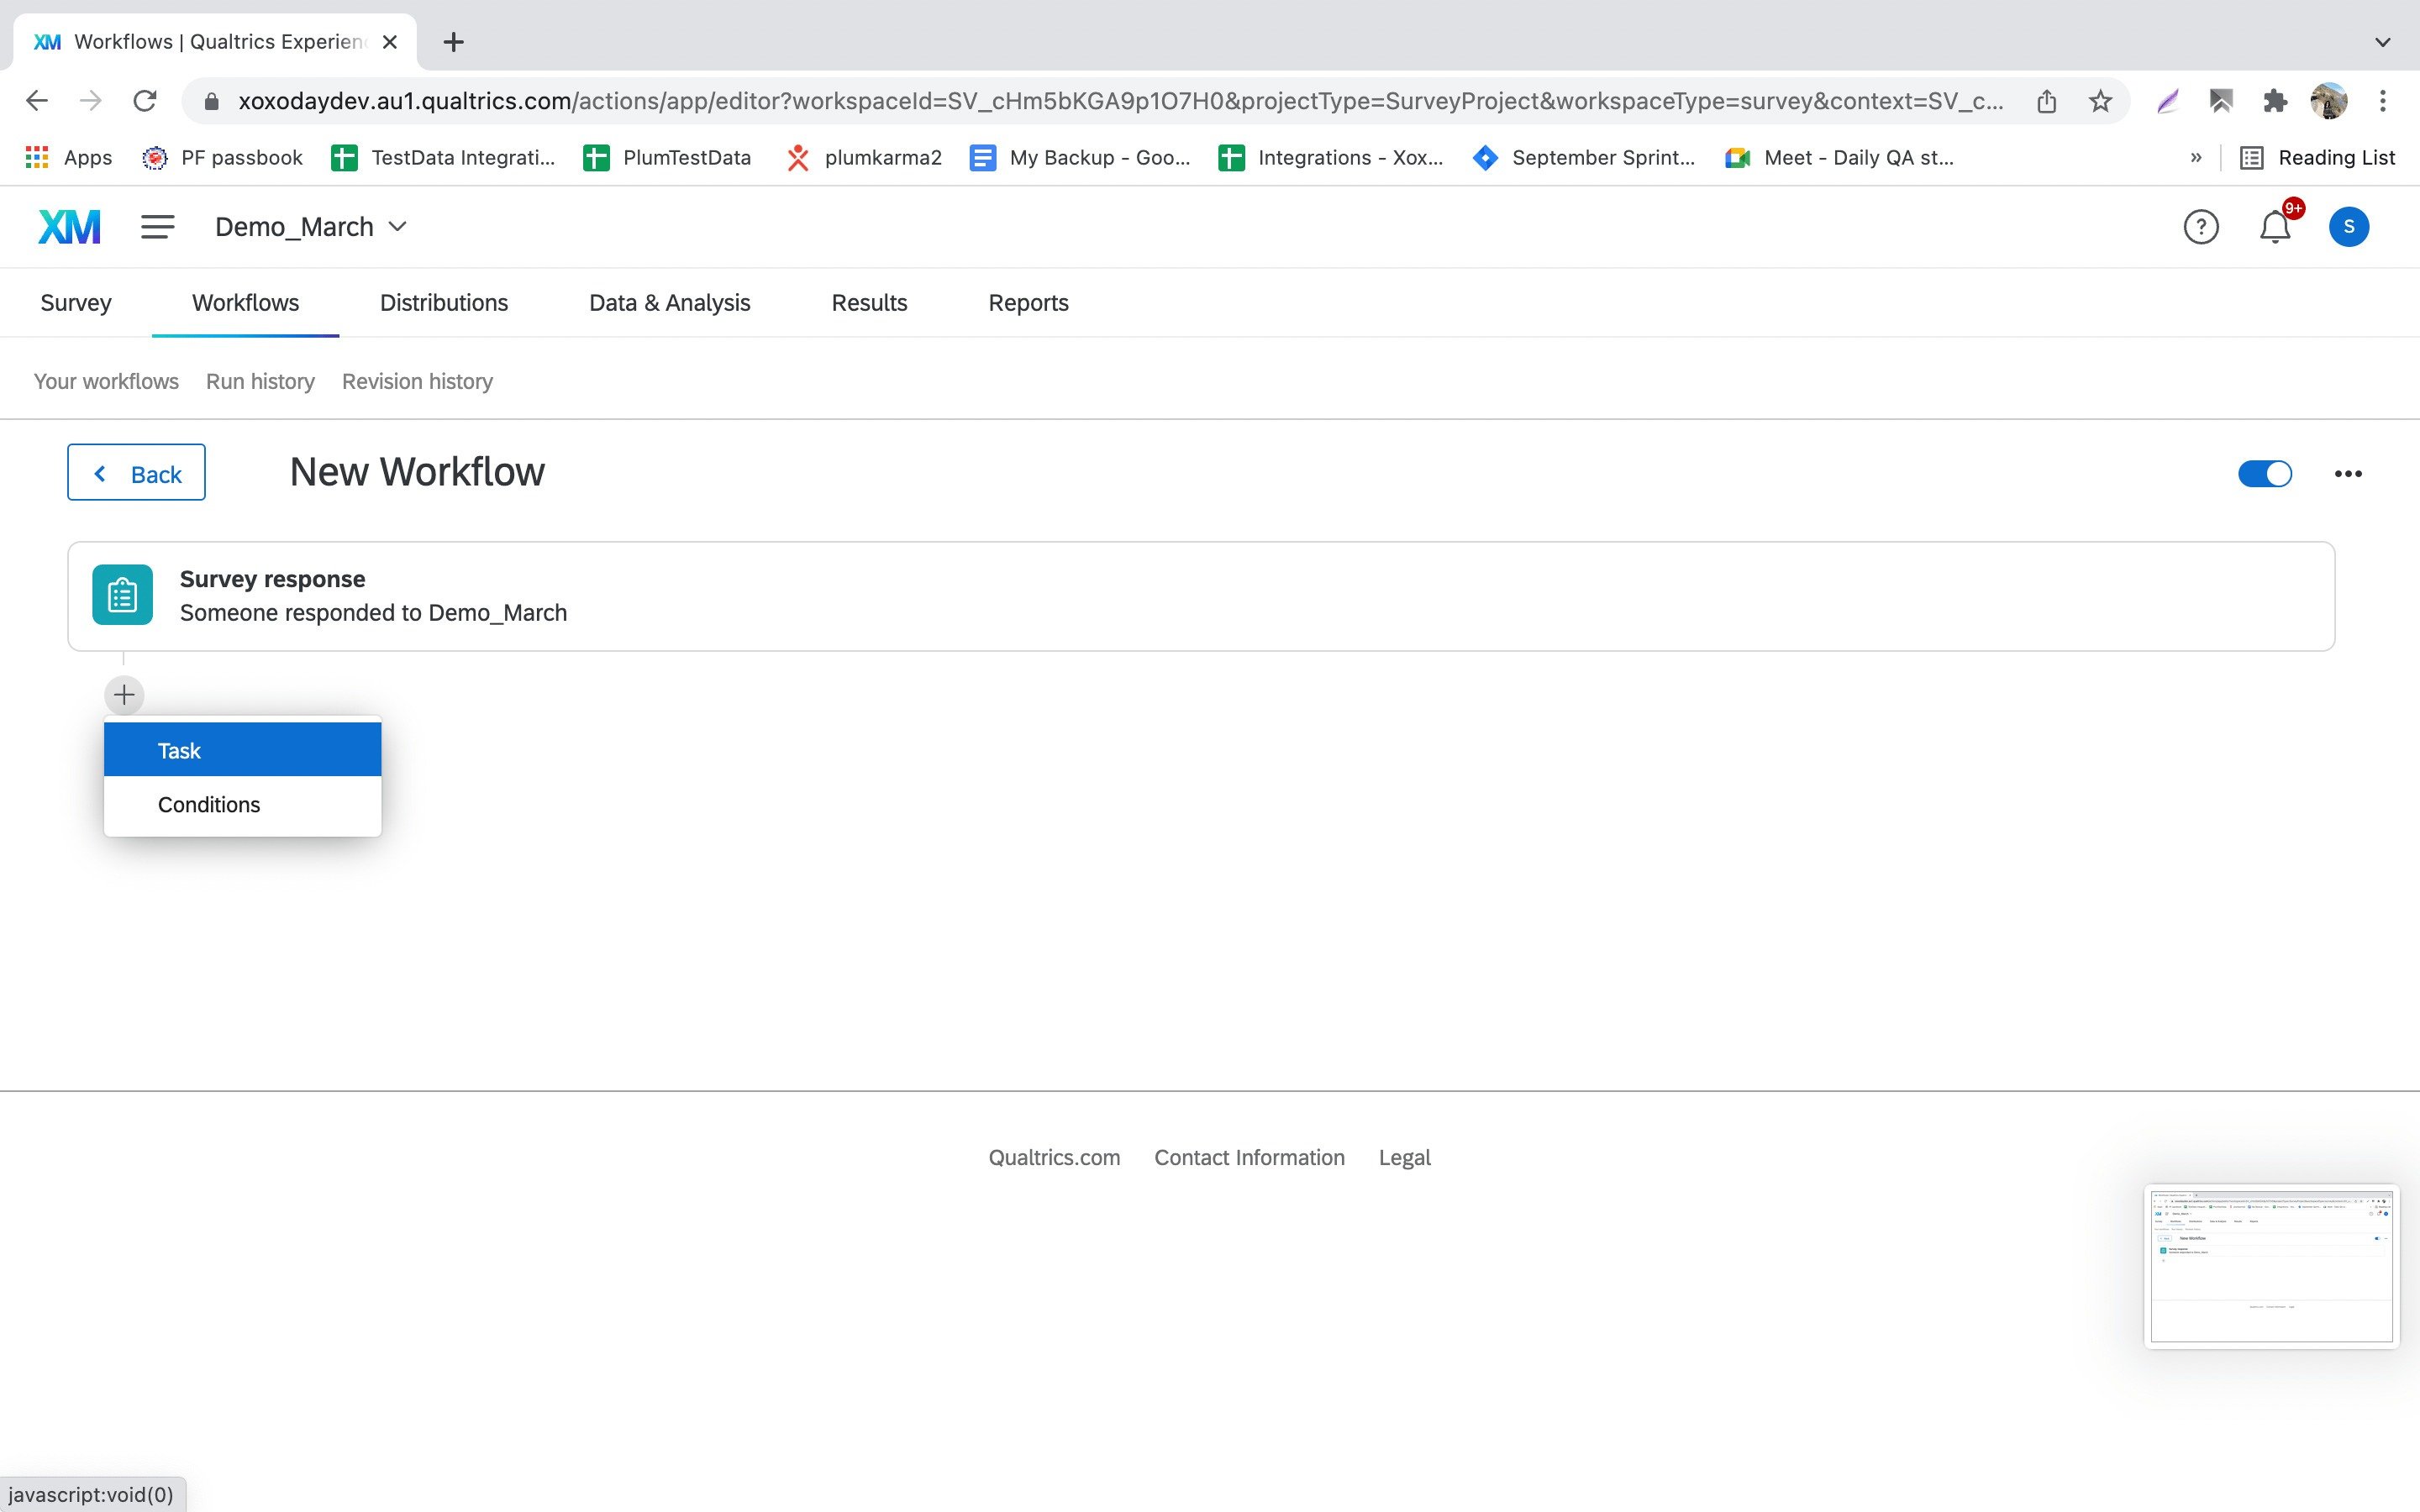
- Now, click ’+’ icon to add an action ‘Task’ (see below)
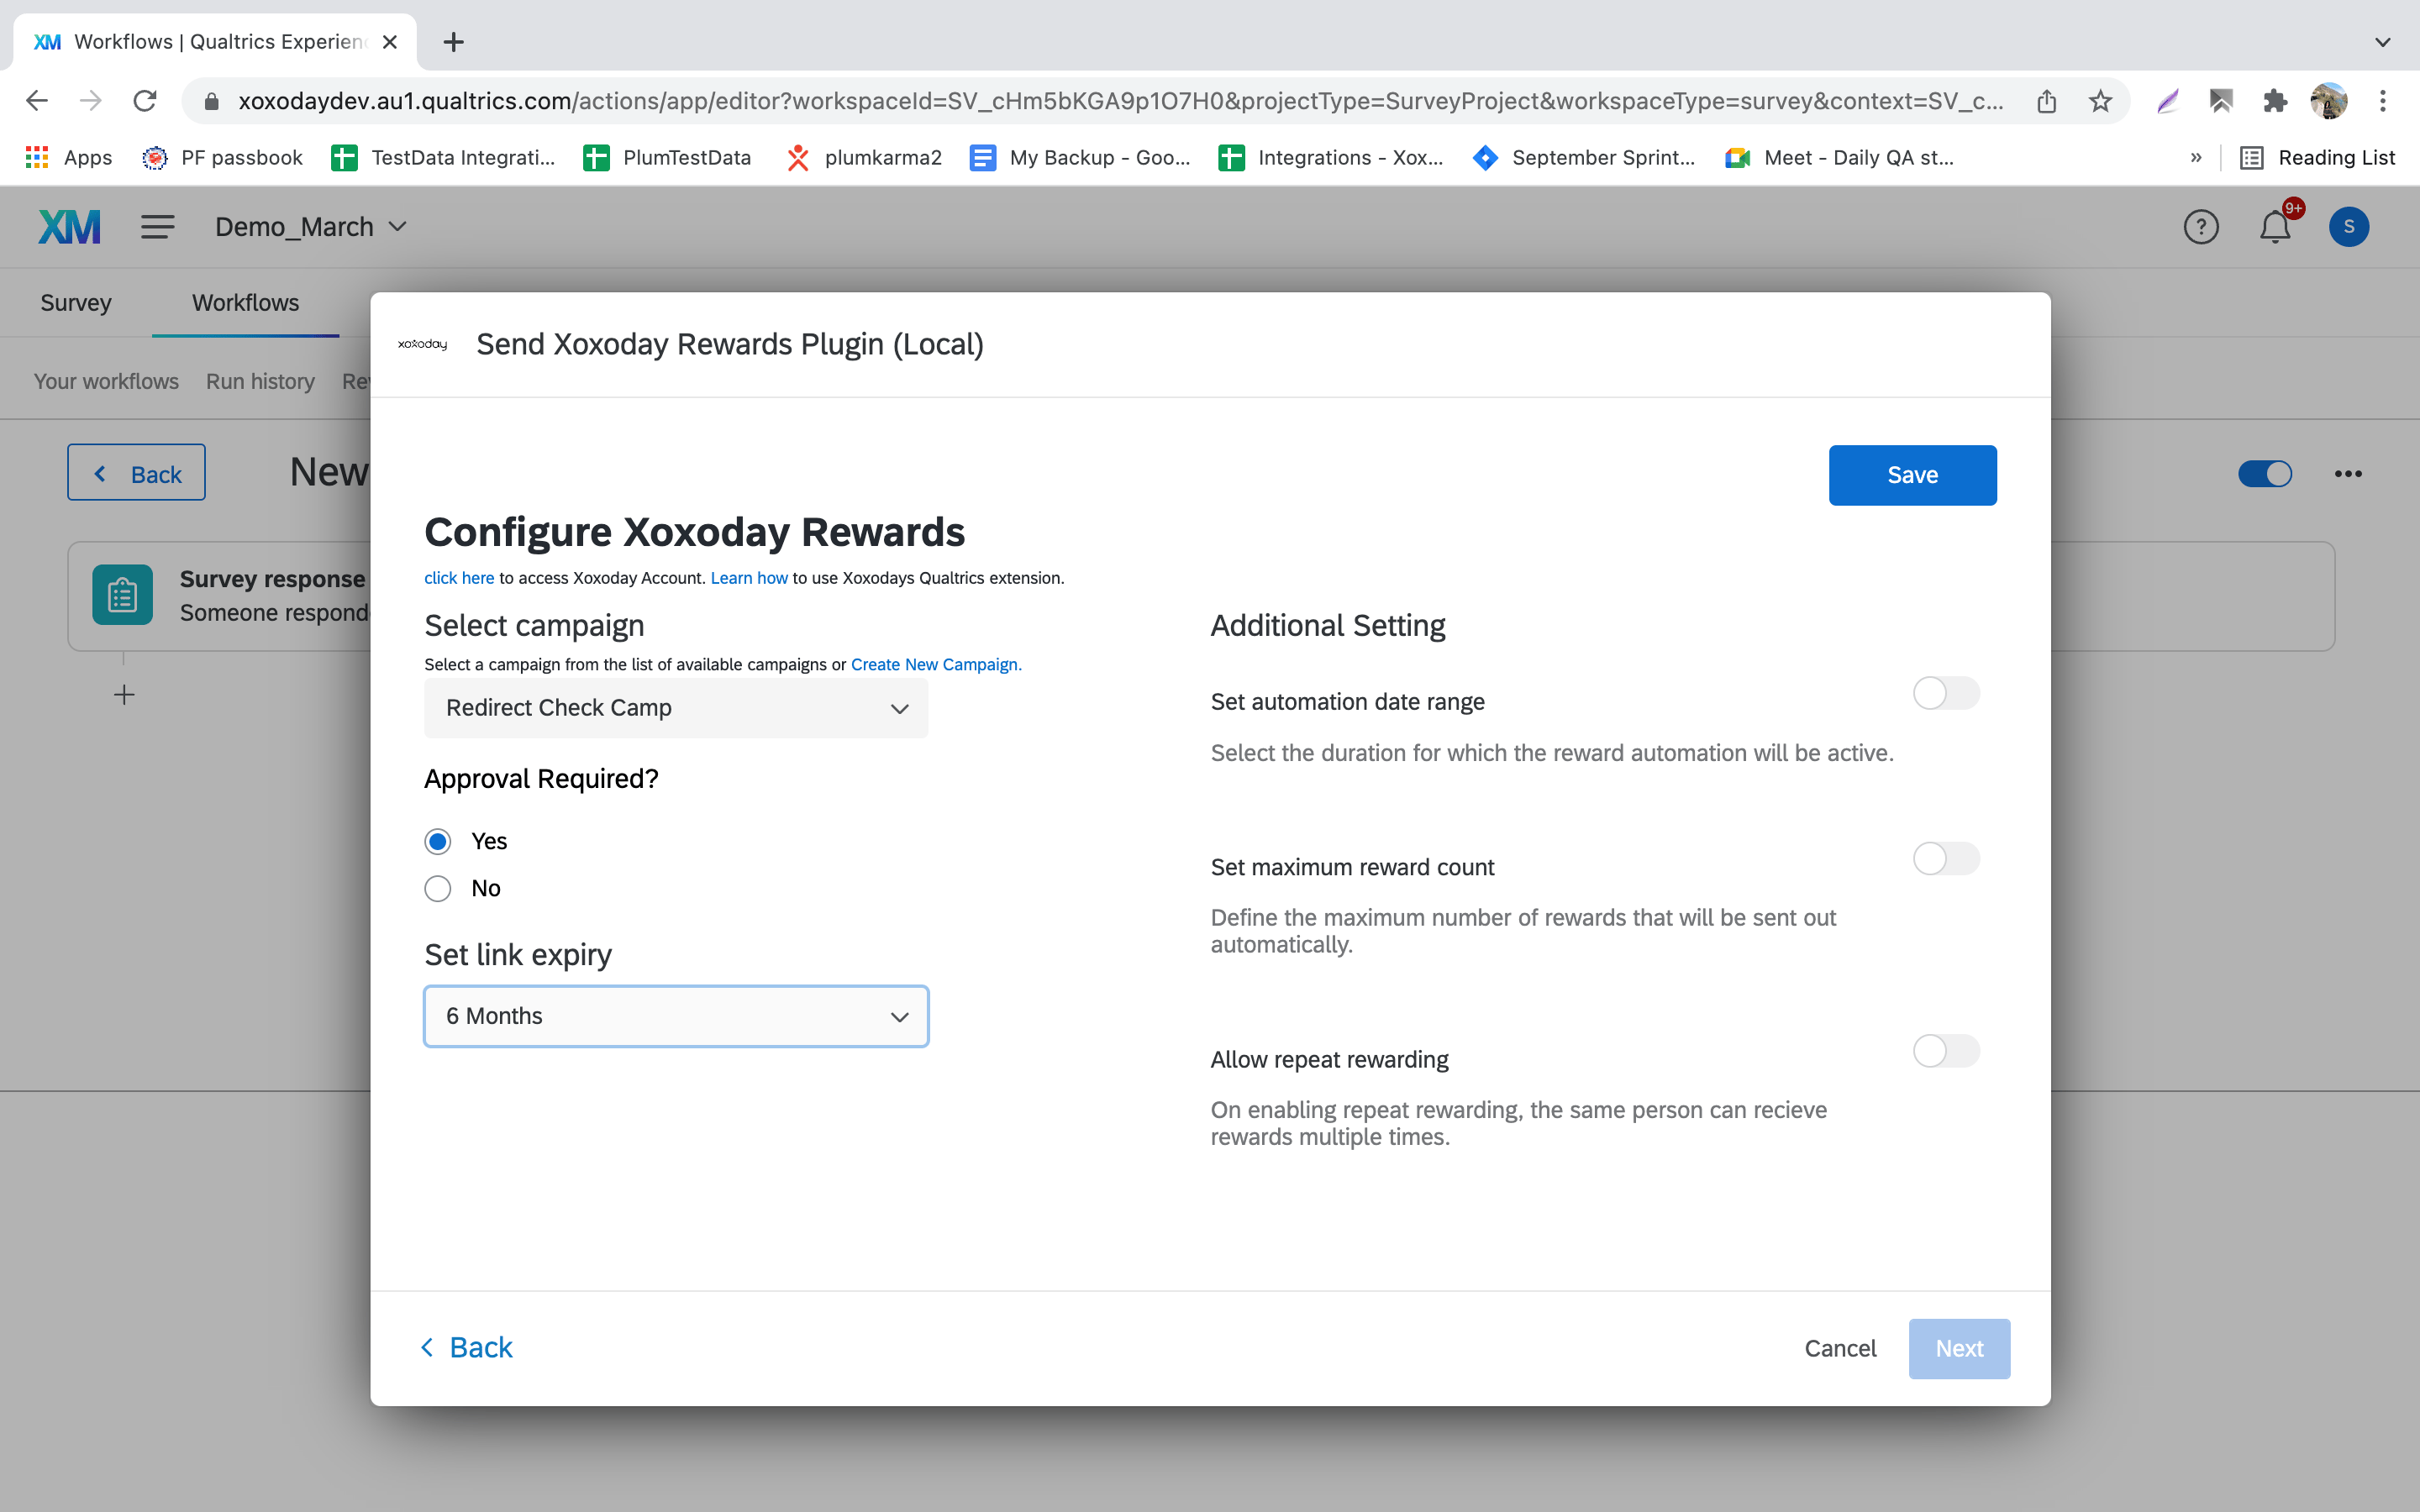
Configuring Xoxoday Reward Settings
Here you can configure Xoxoday reward settings for your action task in the workflow. This is a one-time setup and takes just a couple of mins, steps below:- Select the reward campaign (pulled from your Xoxoday account).
- Approval Required? Select ‘Yes**’ if you want to manually approve rewards, else, select ‘No’ to automatically send rewards out,
- Set the Reward Expiry period from the drop-down,
- Set date range — the period during which this reward automation should be active.
- Maximum Reward count — Define the maximum number of times a reward can be sent for this survey completion.
- Repeat Rewarding — Turn the toggle ON if you want to enable the same email address to be rewarded multiple times.
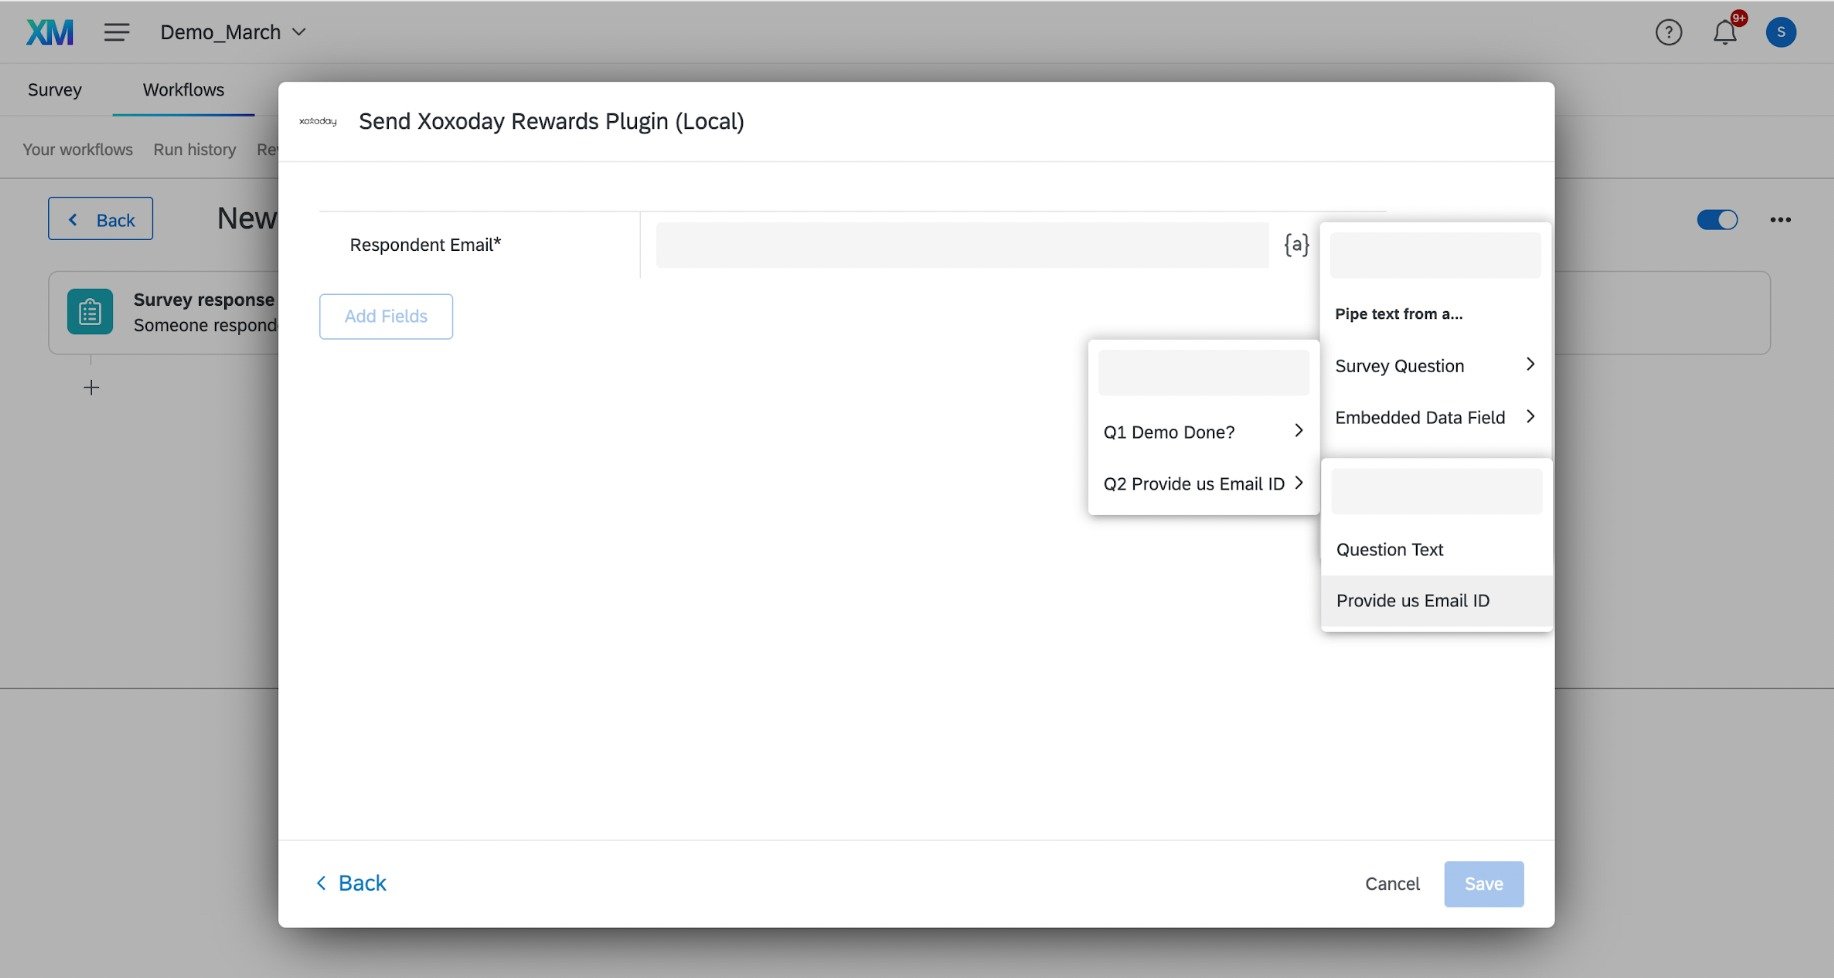
- Select ‘Survey Question**’ from the main drop-down.
- Then, select the specific question which collects the email address.
- See below.