
Manage Billing Addresses
The Account Page allows you to view, add, update, or remove billing addresses associated with your Plum account. To access the billing address settings, navigate to Settings > Account & Billing Address and click Change.Add a Billing Address
To add a new billing address:- Navigate to Settings > Account & Billing Address.
- Click Change.
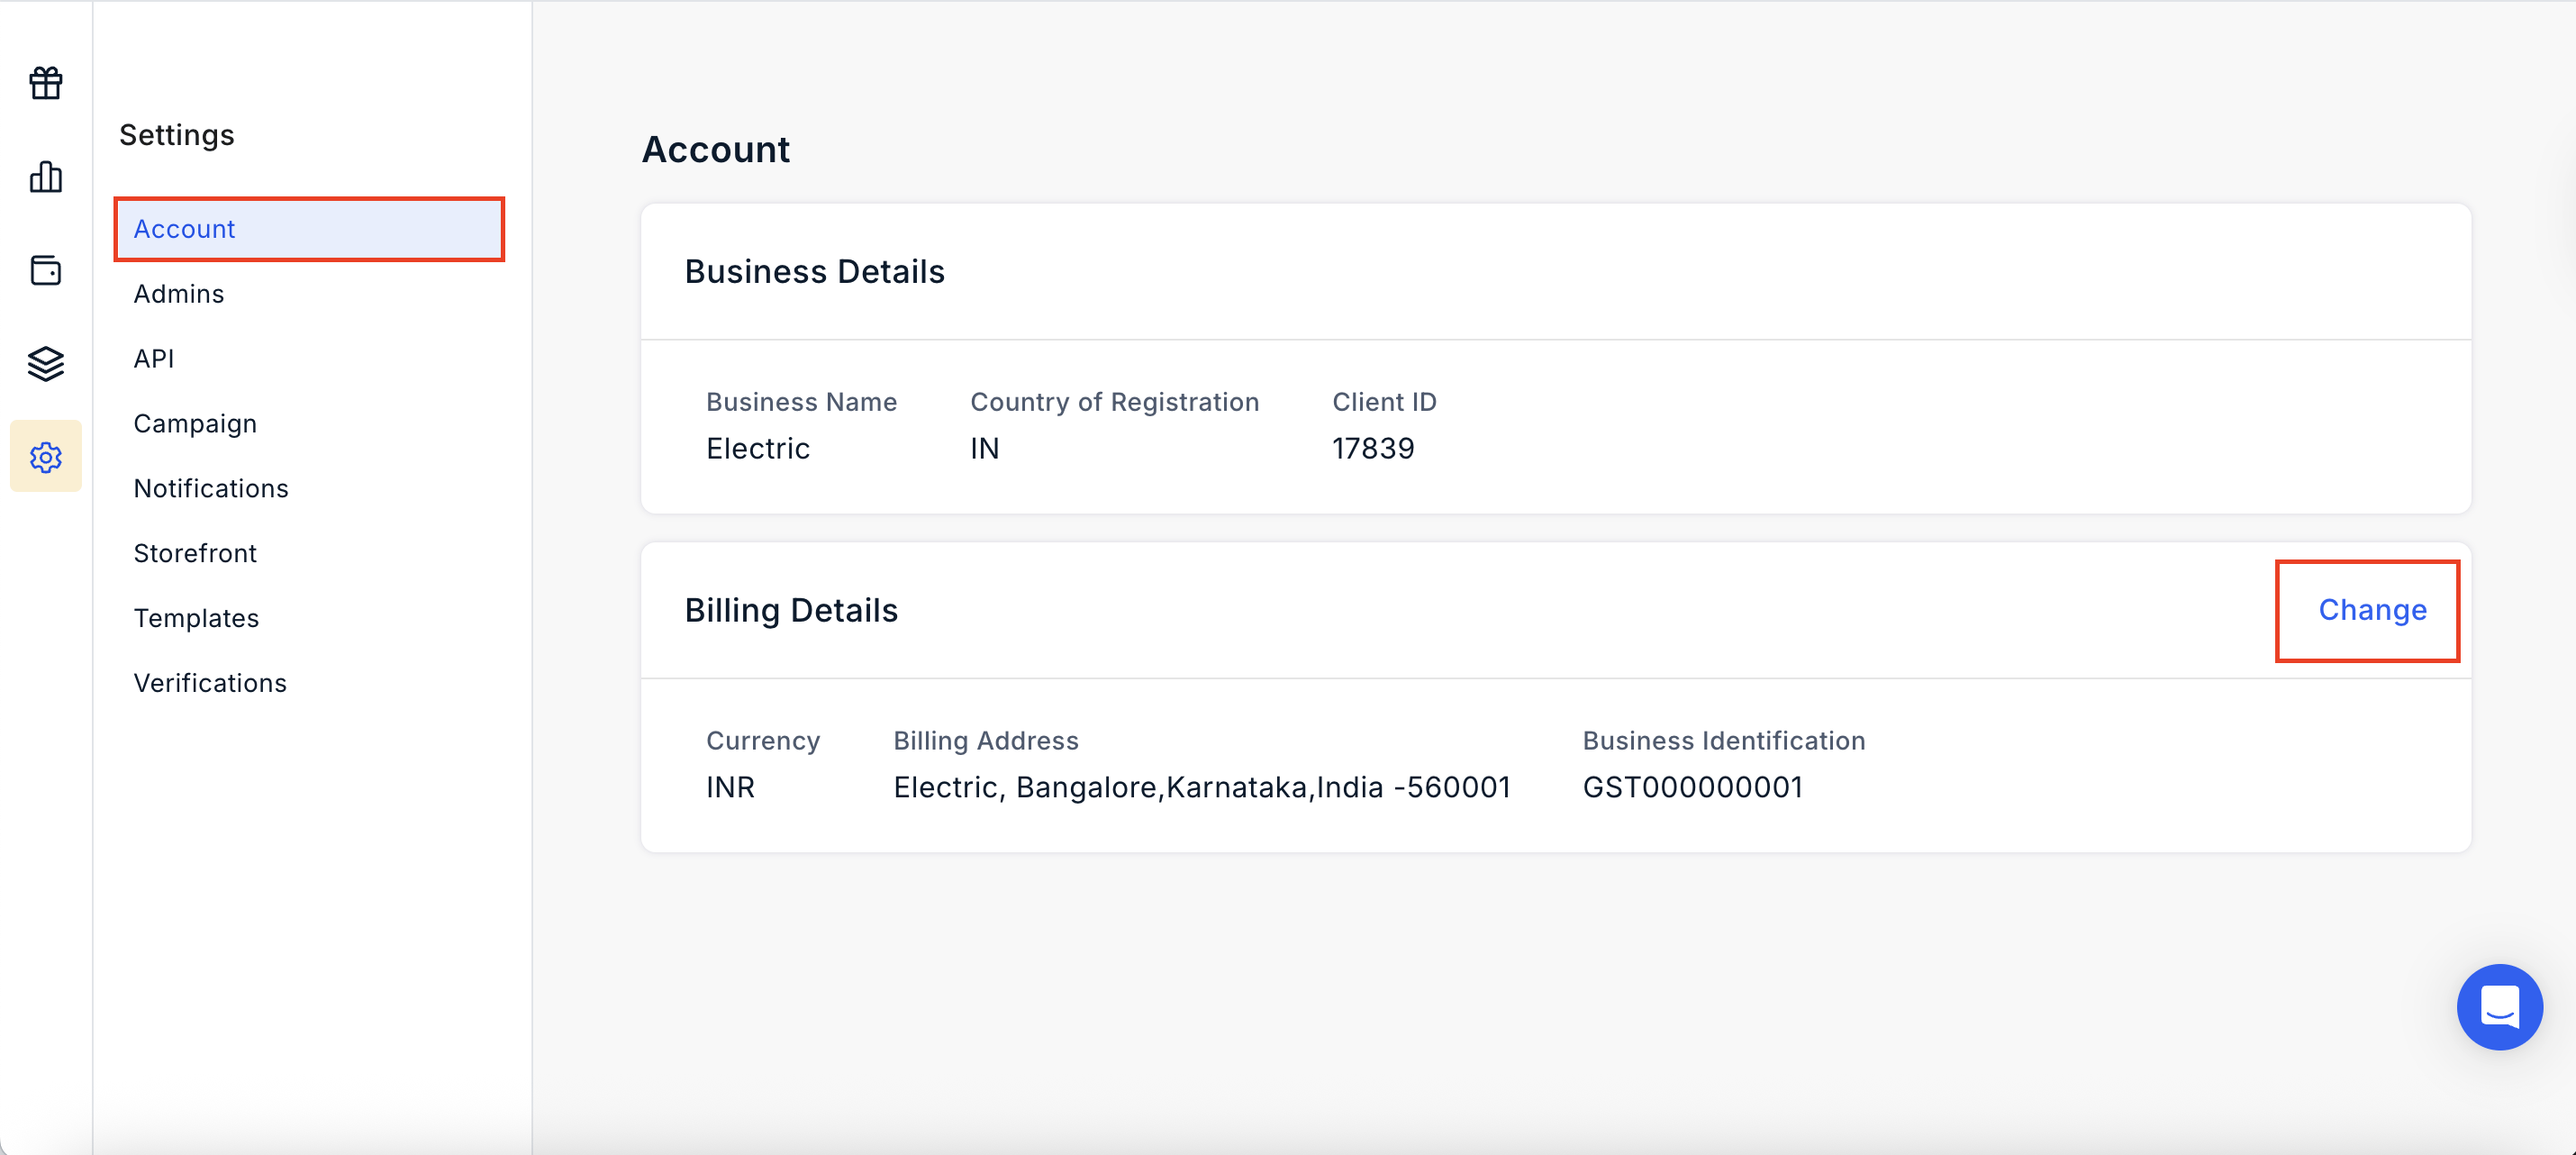
- Click Add New.
- Enter the required billing address details:
- GST/Identification Number: Mandatory for India and optional for other countries.
- Country, State, and City
- Billing Address
- Click Save.
Edit a Billing Address
To update an existing billing address:- Navigate to Settings > Account >Billing Address.
- Click on Change
- Select the billing address you want to update.
- Click the Edit icon.
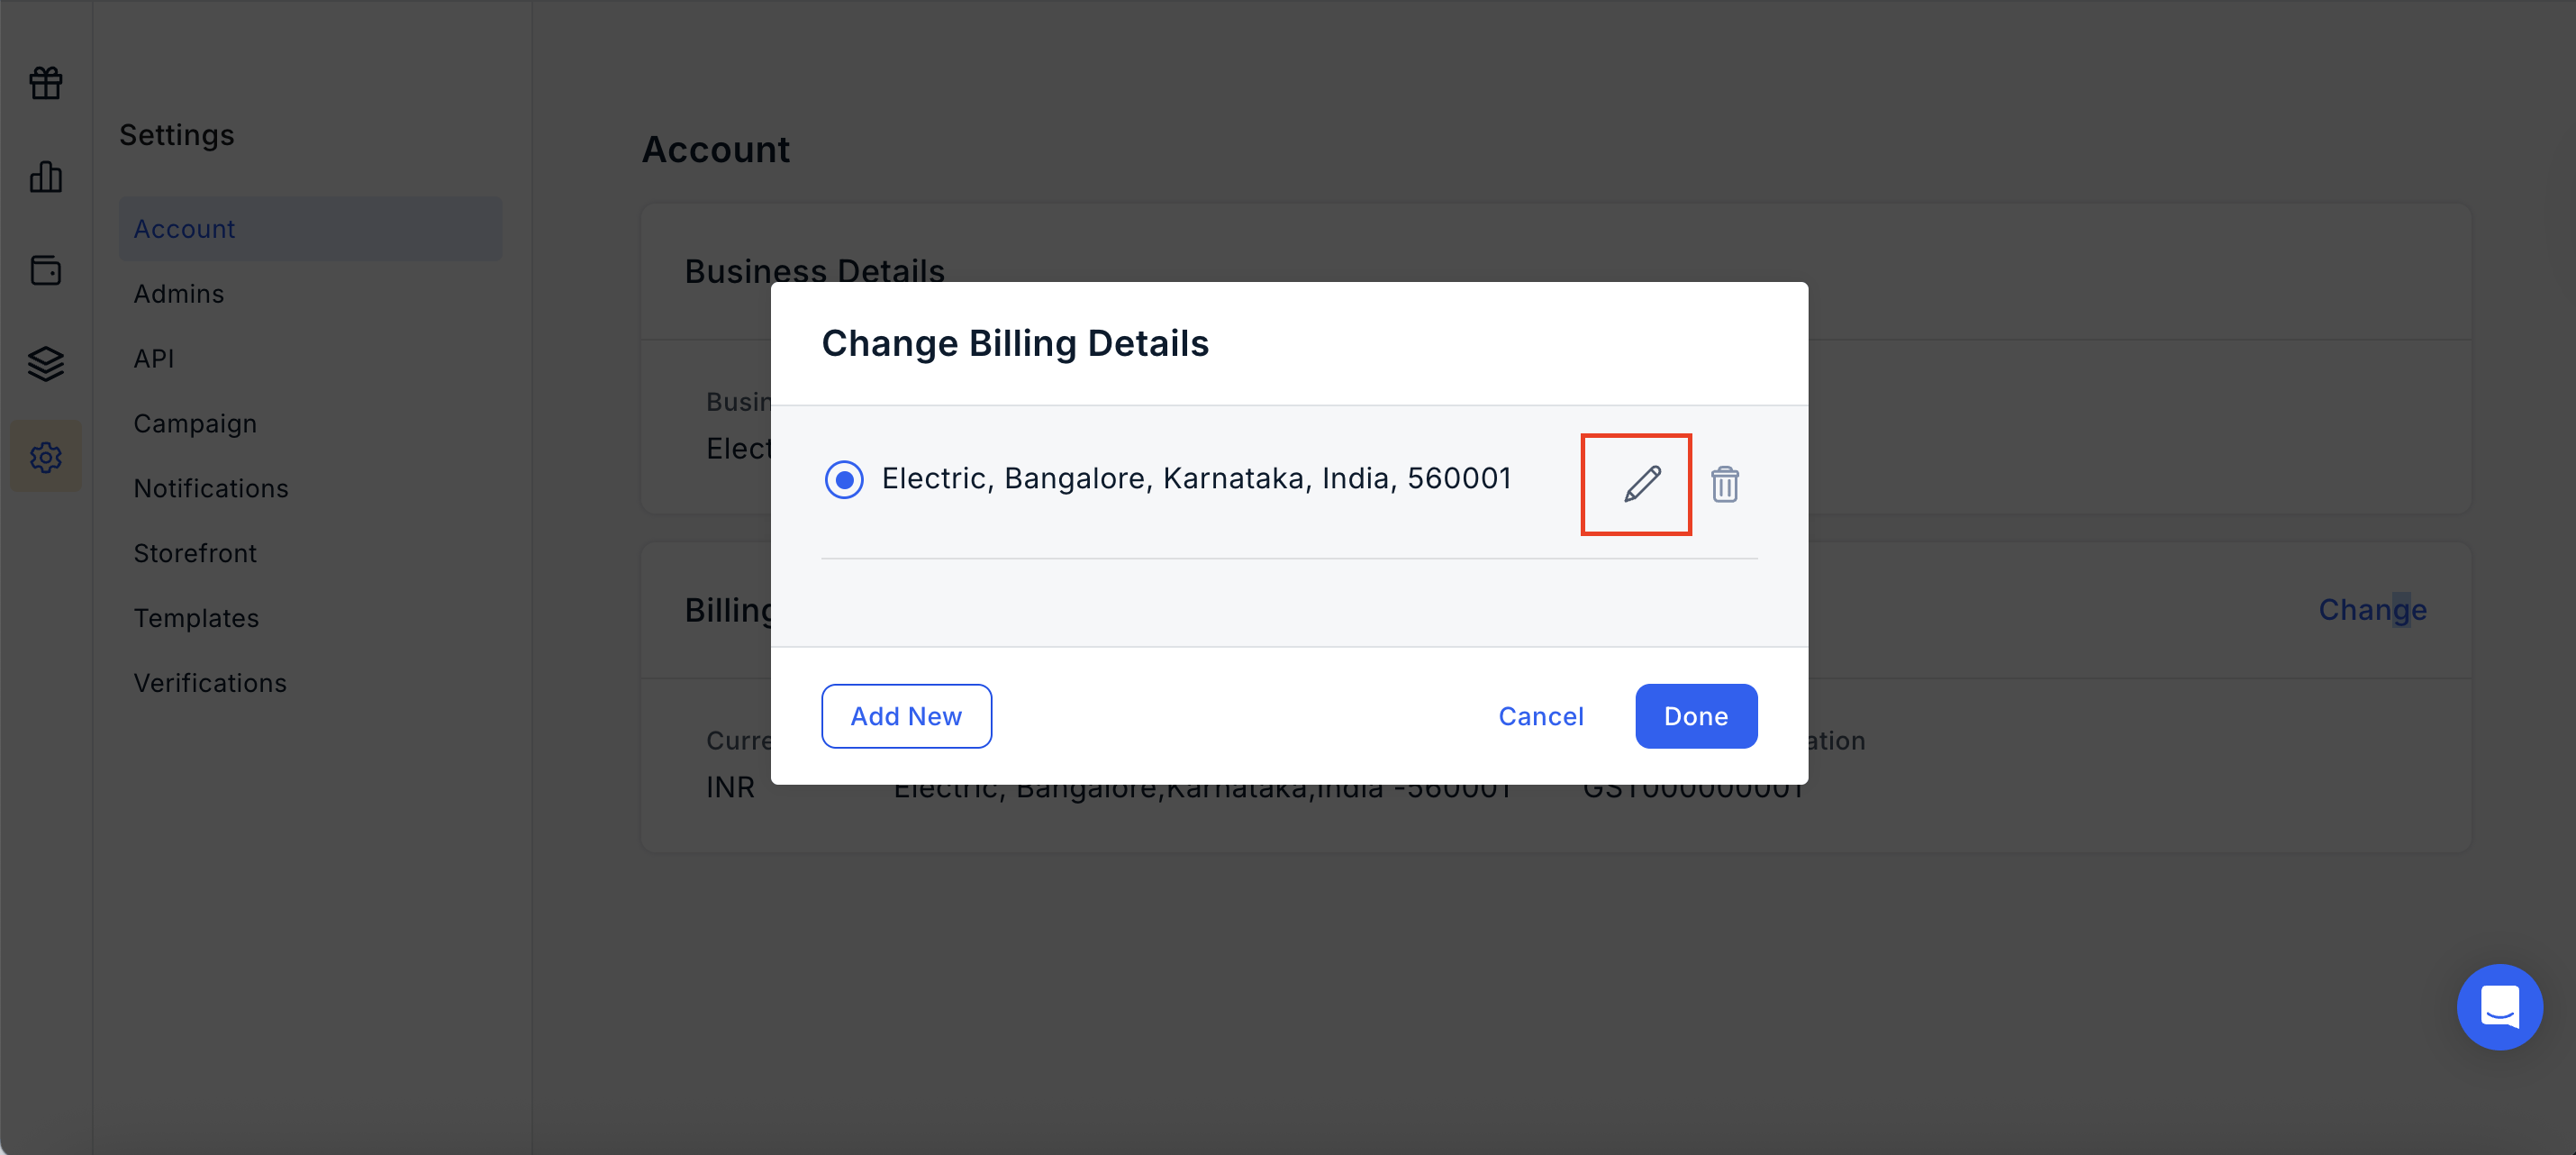
- Update the required details:
- GST/Identification Number: Mandatory for India and optional for other countries.
- Country, State, and City
- Billing Address
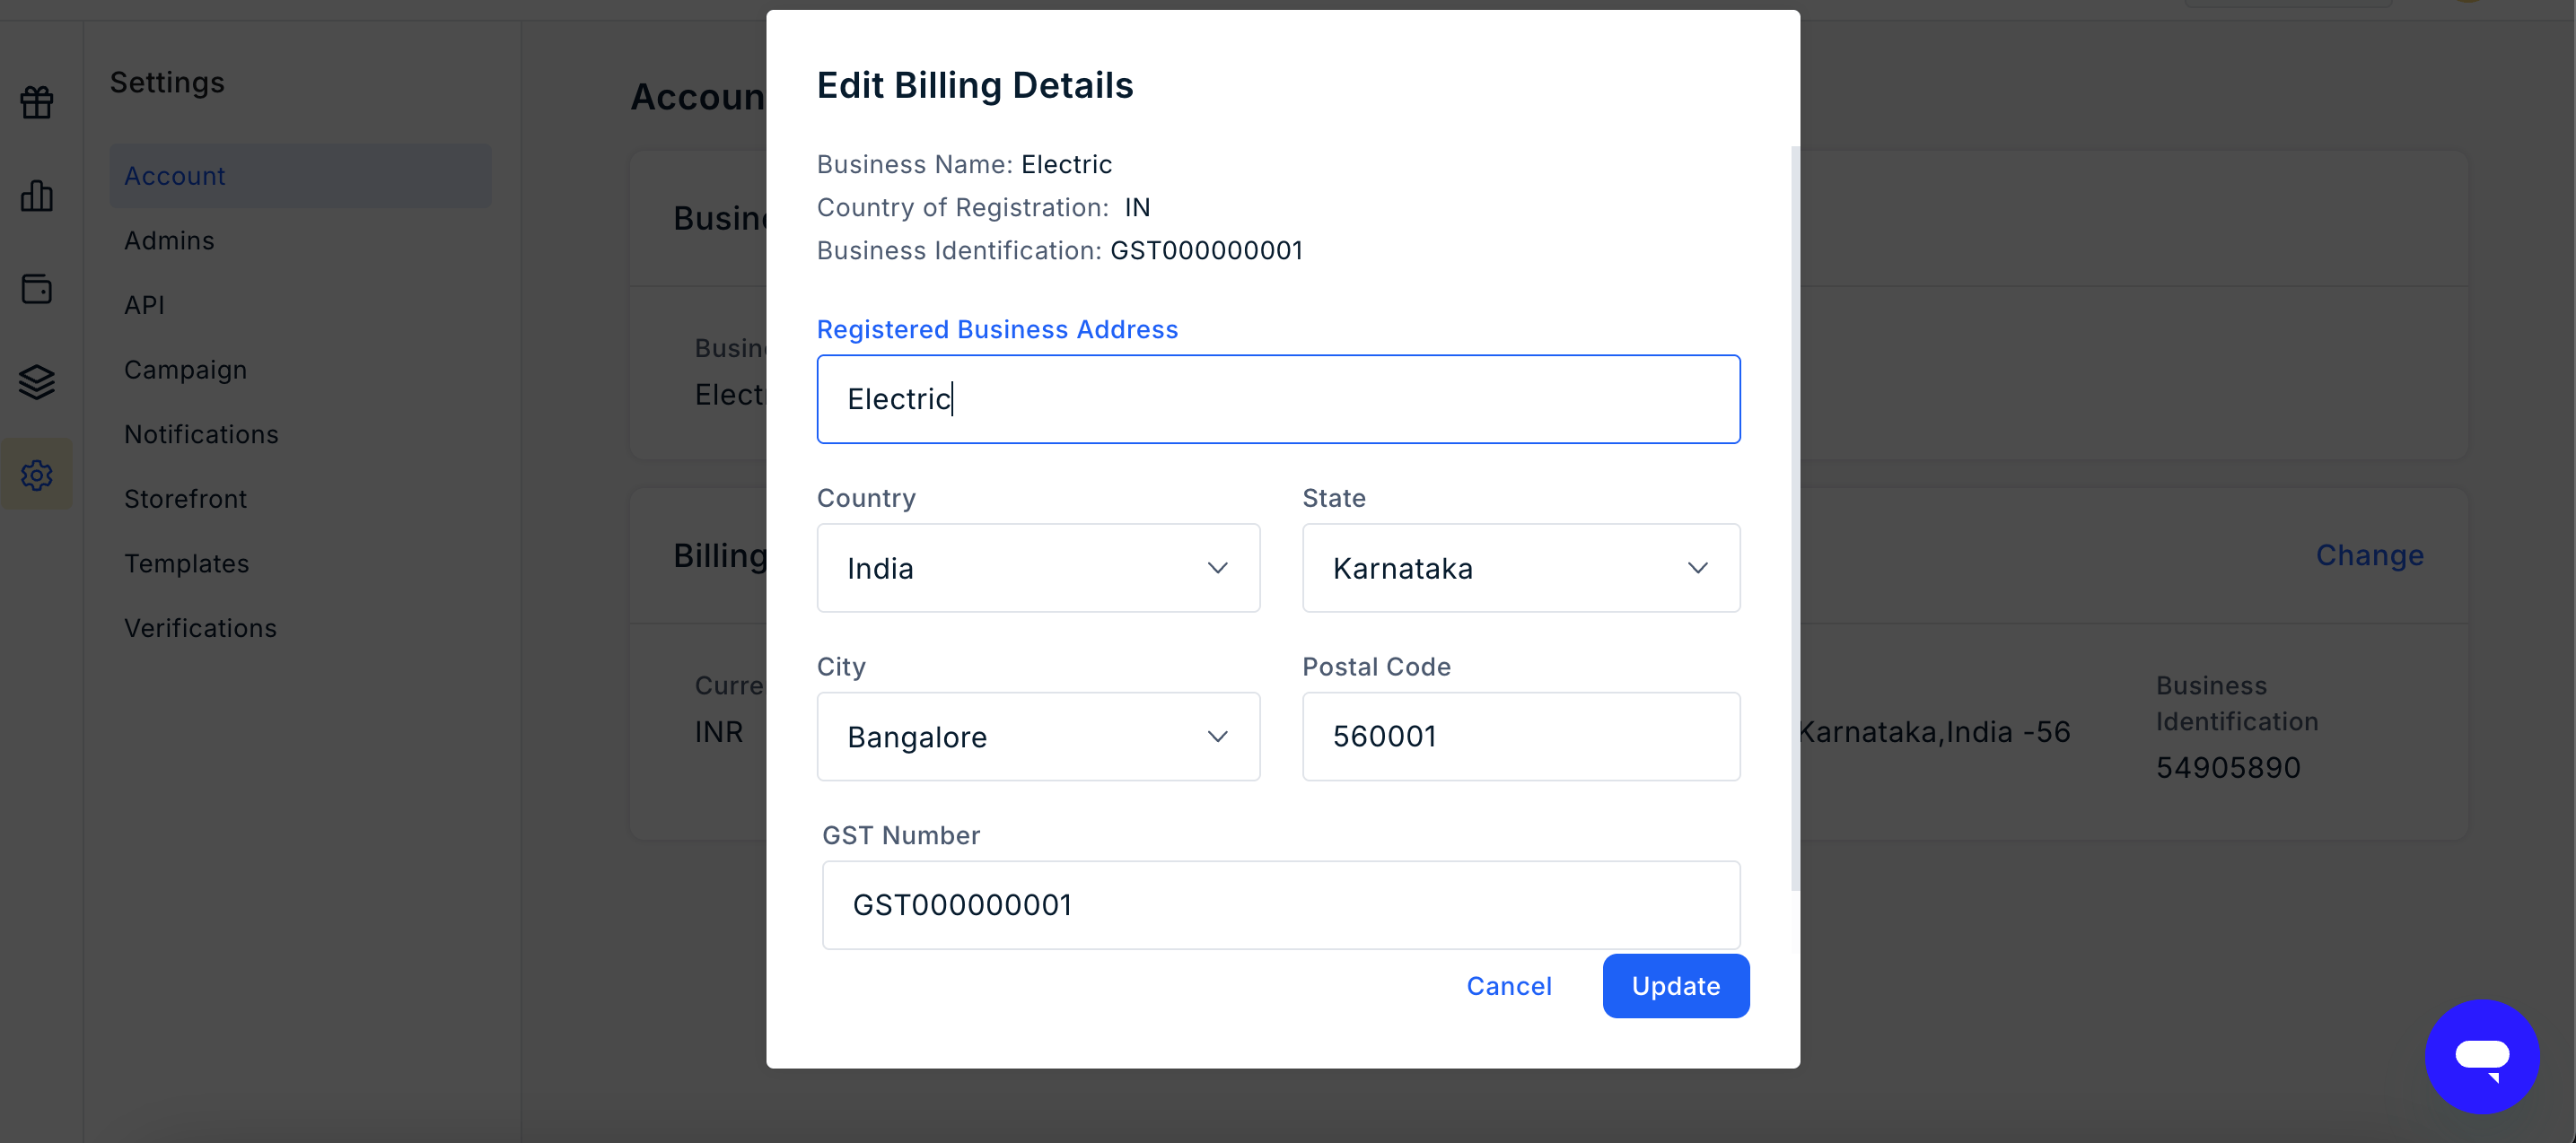
- Click Update.
Remove a Billing Address
To remove an existing billing address:- Select the billing address you want to remove.
- Click the Remove/Delete icon.
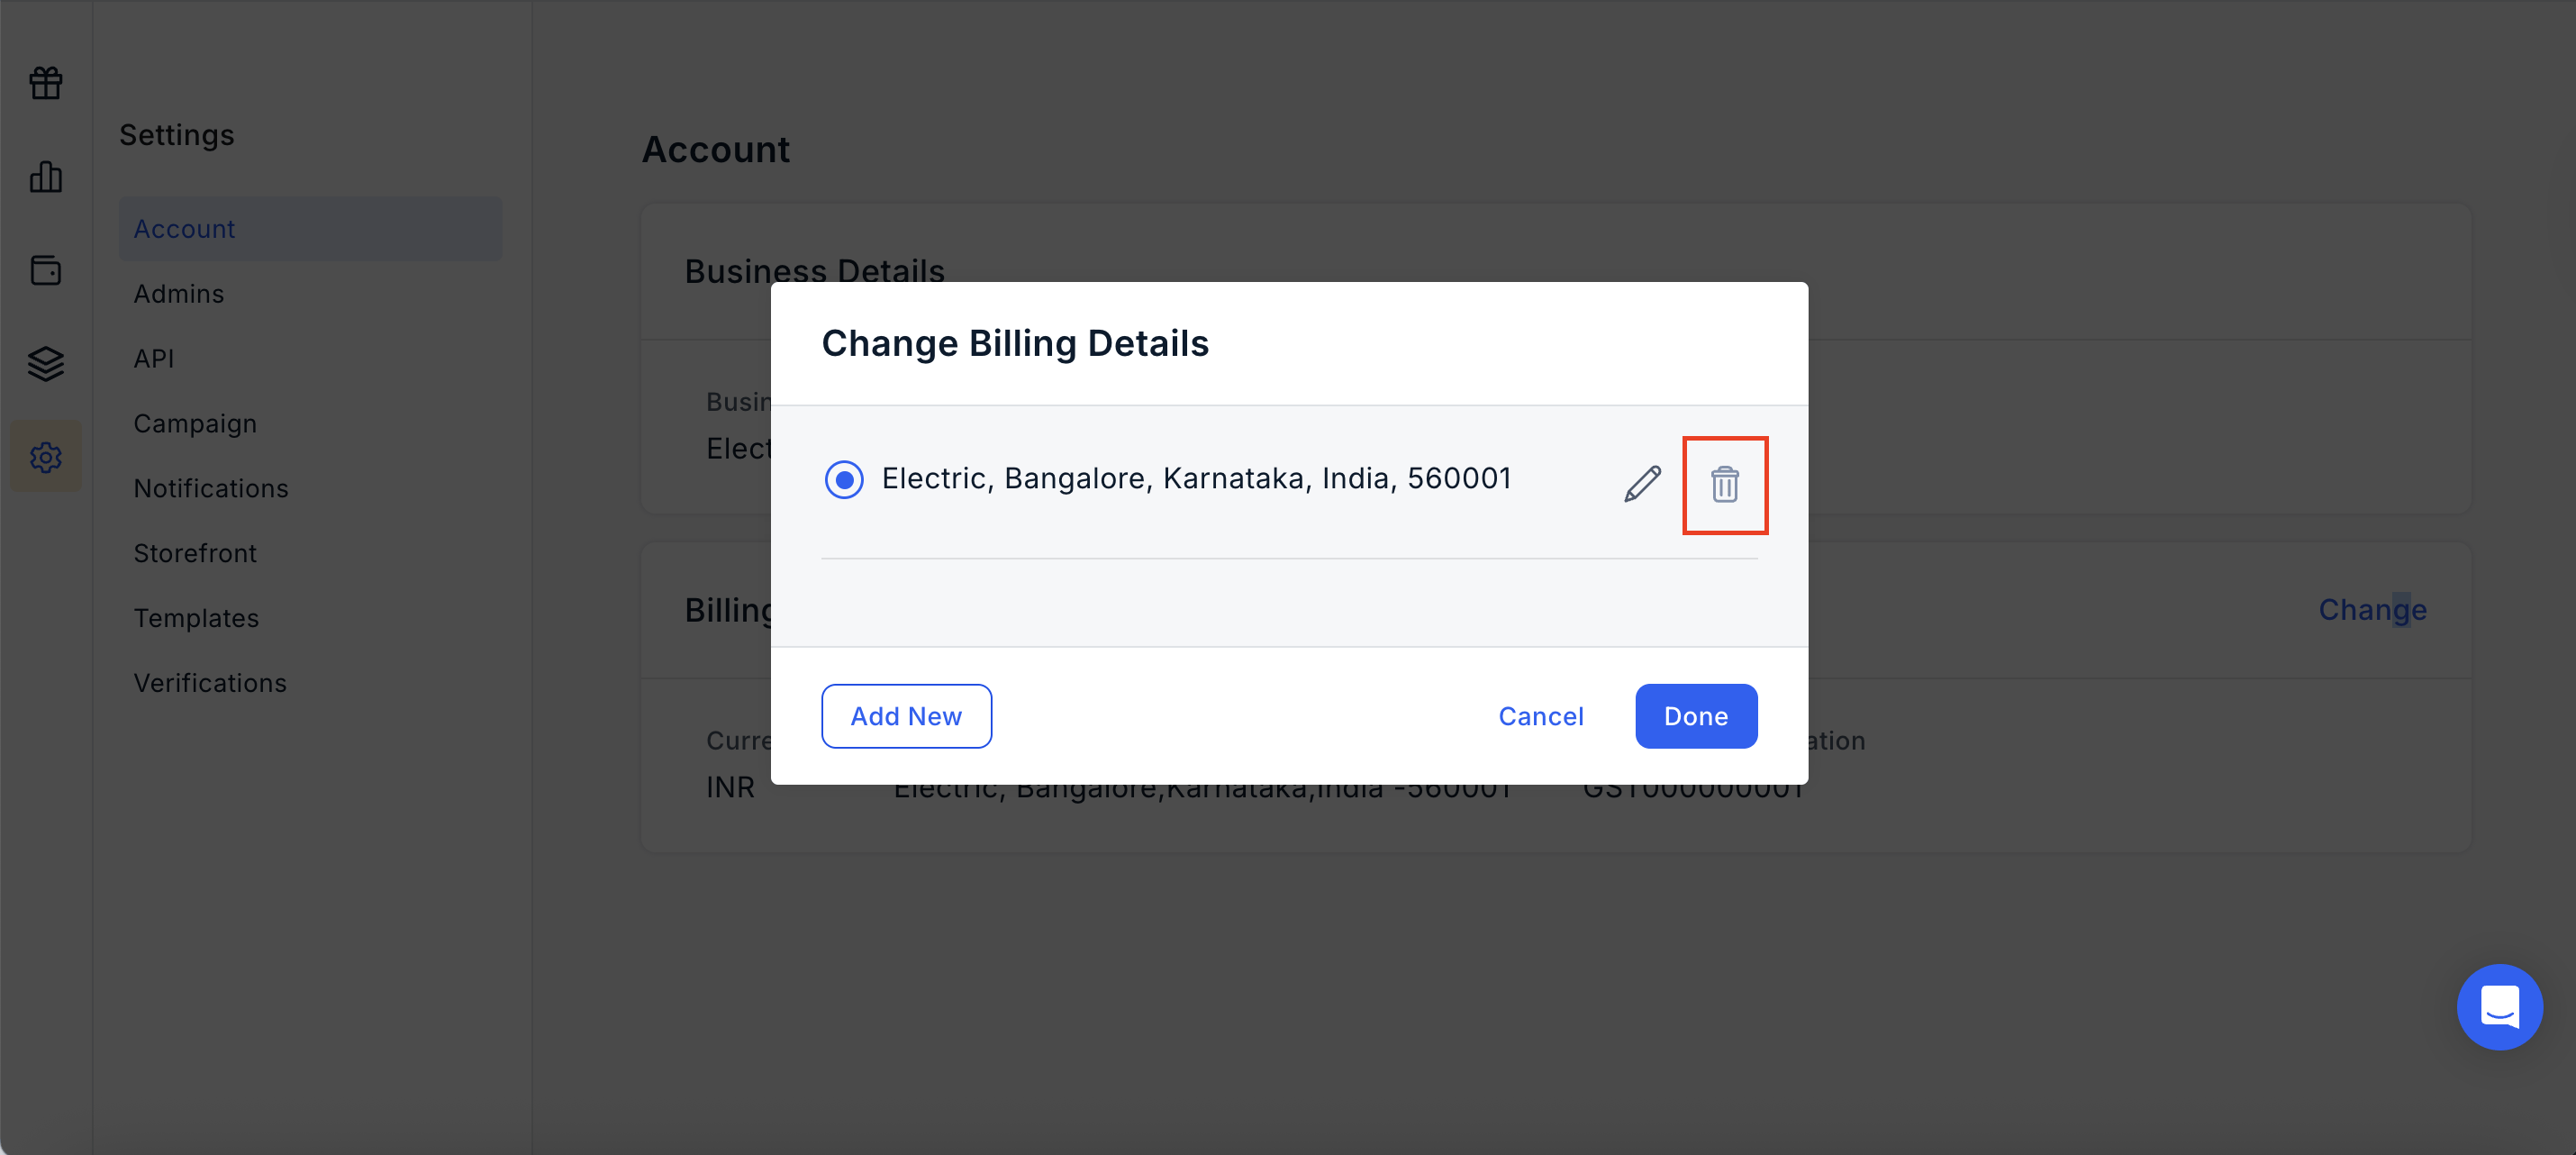
- Confirm the deletion.
Update an Existing Billing Address
You can update or add a billing address while adding funds to your Plum wallet. The selected billing address is used on the invoice generated for the transaction. To update the billing address while adding funds:- Navigate to Payments > Wallet Balance in the Plum Admin Dashboard.
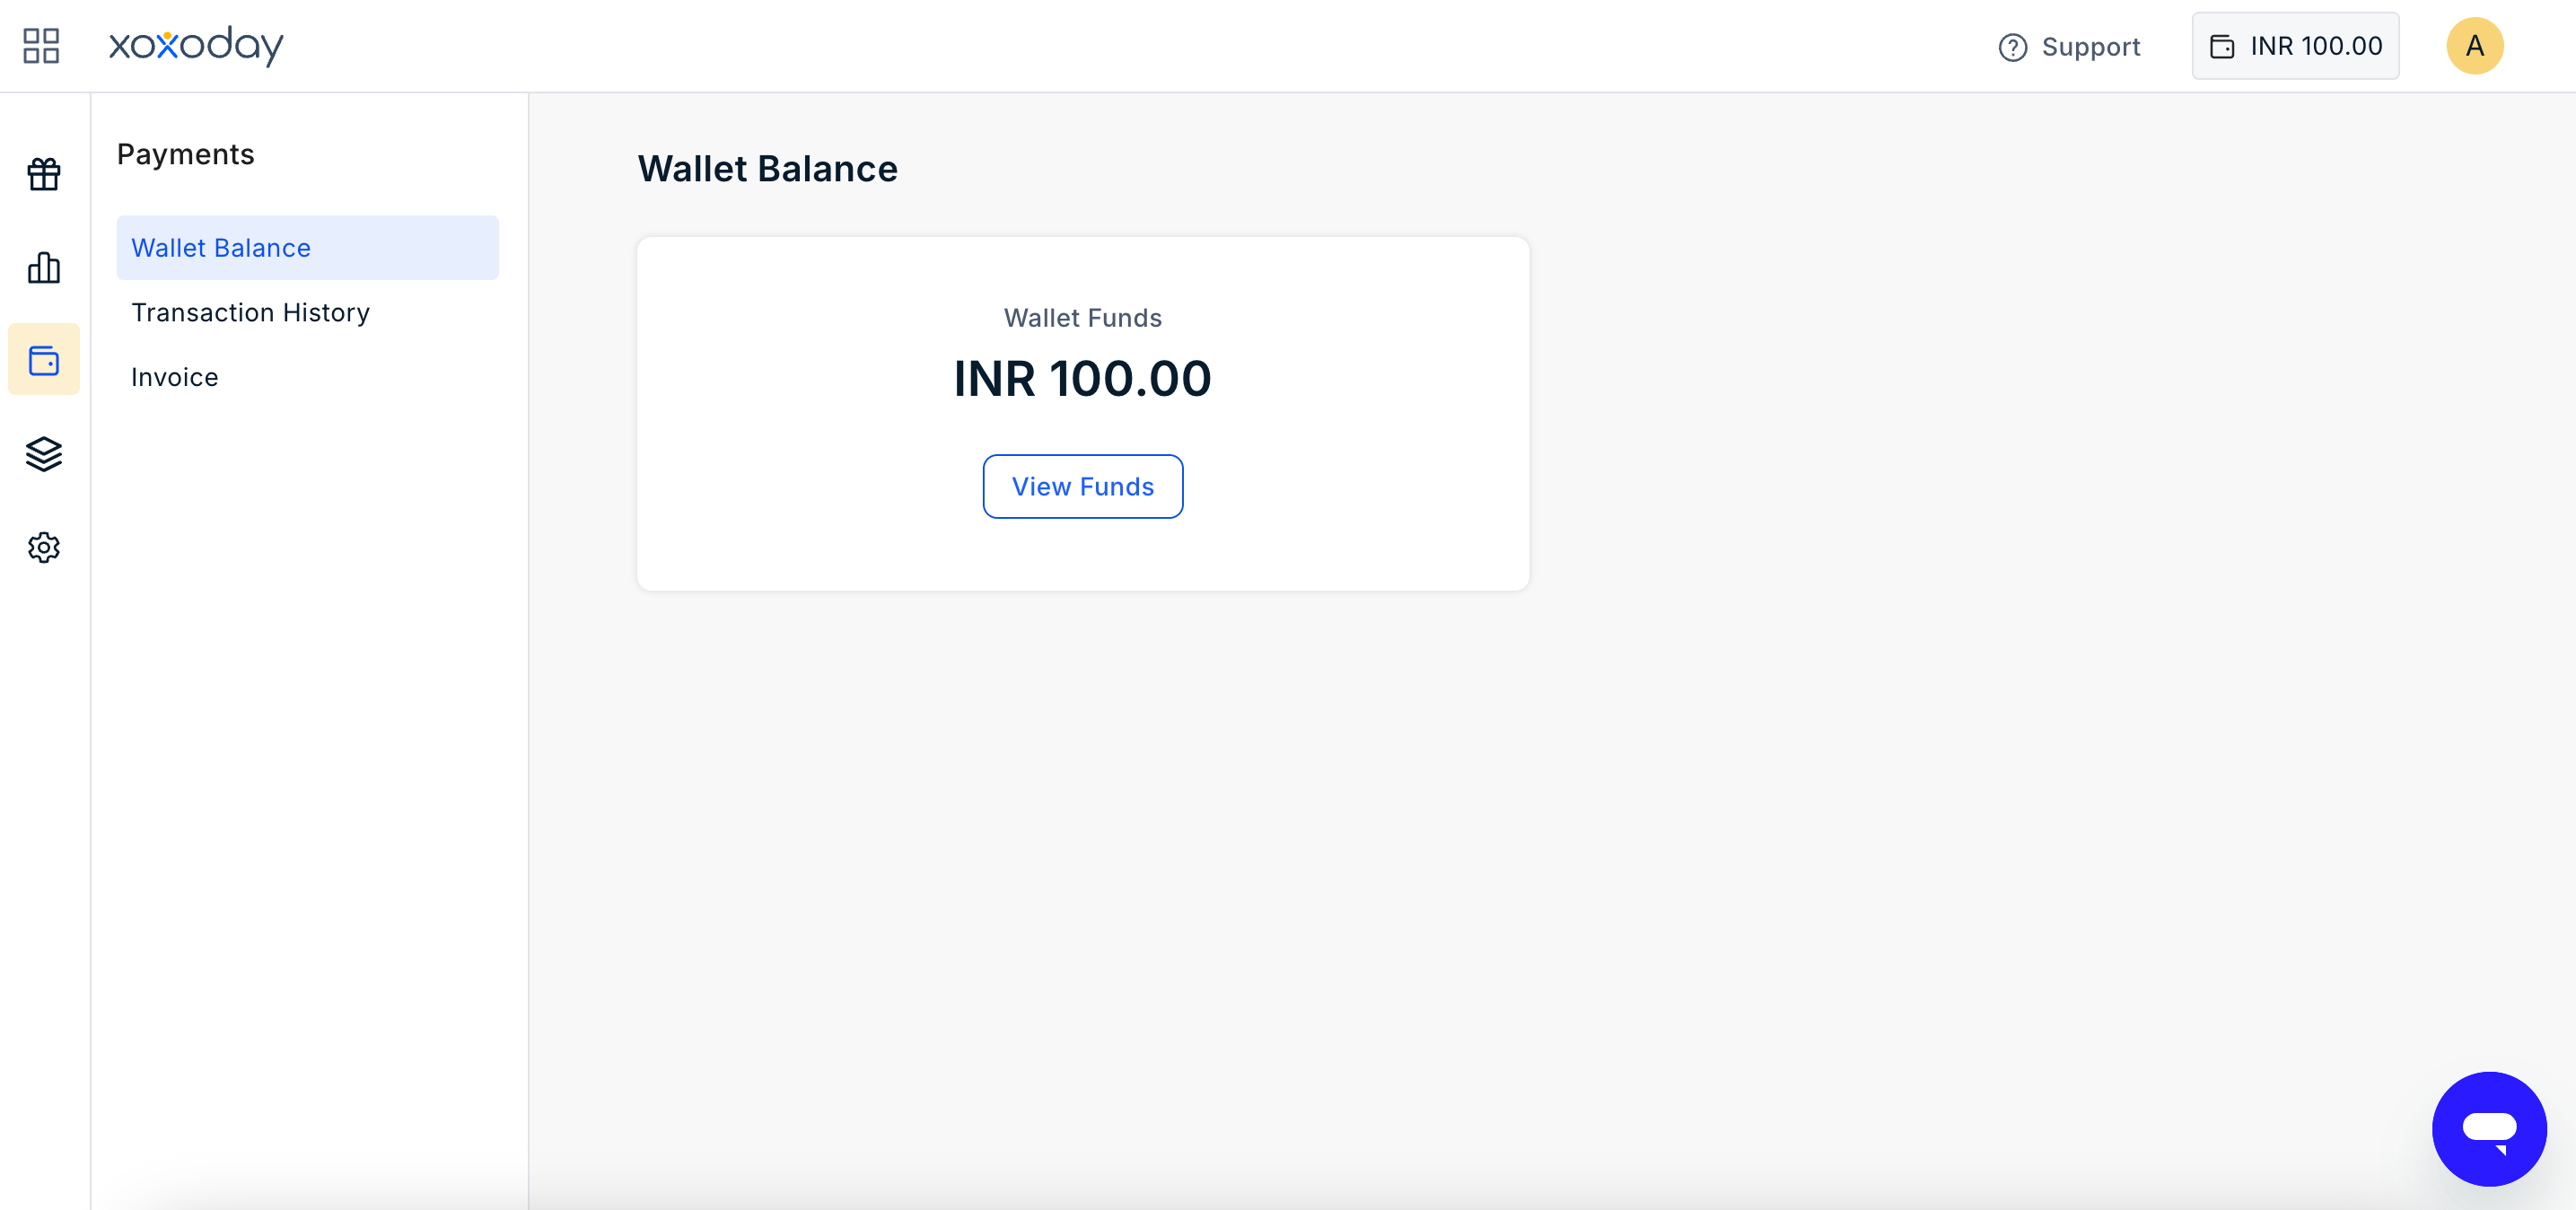
- Click View Funds.
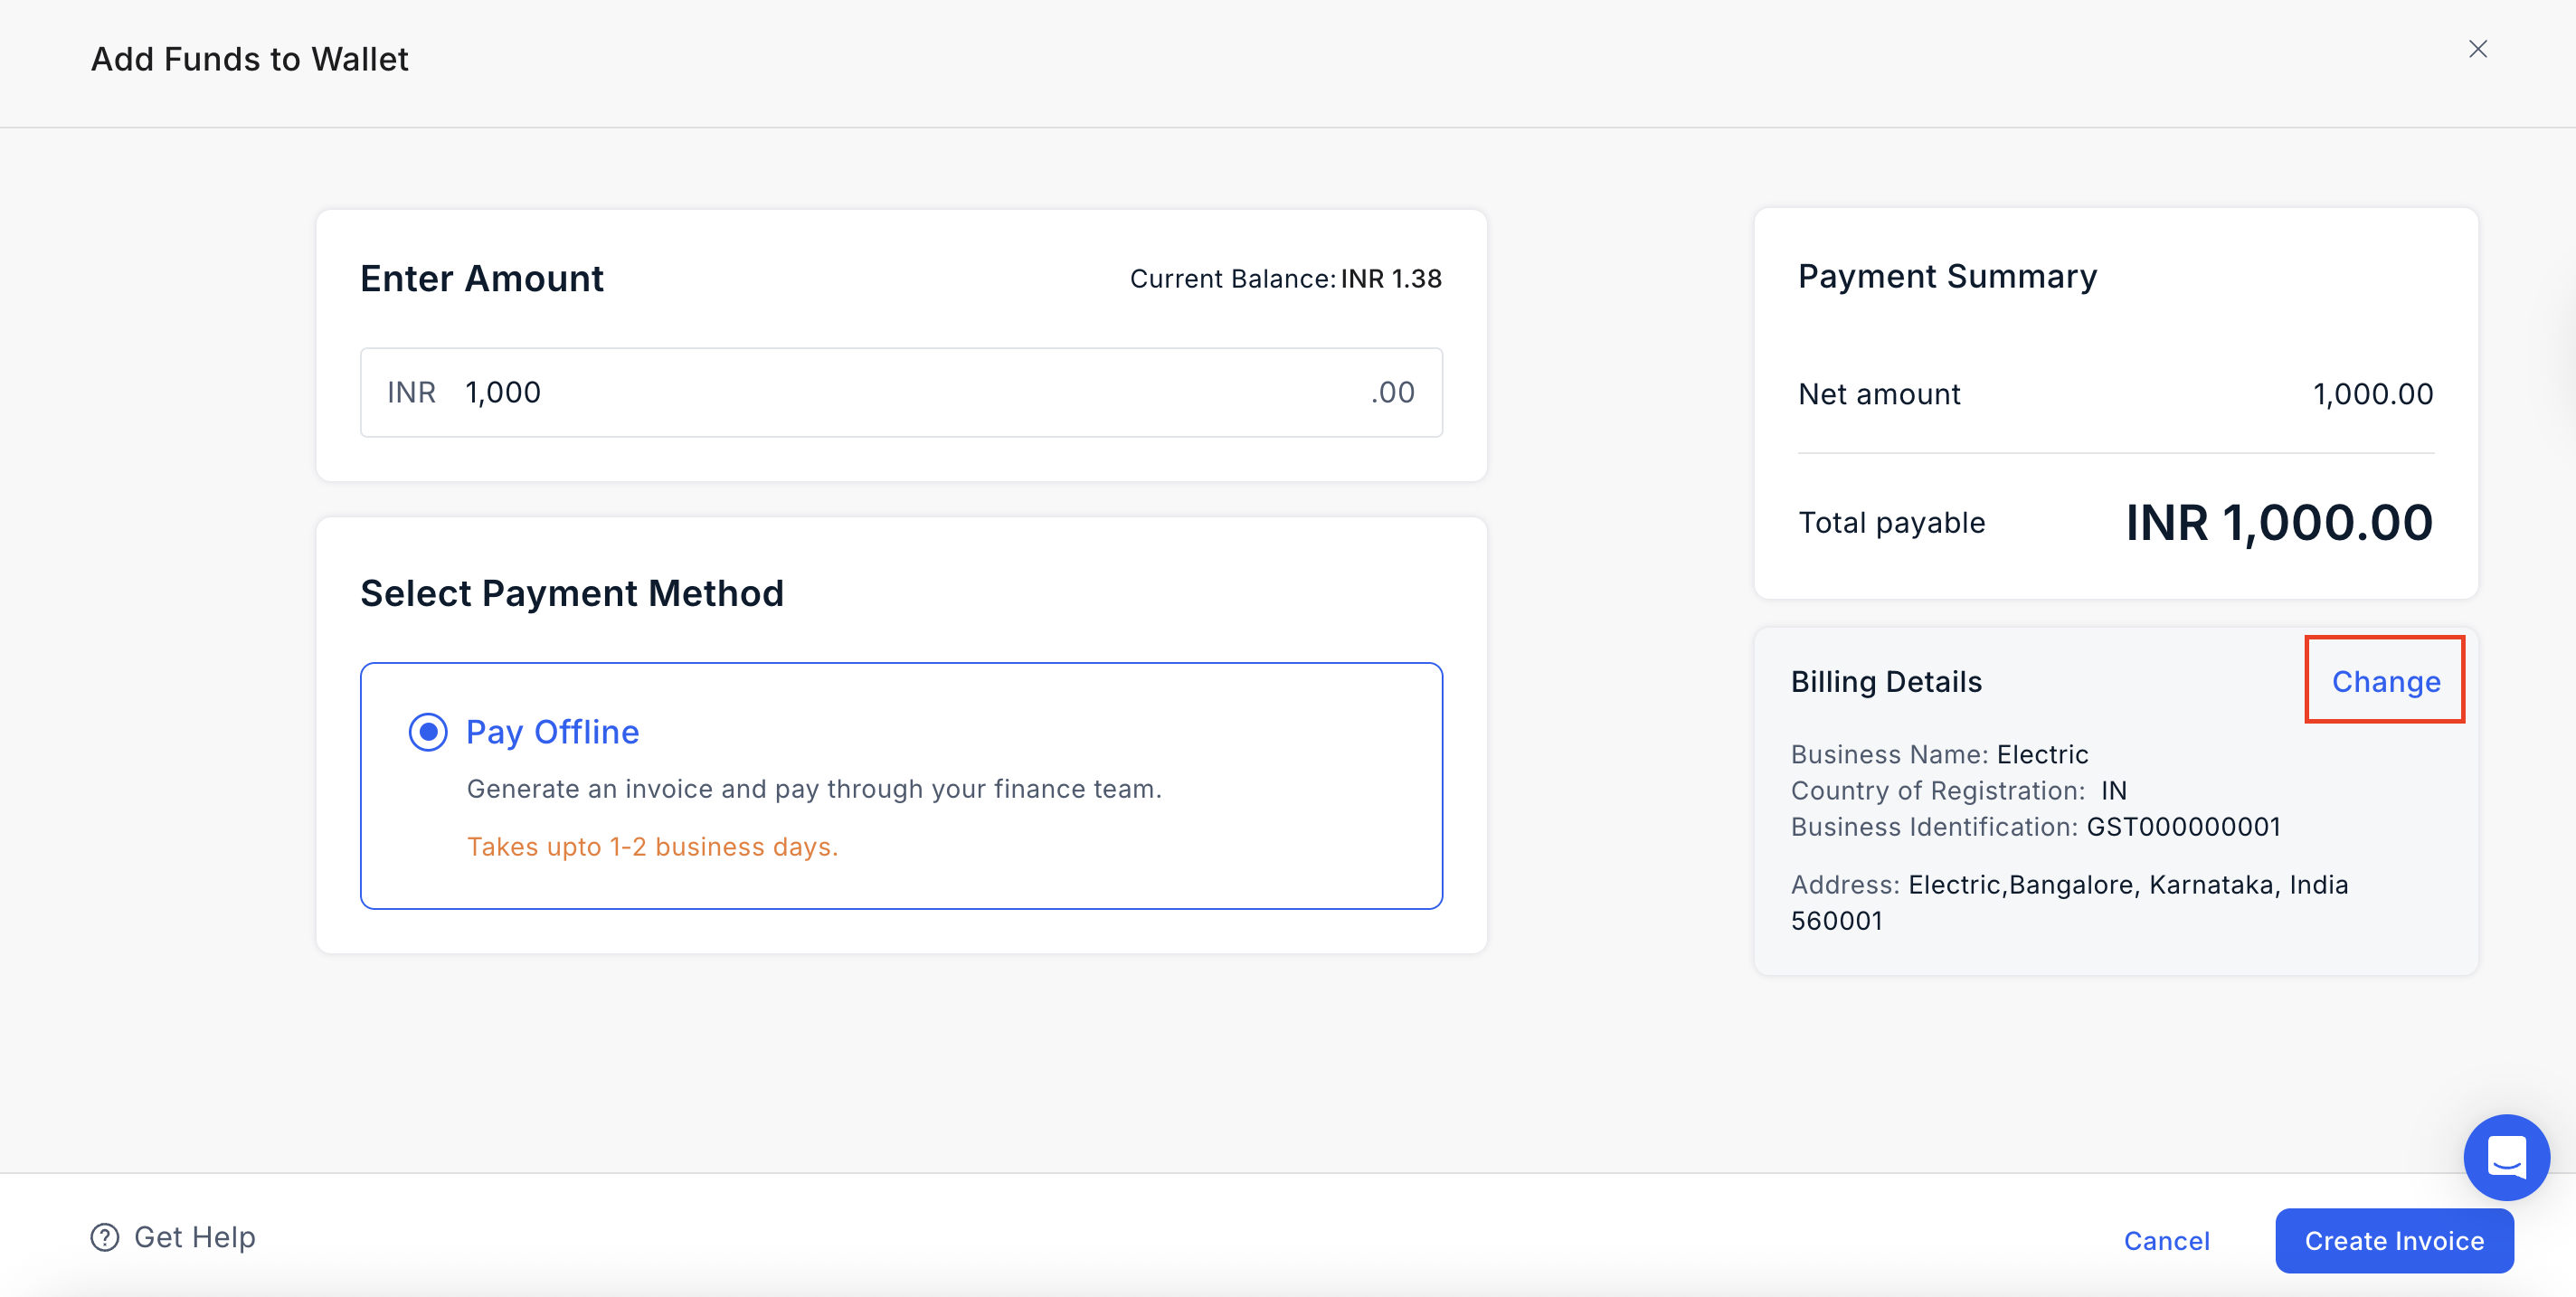
- On the Add Funds to Wallet screen, locate the Billing Details section.
- Click Change.
- Update the required billing details:
- Billing Address
- GST/Identification Number: Mandatory for India and optional for other countries.
- Country, State, and City
- Client POC, Email, and Phone: These details are auto-filled based on the Admin’s information.
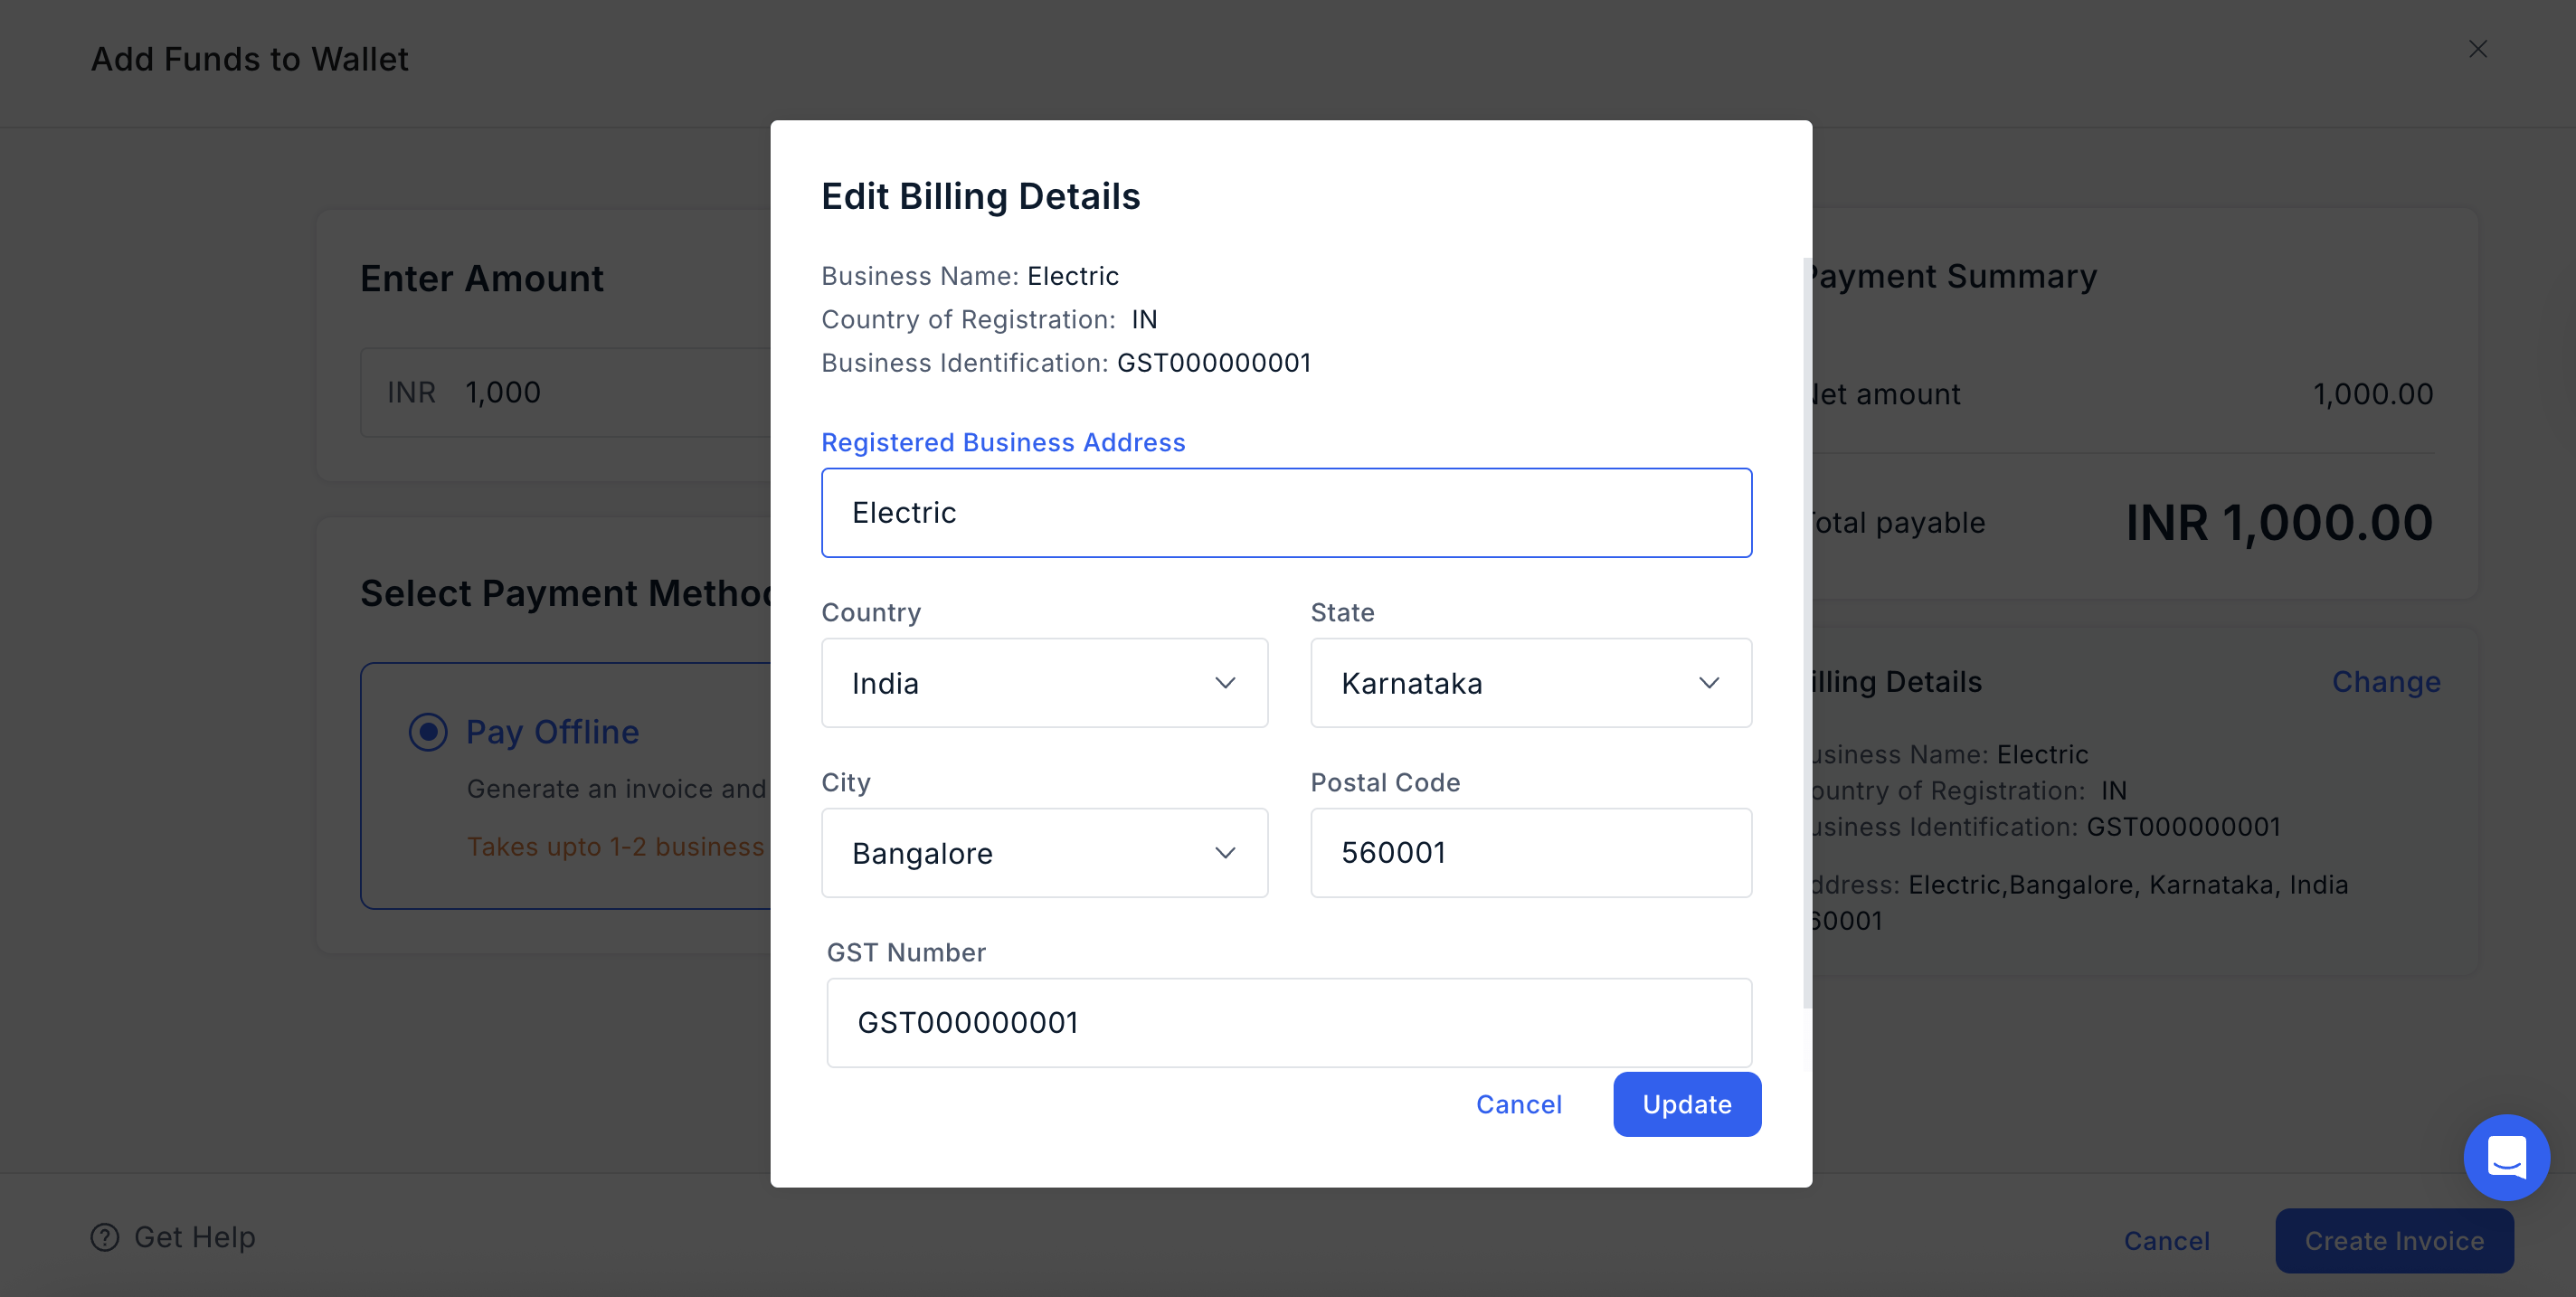
- Click Update and proceed.
Add a New Billing Address
You can also add a new billing address while adding funds to the wallet. To add a new billing address:- On the Add Funds to Wallet screen, navigate to the Billing Details section.
- Click Add New.
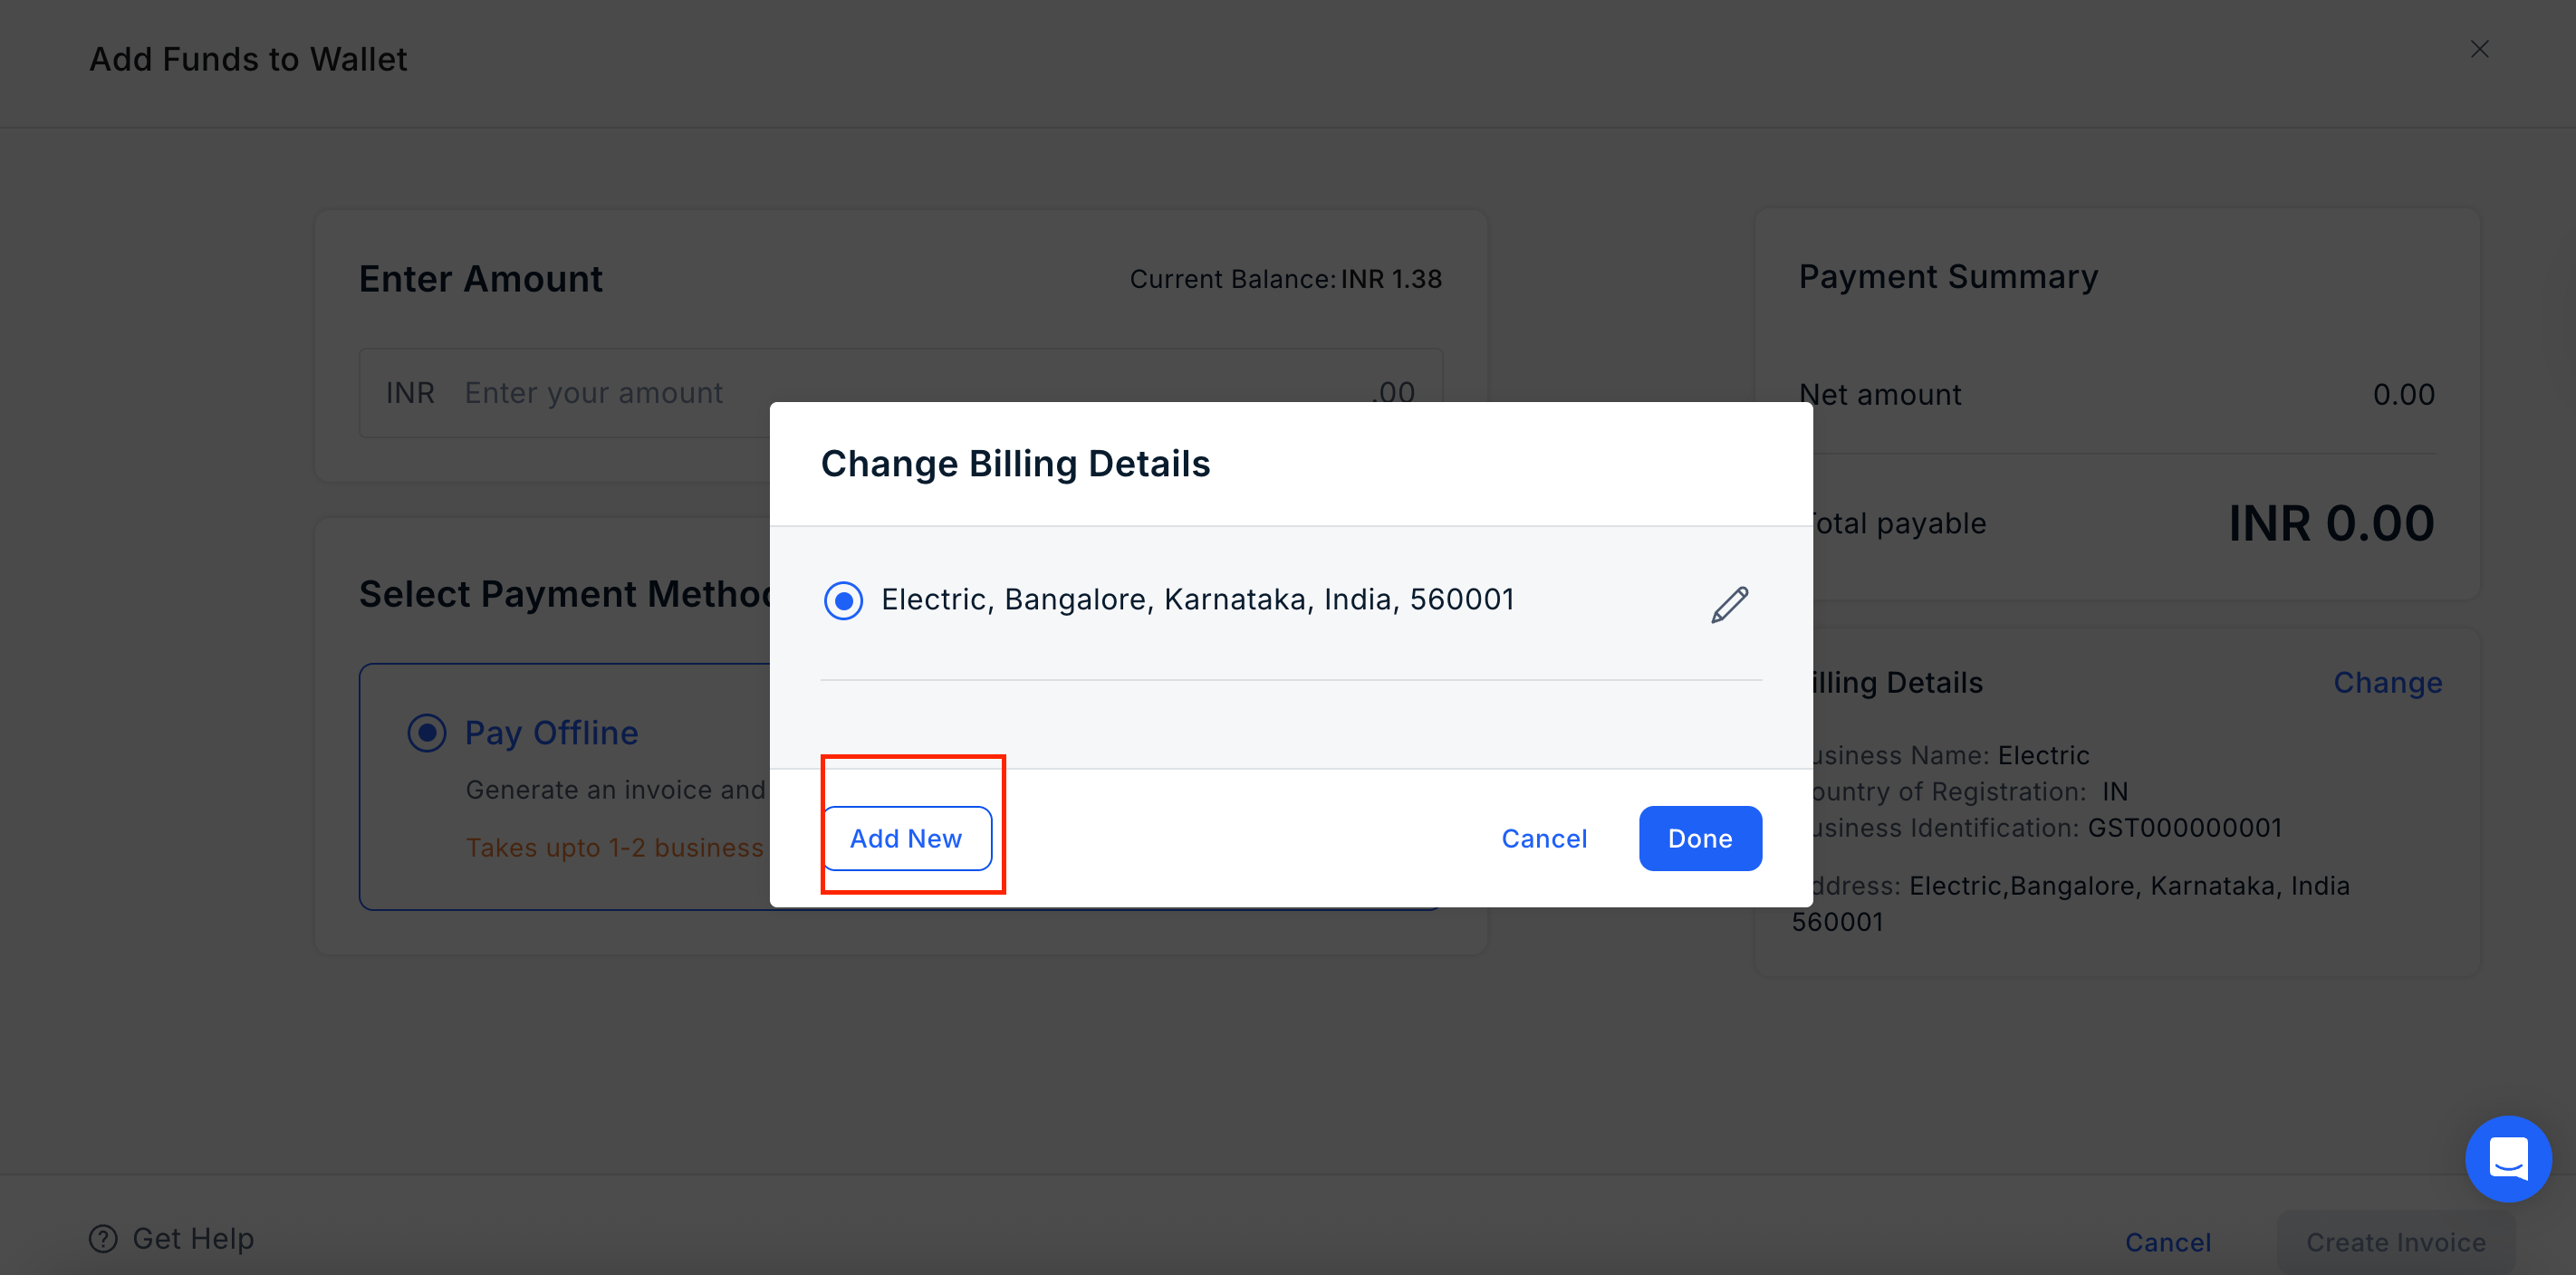
- Enter the required billing details:
- GST/Identification Number: Mandatory for India and optional for other countries.
- Country, State, and City
- Billing Address
- Client POC, Email, and Phone: These details are auto-filled based on the Admin’s information.
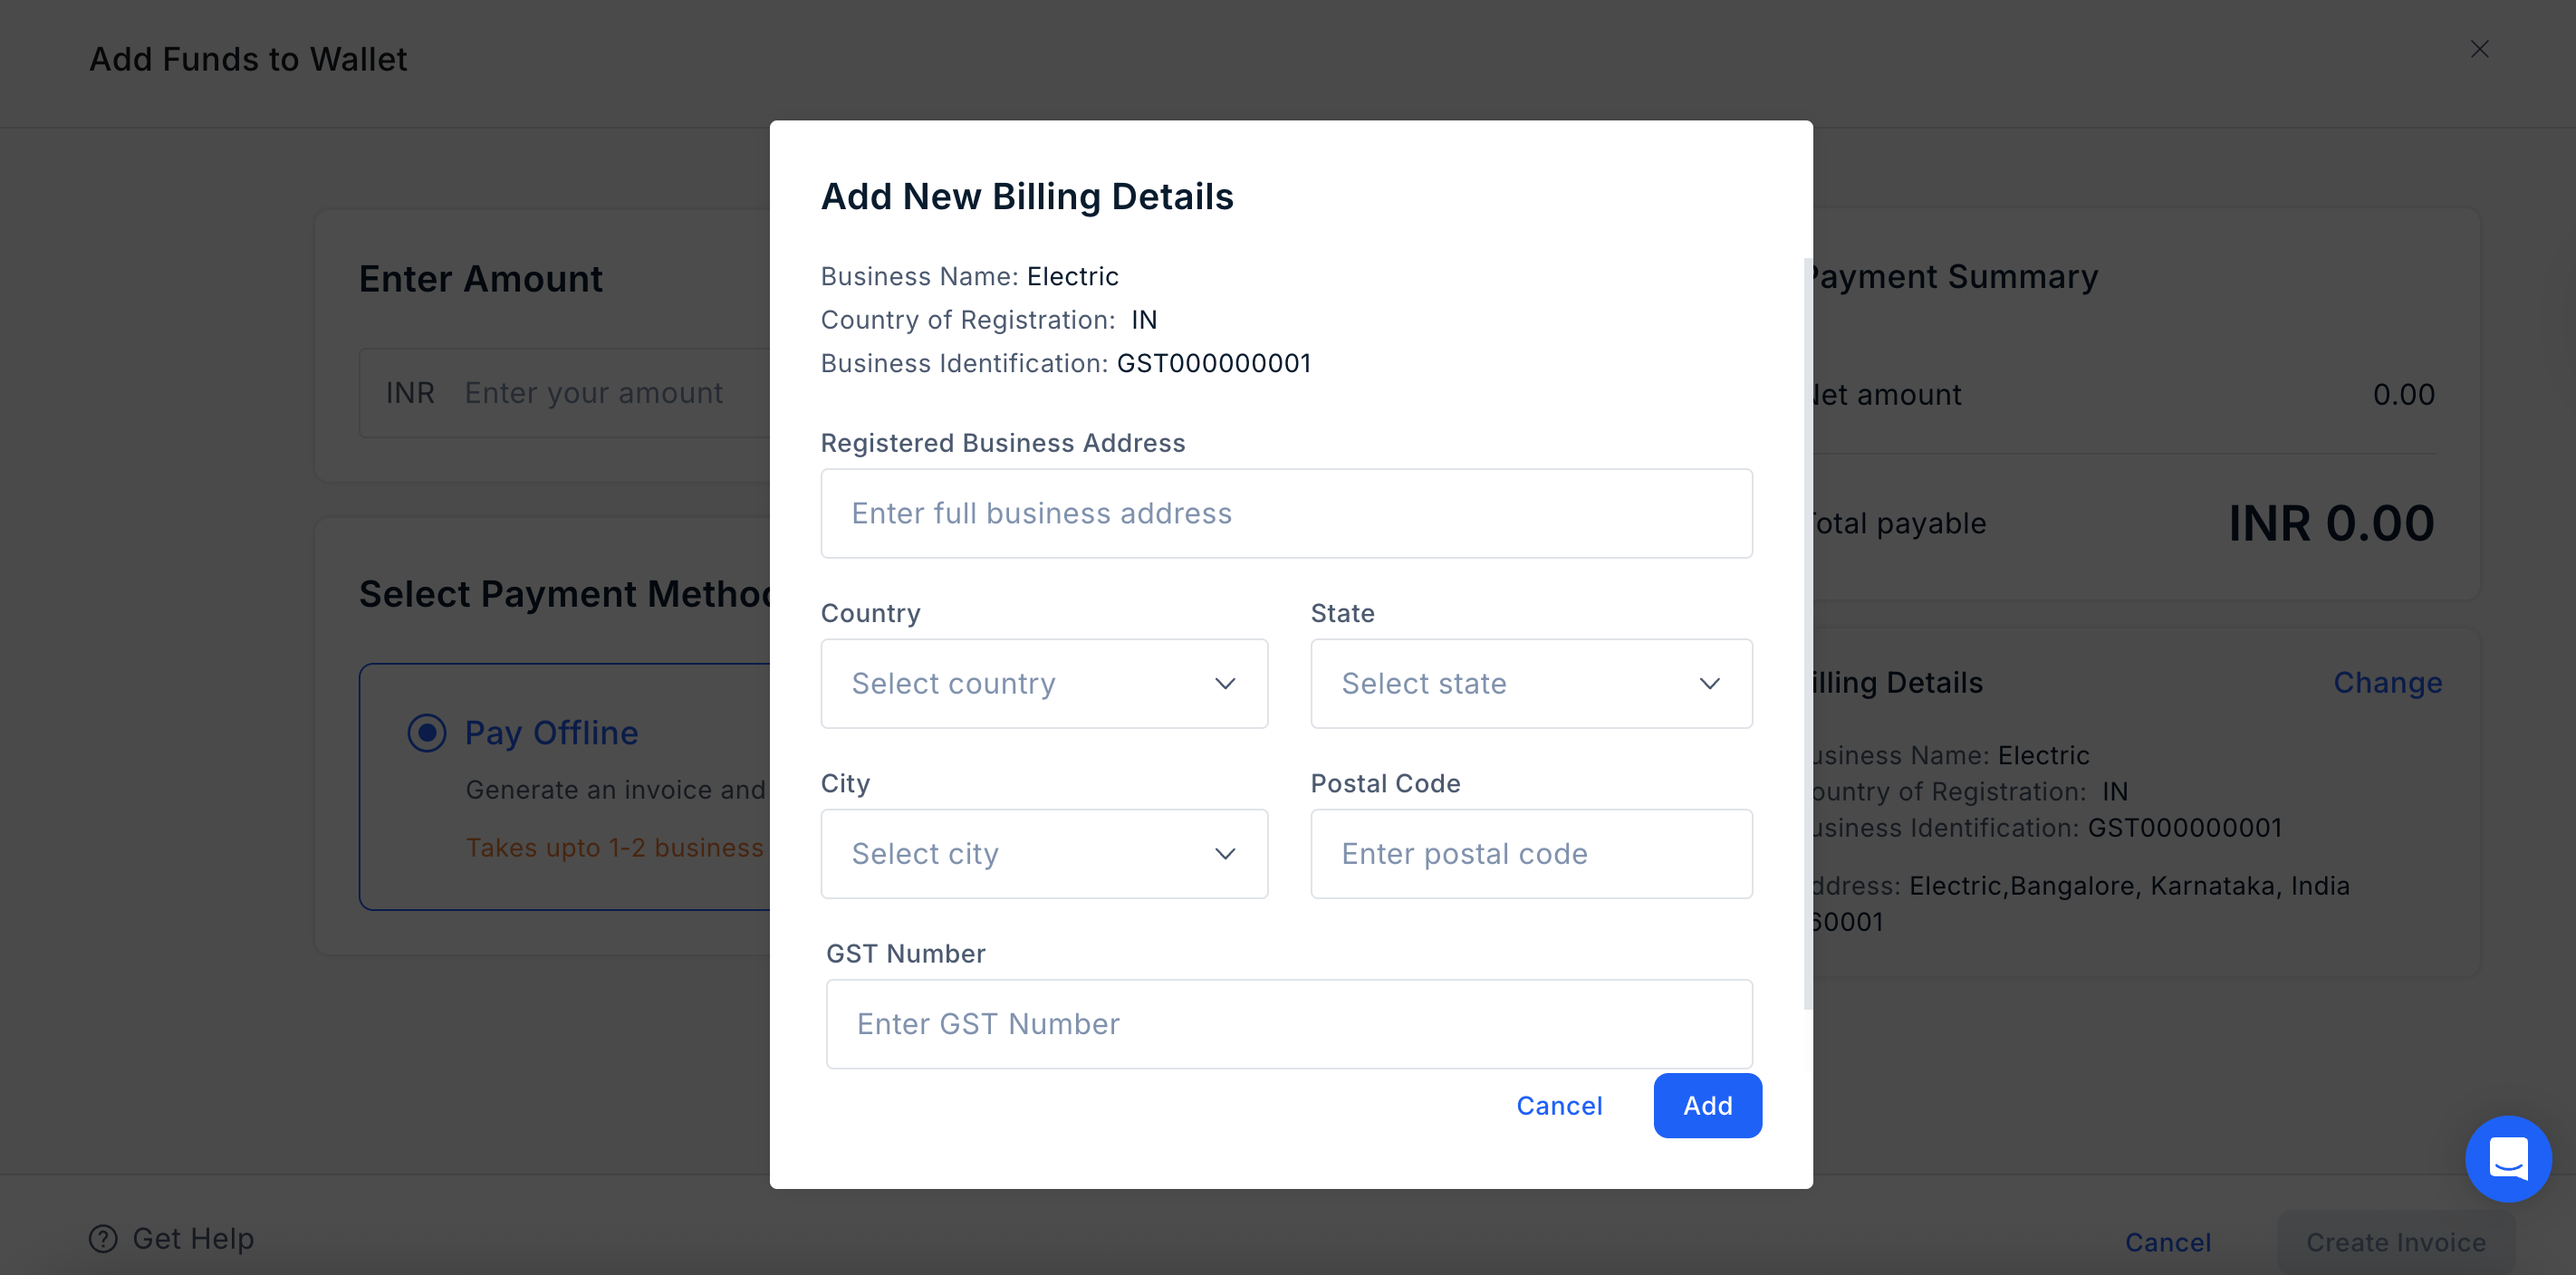
- Click Save.
Still need help? Raise a support ticket.